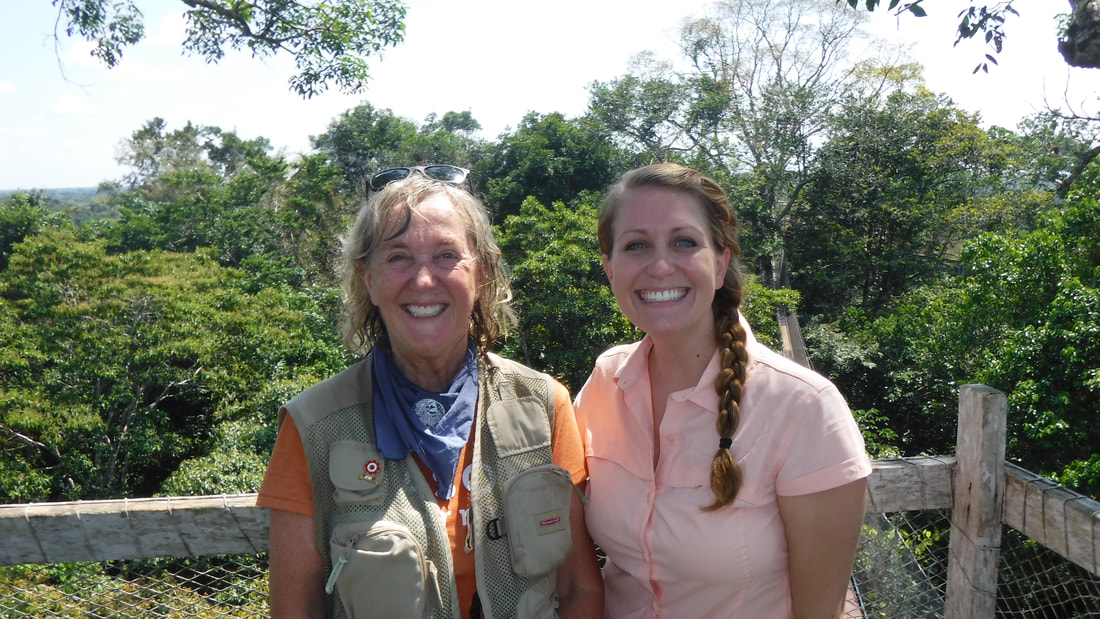
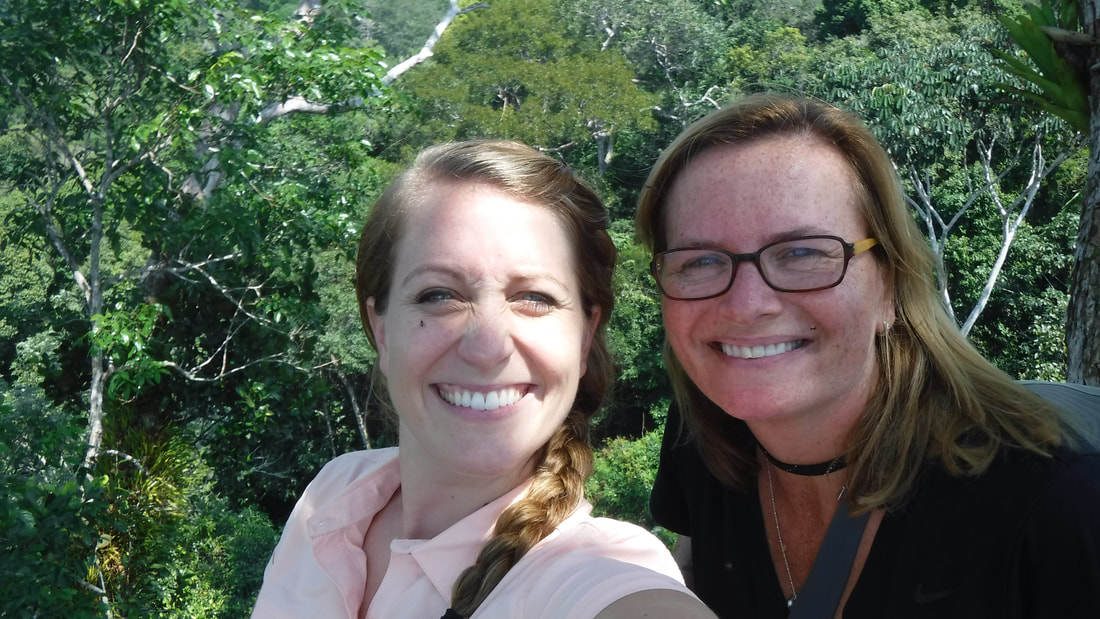
Below are Lesson Plan Ideas by Mrs. Cotten, using her Amazon experiences as a guide. The idea is that students feel they were in the amazon as well, and their learning is authentically enriched by Mrs. COtten's Amazon EXPEDITION.
Get to know you / first day or first week
CLI (Creative Learning Initiative) Activity
Objective: Students will get to know each other, using drama, movement and a game. Students will 1) build camaraderie with peers and make connections with one another and 2) compare and contrast animals native to South America and Australia, identifying physical features, adaptations, habitat, eating habits, and other characteristics.
TEKS: Science: animal adaptations, herbivore, omnivore, carnivore, life cycles, mammals, reptiles
Hook: Everyone gets to play a game and move around.
Lesson Plan: Teacher says to students: "Stand in a circle. Each of you should be standing on a marker on the floor. One person will be in the middle. The person in the middle says, "The truth about me is.. (and inserts a true statement about who they are). Anyone who has that in common has to change places in the circle, and the center player tries to find a spot, leaving one person left in the center to continue to the game. The person in the middle is always the one who is saying "the truth about me..."
First do this with students, having them acting as themselves. This is a great way for students to get to know each other.
After everyone is feeling more comfortable with each other, and has found friends who they have something in common, you can add content area in this game. It is an excellent way to learn and review subject material.
Science application: Each student receives a card. On the front of the card, there is a picture and name of an animal. On the back of the card are bullet points about the animal. (defining characteristics and adaptations such as mammal, reptile, herbivore, predator, arboreal animal, habitat, life span...) Students play the game again, now acting as though they are the animal. They will say the truth about who they are (as that animal.) Be sure to reflect and ask follow up questions, to ensure that students are recognizing similarities and differences of animals. What do they all have in common? What do only some of them have in common? What makes your animal stand out? How does your animal survive? What kind of teeth does your animal have based on the type of food they eat?...)
For extension activities, students can read through the more detailed information below to gather more background information about their animal and play again with more details. Students can also make their own cards with other animals, plants, shapes, vocabulary words in any subject.
| truthaboutmeanimalsbackgroundinfo.docx |
| truth_about_meanimalcards.doc |
1. En Route To the Amazon
Introduction into traveling around the world throughout the year:
Objective: Students will "travel" around the world, using their imaginations, to experience a new place. Students will understand the water cycle and identify and study different types of clouds. Students will create their own passports, to use throughout the year as they explore the country and world, virtually.
TEKS: Science: water cycle, atmosphere, weather vs climate Geography: 7 continents, location of Peru, geography of Texas vs. Peruvian Amazon
Hook: Teacher create a model airplane in the classroom using chairs, cardboard, and projector and screen. Teacher will line up the chairs, like an airplane with aisles and rows. Teacher will create a 3D roof, with windows. The screen will be at the front of the "plane".
Lesson Plan: 2 DAYS
Day 1: Make Passports, Locate Peru, and Study Science and Geography in Texas and Peru:
After the teacher has set up the "airplane", students will enter the classroom, very excited about boarding a "plane" in the classroom. Students will make their passports, and look at maps to locate where Peru is in the world. Students will then study with small groups to focus on at least one of these string of questions:
1)Where is Peru? What is the geography like in Peru? What language do they speak?
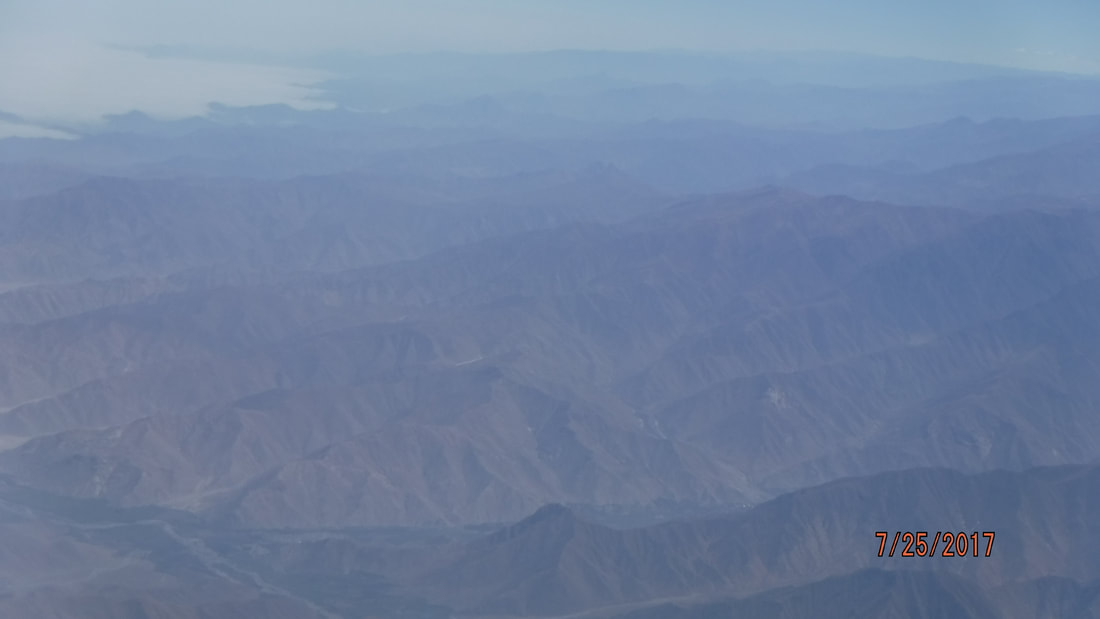
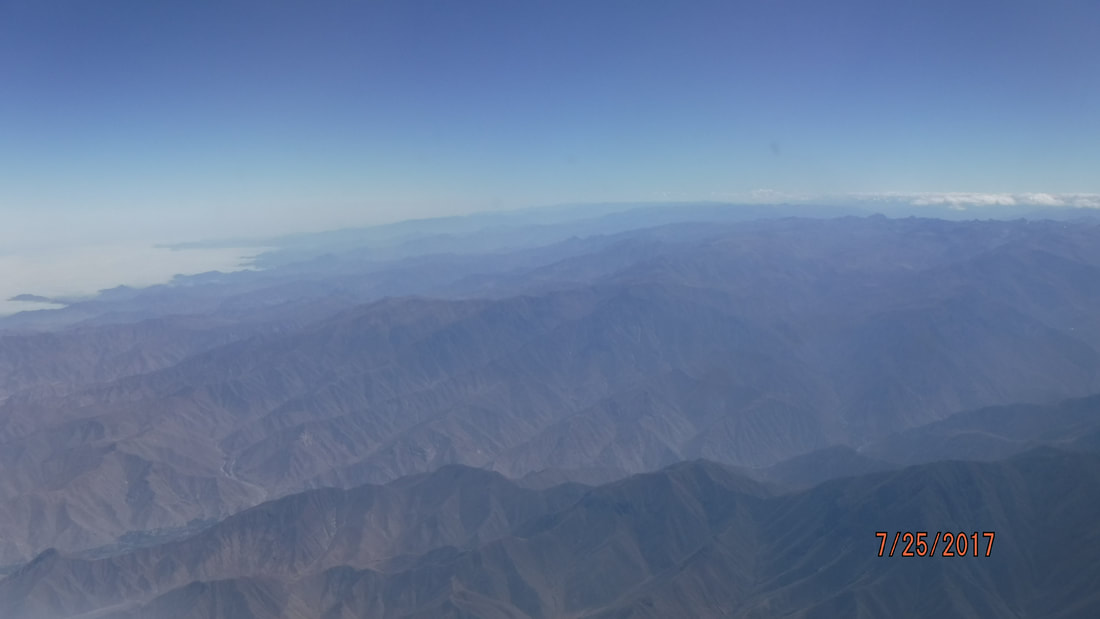
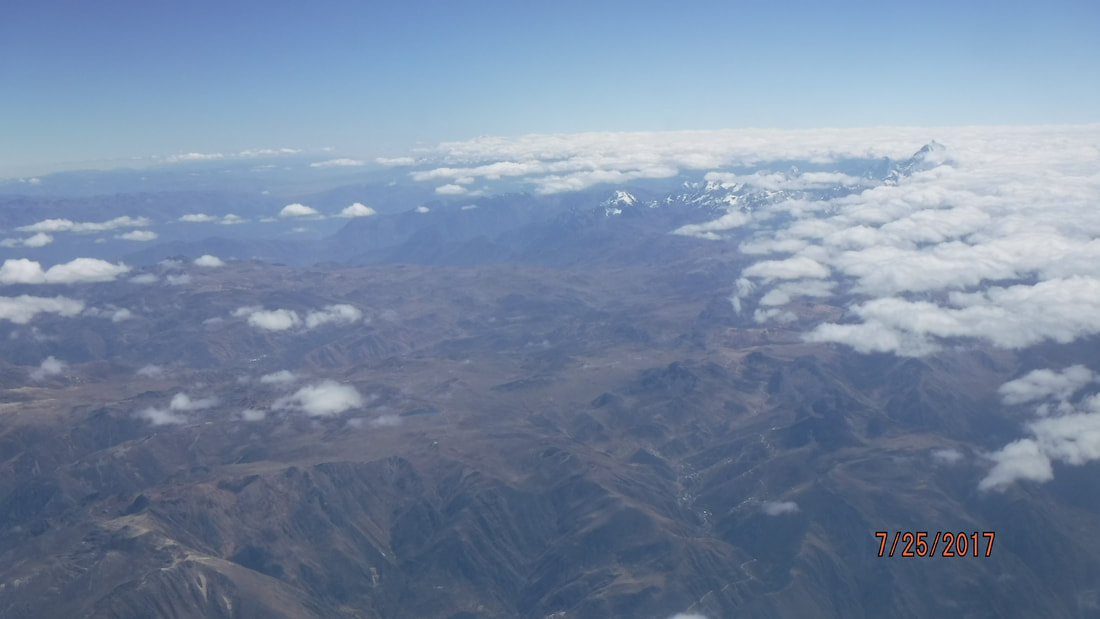
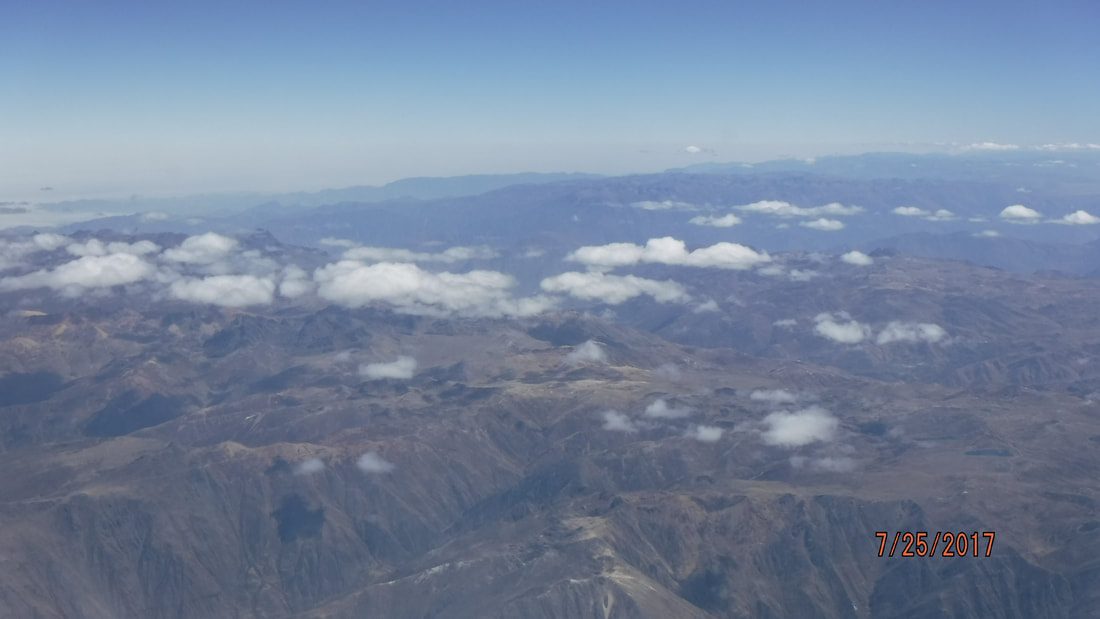
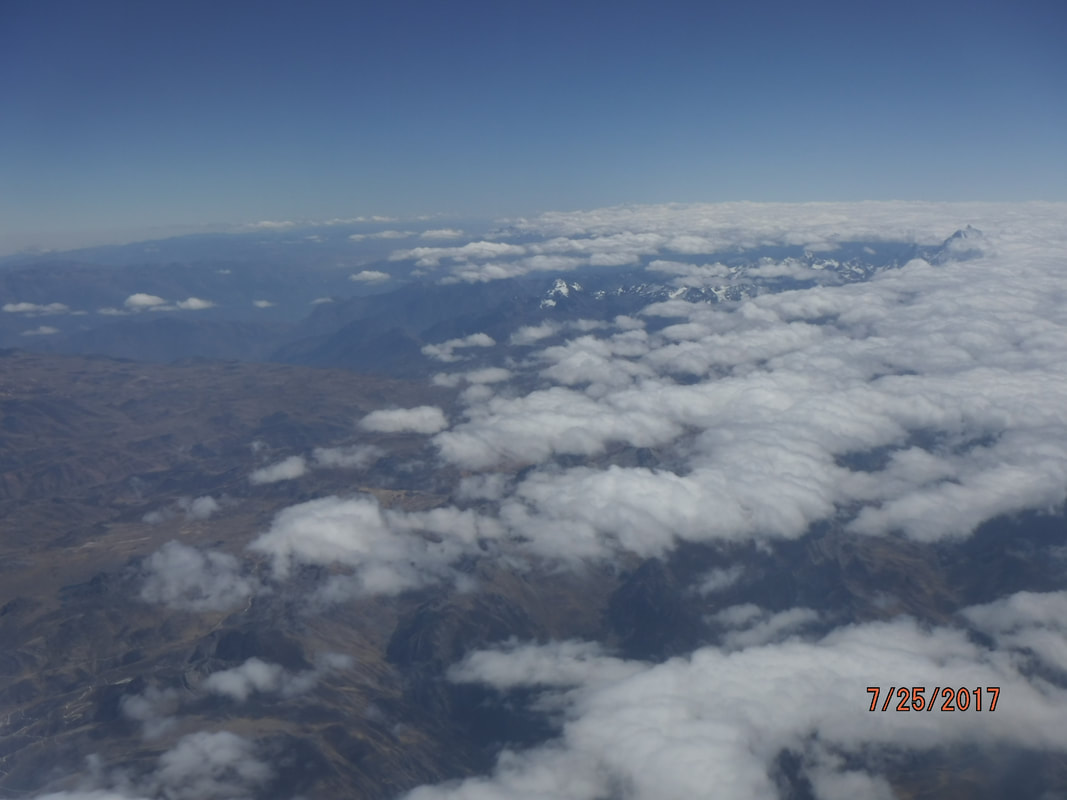
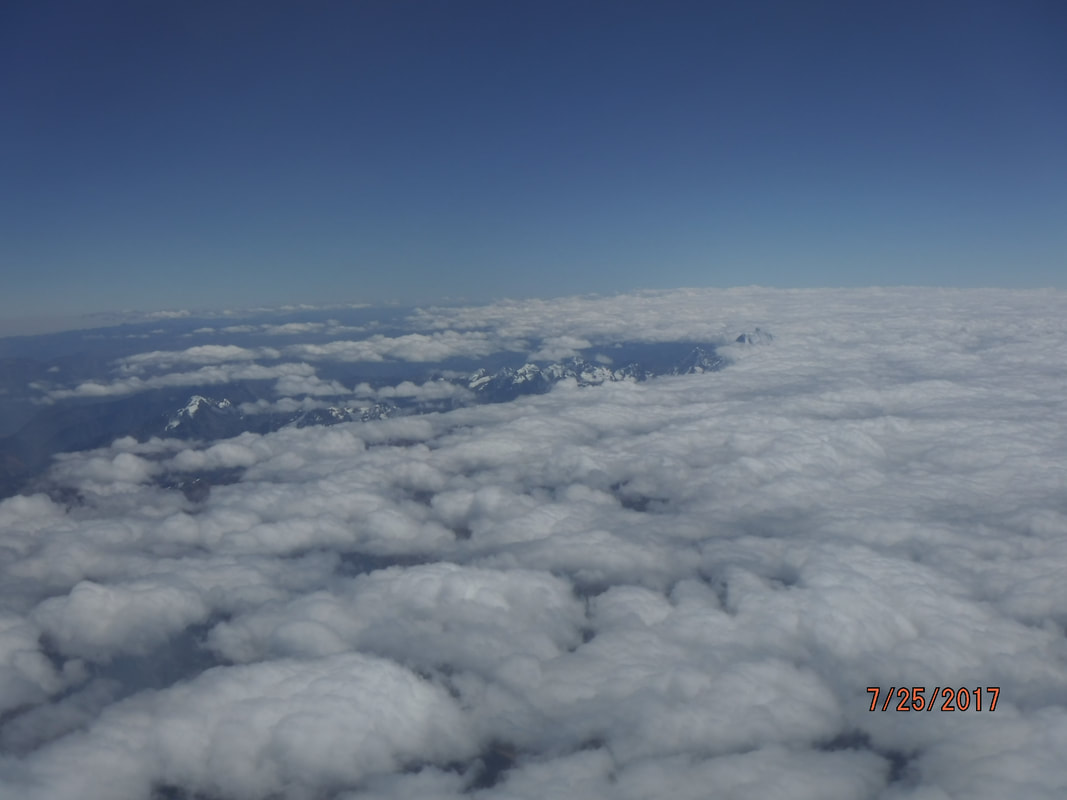
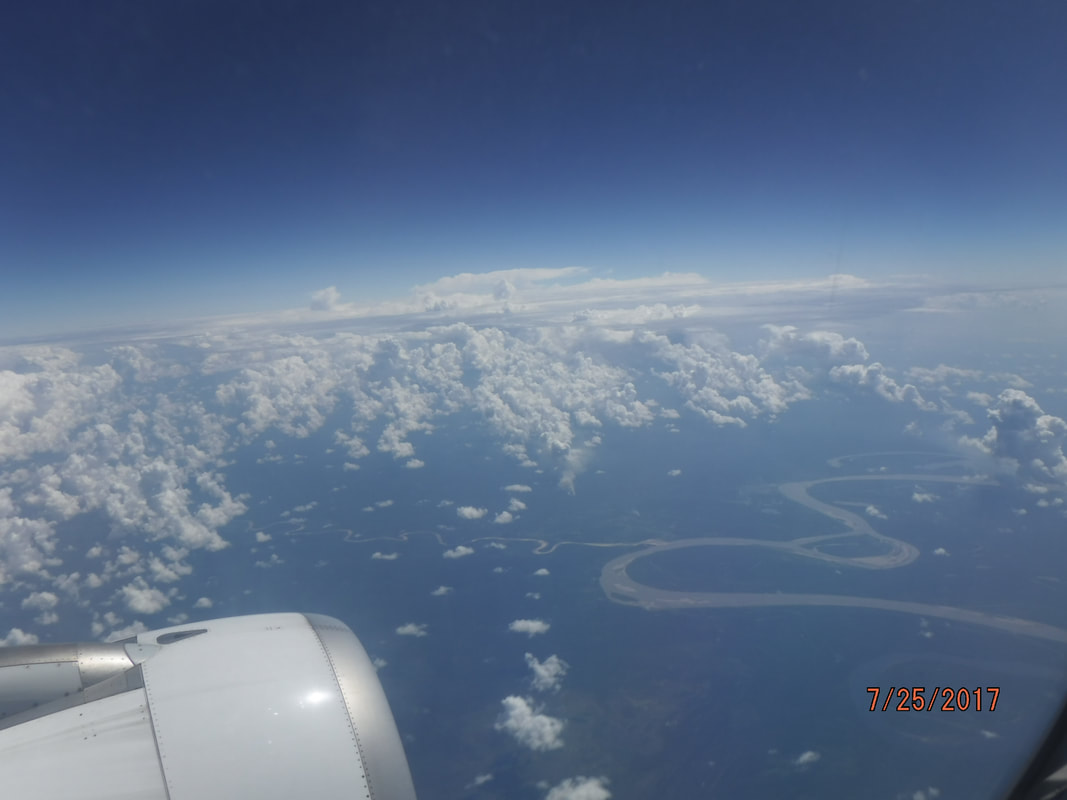
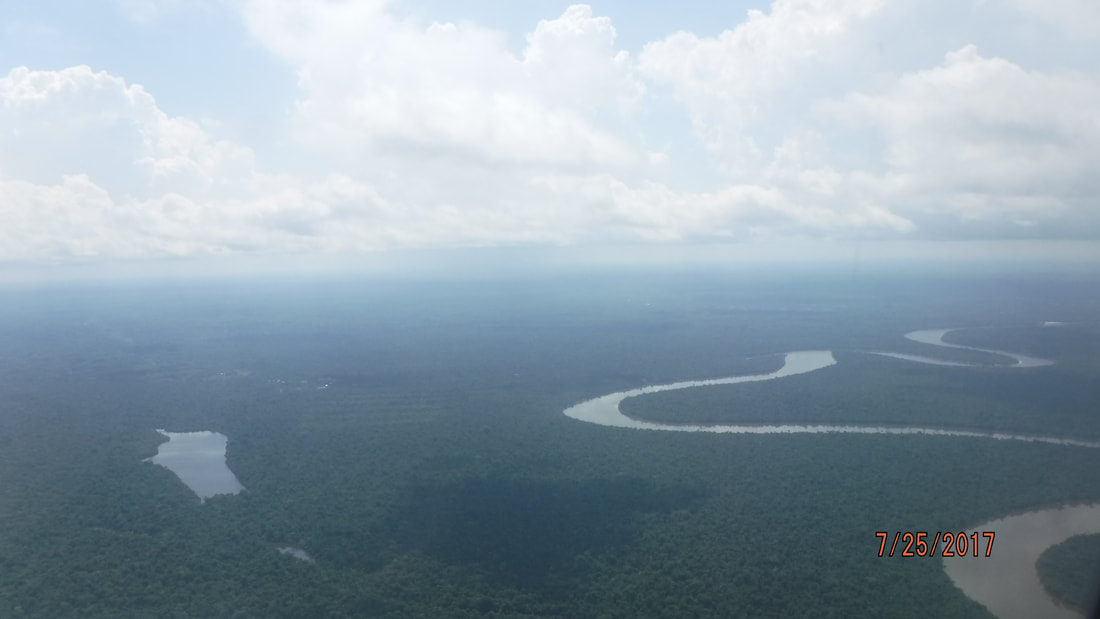
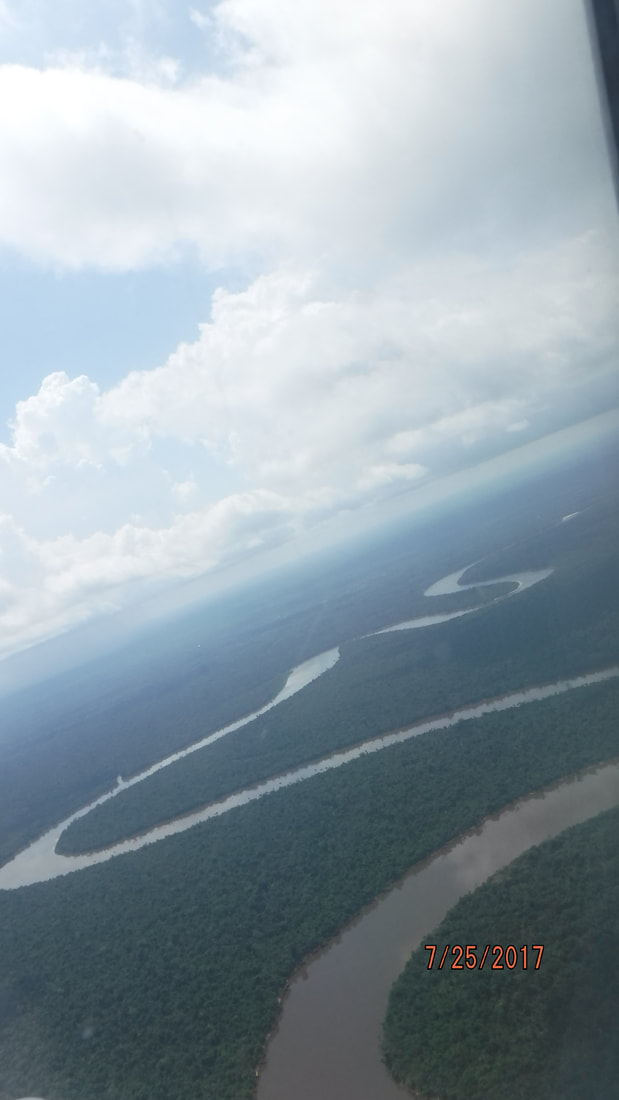
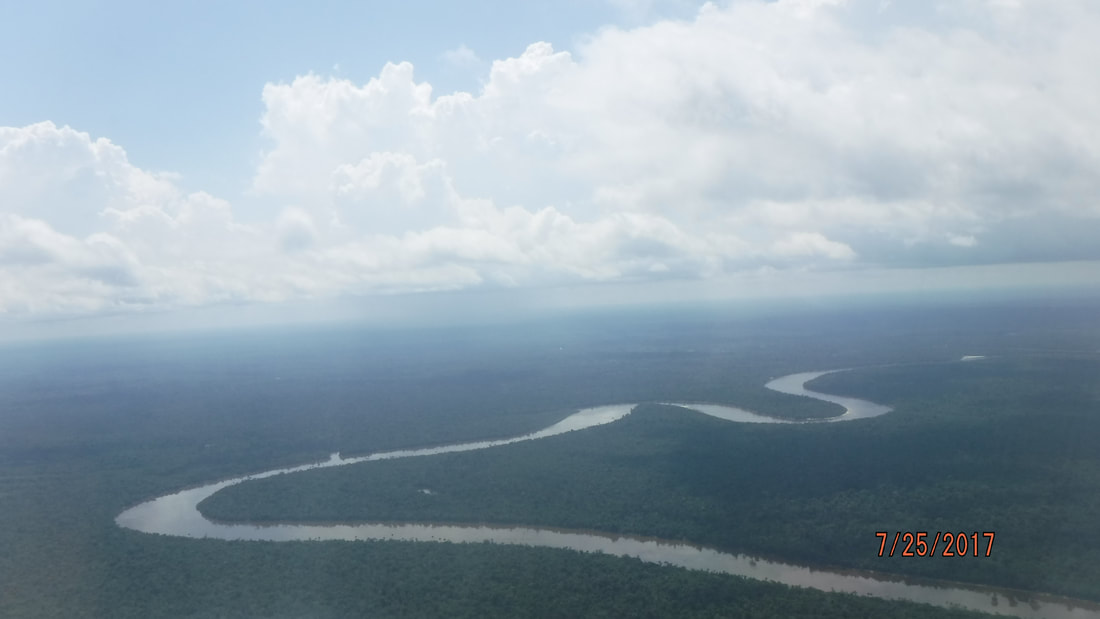
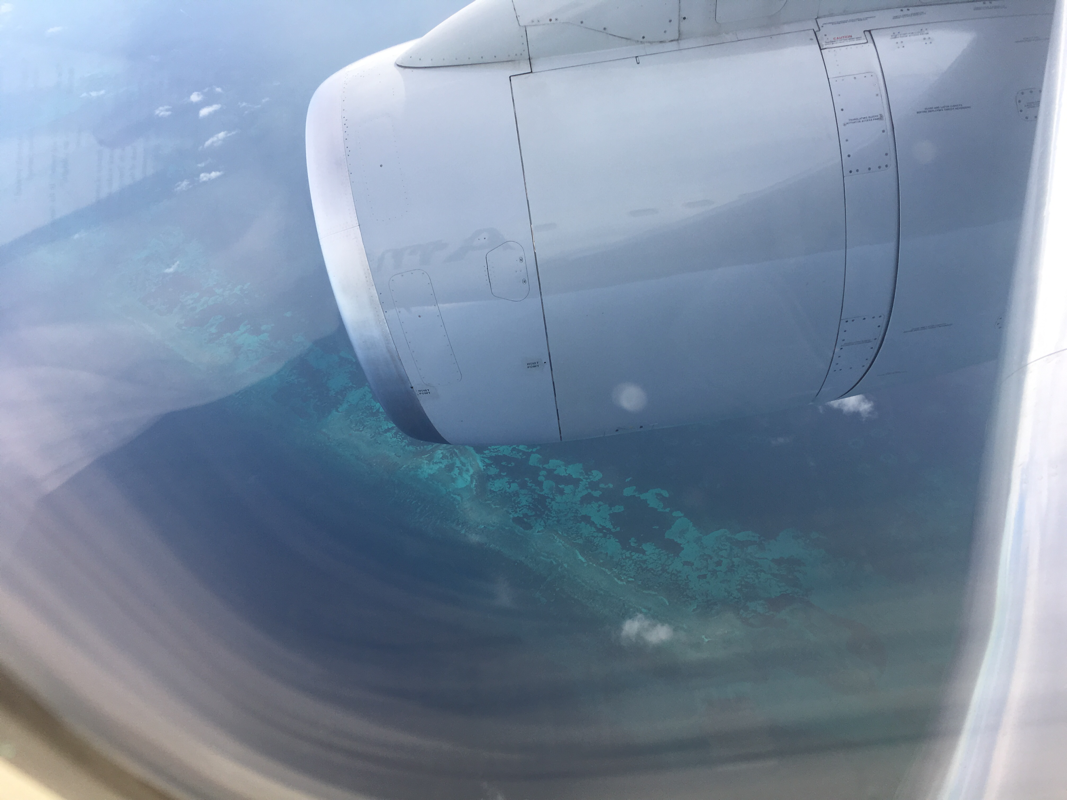
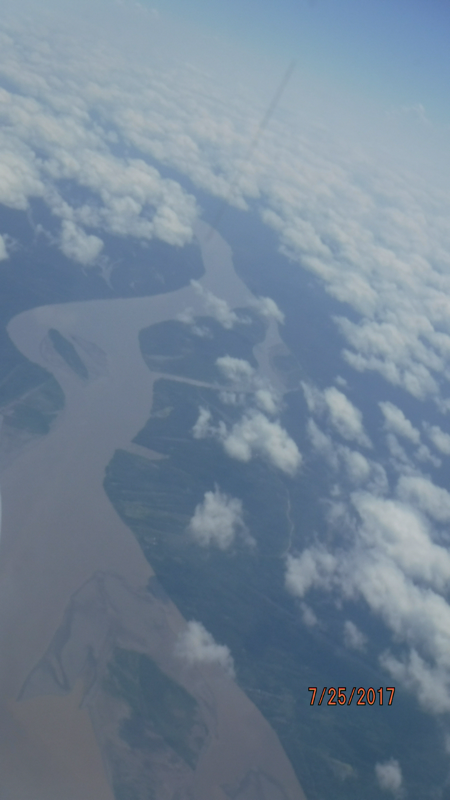
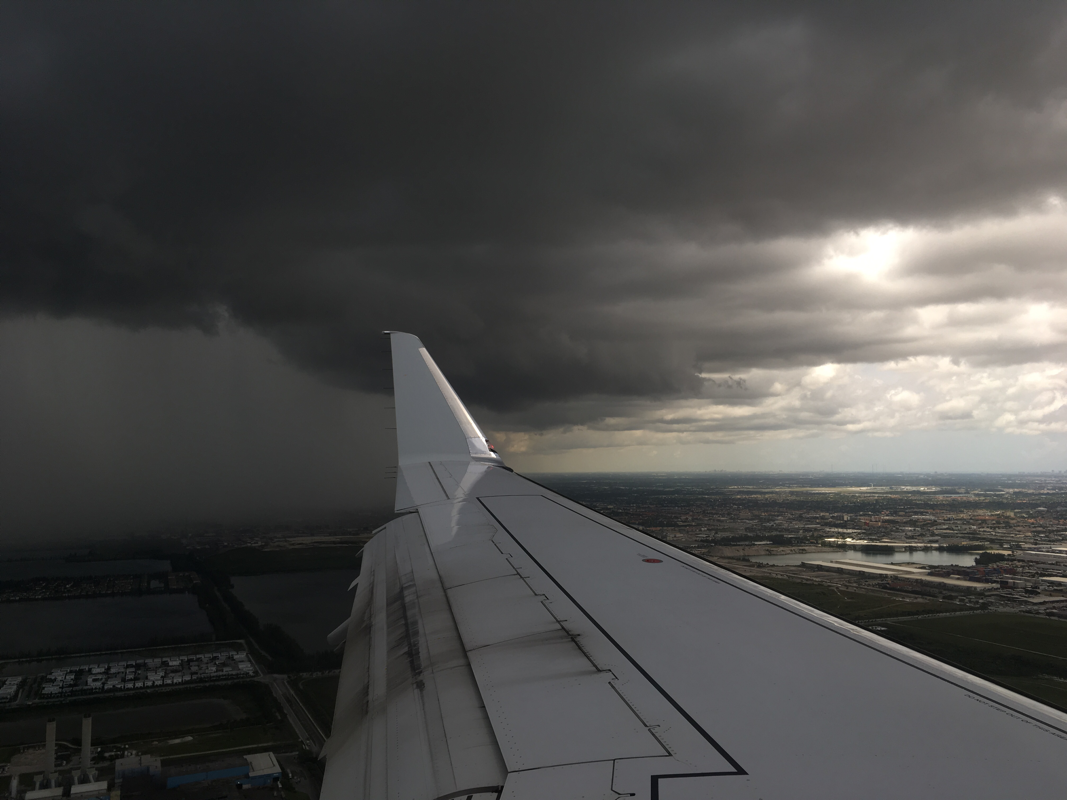
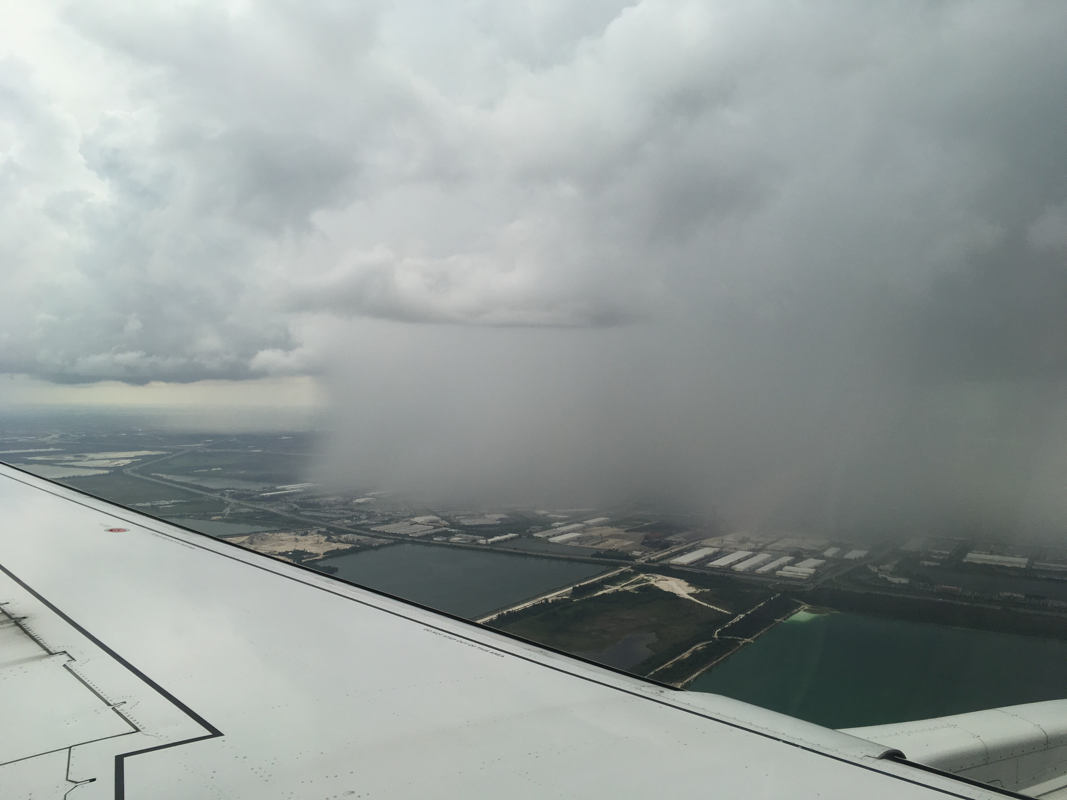
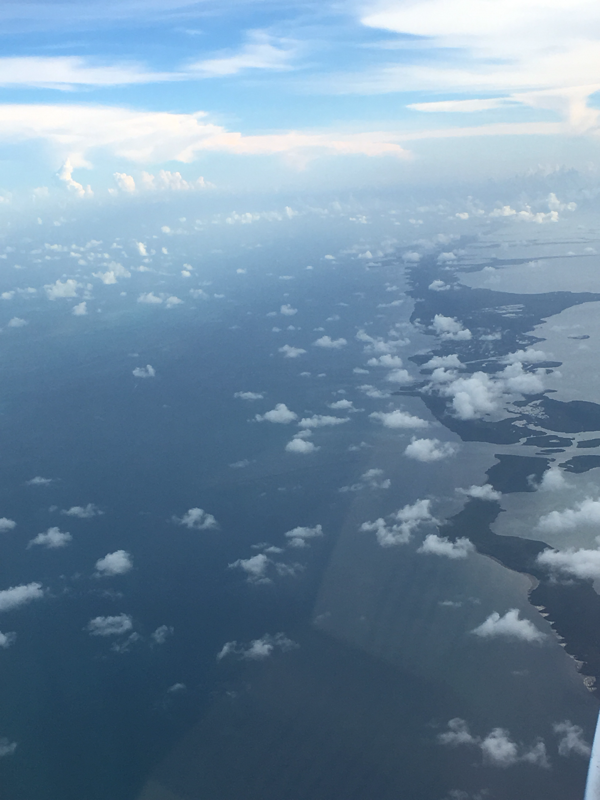
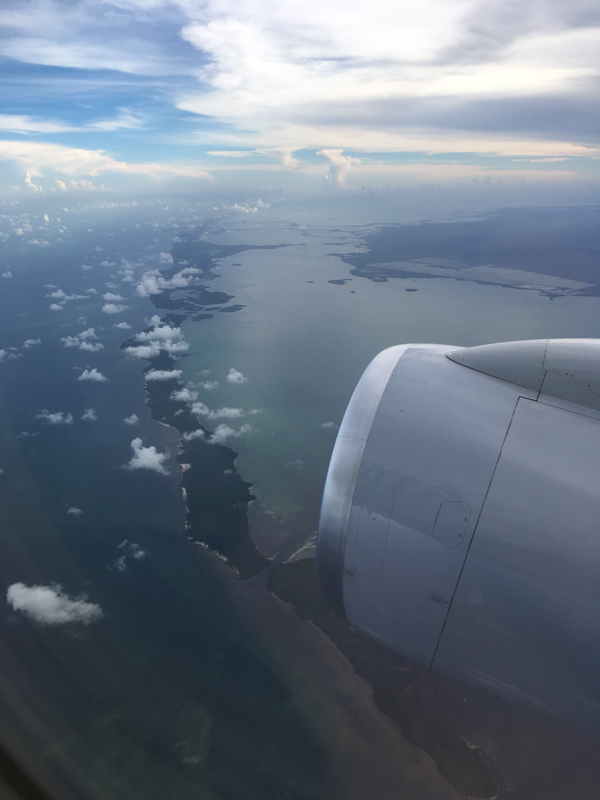
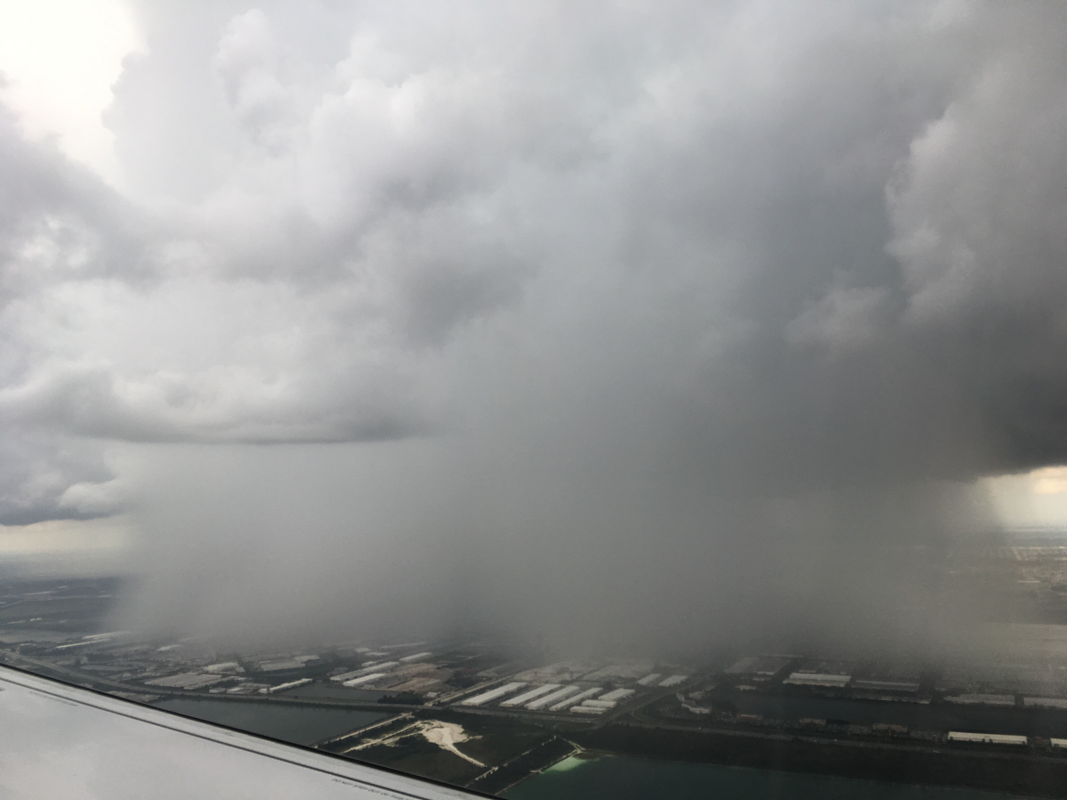
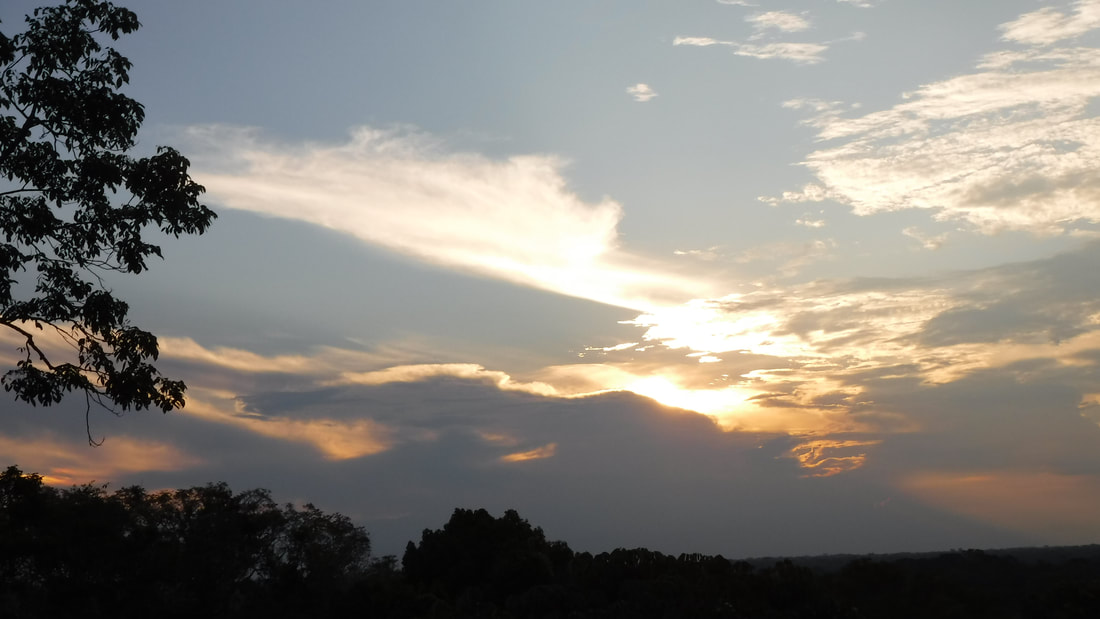
2) What will we see outside the window of the plane? What types of clouds? What geography and landforms will you see as you travel from Austin, Texas, to Miami, Florida, to Lima, Peru?
3) What is the water cycle? What is condensation? What form of condensation will you see outside the window?
4) What are the different types of clouds? What causes the different formations and shapes? Why are clouds important?
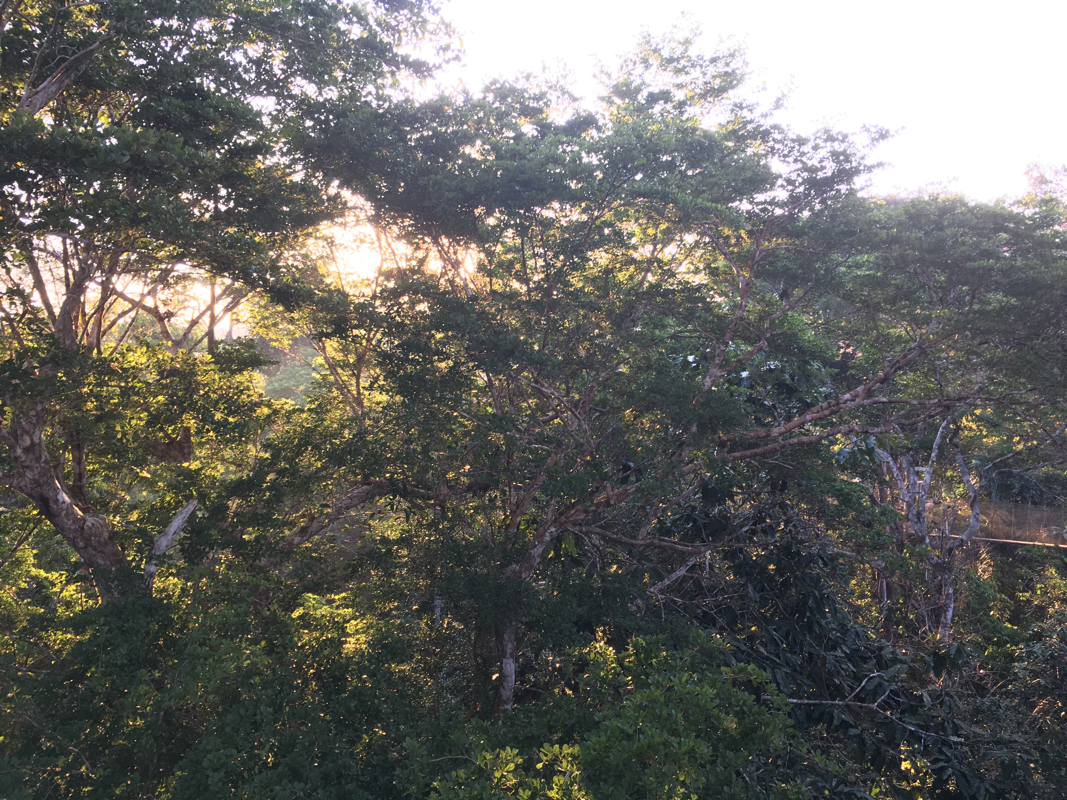
Homework Day 1: For homework, students must draw a picture of what they might see outside their window. They must also write a short paragraph about what they drew. (If they drew a sunset with clouds, they need to include information about that type of cloud, including the science behind it, and name. If they drew the Andes Mountains, then they need to include how mountains are formed, how old these mountains are, what is the weather like in the Andes... and so on. ) Students have the choice as to what they want to and think they would see outside the window and they have freedom to research what they like in regards to their picture.
Day 2: Students bring their pictures and share what they drew and what they studied with their small groups. Then they tape their pictures to the "windows" of the plane. Students show their passports to board the plane, and then find their seats. They sit in their seat, and the teacher plays a video of the front of a plane in the sky, so students can see what it is like to be in a plane. Then they look out the window and "travel" to Peru.
Objective: Students will "travel" around the world, using their imaginations, to experience a new place. Students will understand the water cycle and identify and study different types of clouds. Students will create their own passports, to use throughout the year as they explore the country and world, virtually.
TEKS: Science: water cycle, atmosphere, weather vs climate Geography: 7 continents, location of Peru, geography of Texas vs. Peruvian Amazon
Hook: Teacher create a model airplane in the classroom using chairs, cardboard, and projector and screen. Teacher will line up the chairs, like an airplane with aisles and rows. Teacher will create a 3D roof, with windows. The screen will be at the front of the "plane".
Lesson Plan: 2 DAYS
Day 1: Make Passports, Locate Peru, and Study Science and Geography in Texas and Peru:
After the teacher has set up the "airplane", students will enter the classroom, very excited about boarding a "plane" in the classroom. Students will make their passports, and look at maps to locate where Peru is in the world. Students will then study with small groups to focus on at least one of these string of questions:
1)Where is Peru? What is the geography like in Peru? What language do they speak?
2) What will we see outside the window of the plane? What types of clouds? What geography and landforms will you see as you travel from Austin, Texas, to Miami, Florida, to Lima, Peru?
3) What is the water cycle? What is condensation? What form of condensation will you see outside the window?
4) What are the different types of clouds? What causes the different formations and shapes? Why are clouds important?
Homework Day 1: For homework, students must draw a picture of what they might see outside their window. They must also write a short paragraph about what they drew. (If they drew a sunset with clouds, they need to include information about that type of cloud, including the science behind it, and name. If they drew the Andes Mountains, then they need to include how mountains are formed, how old these mountains are, what is the weather like in the Andes... and so on. ) Students have the choice as to what they want to and think they would see outside the window and they have freedom to research what they like in regards to their picture.
Day 2: Students bring their pictures and share what they drew and what they studied with their small groups. Then they tape their pictures to the "windows" of the plane. Students show their passports to board the plane, and then find their seats. They sit in their seat, and the teacher plays a video of the front of a plane in the sky, so students can see what it is like to be in a plane. Then they look out the window and "travel" to Peru.


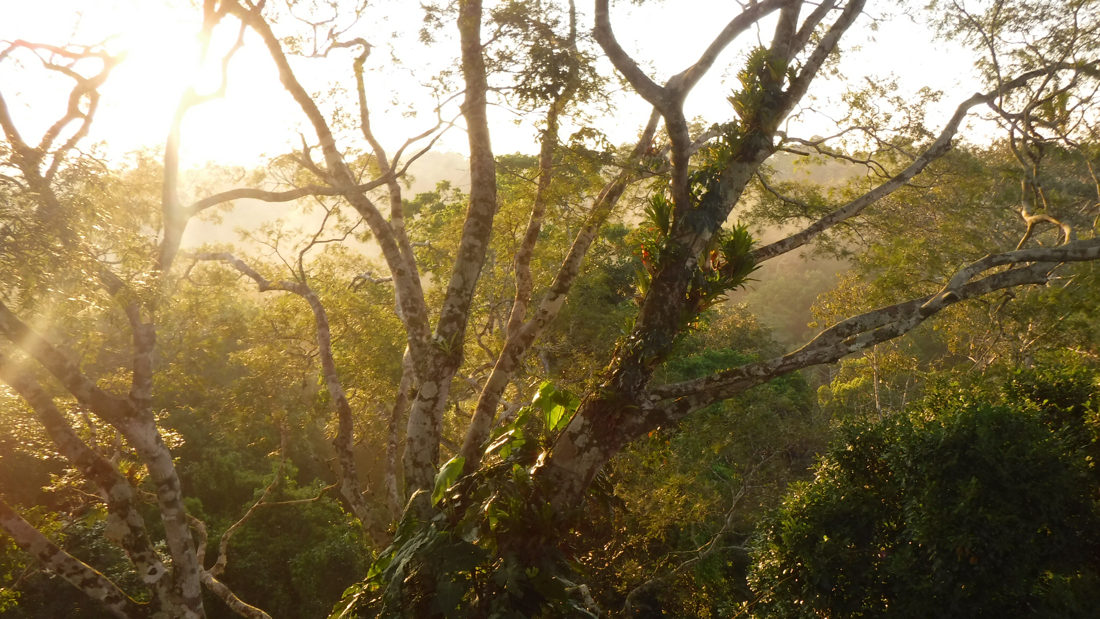
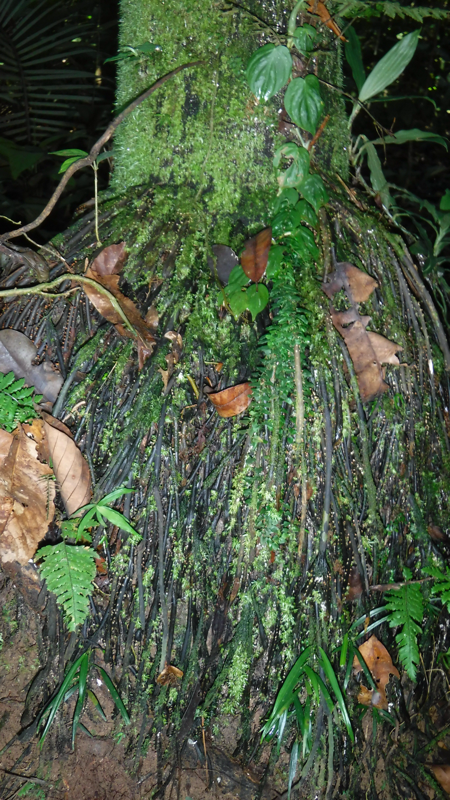
2. Epiphyte Experiment
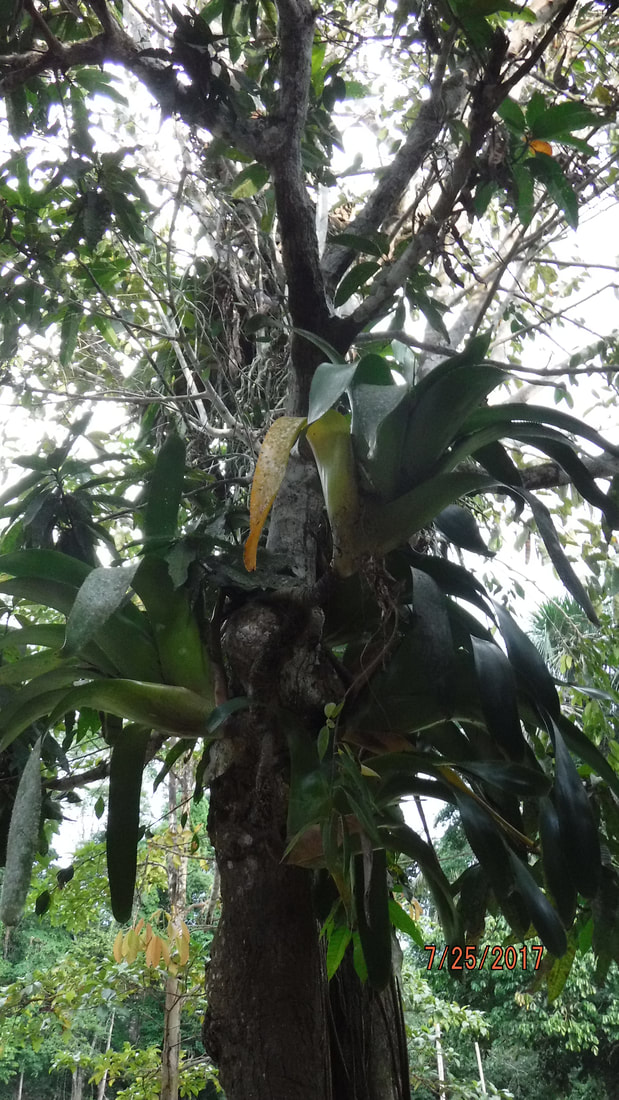
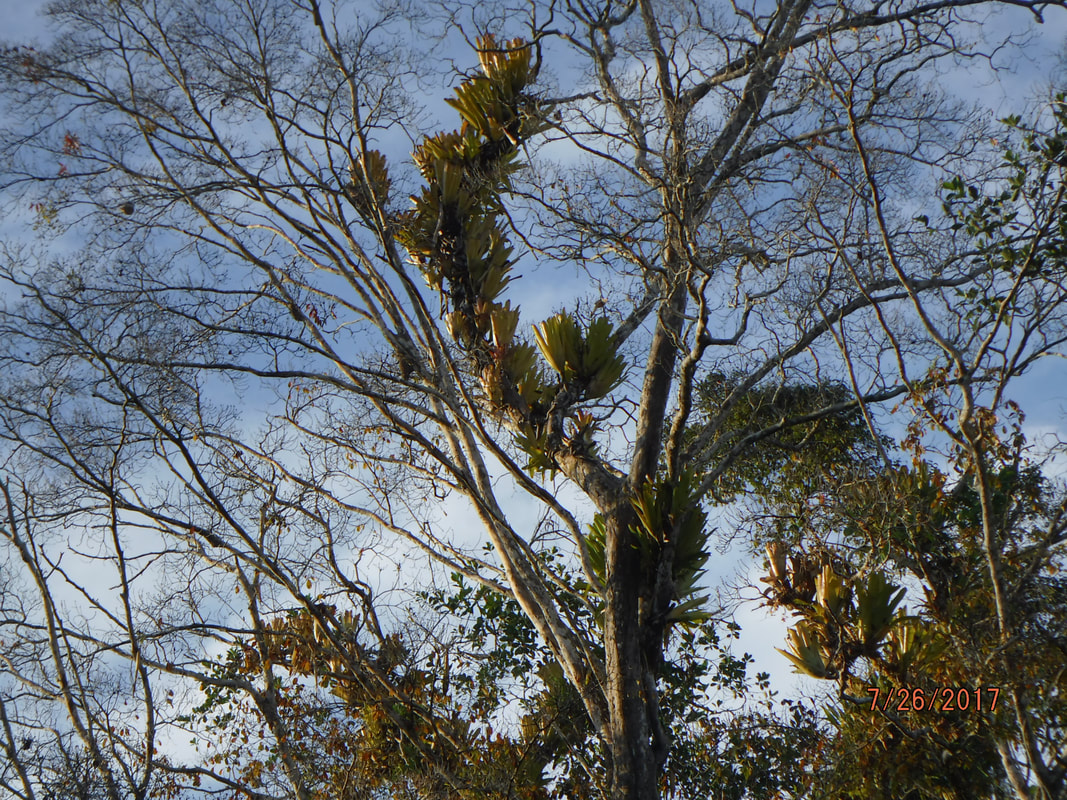
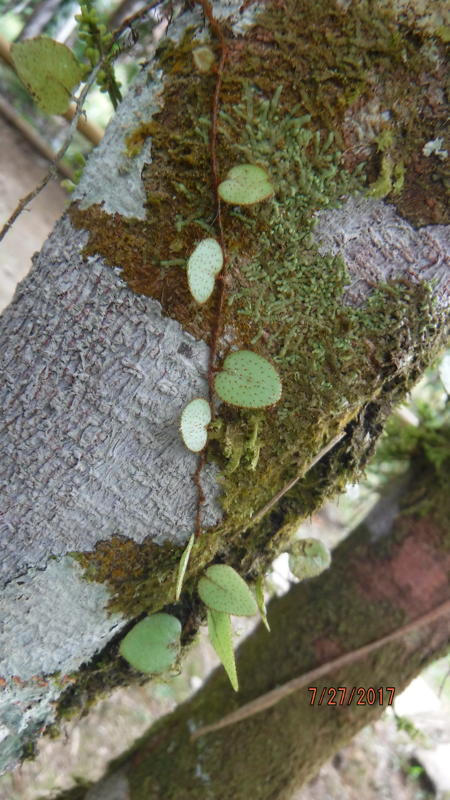
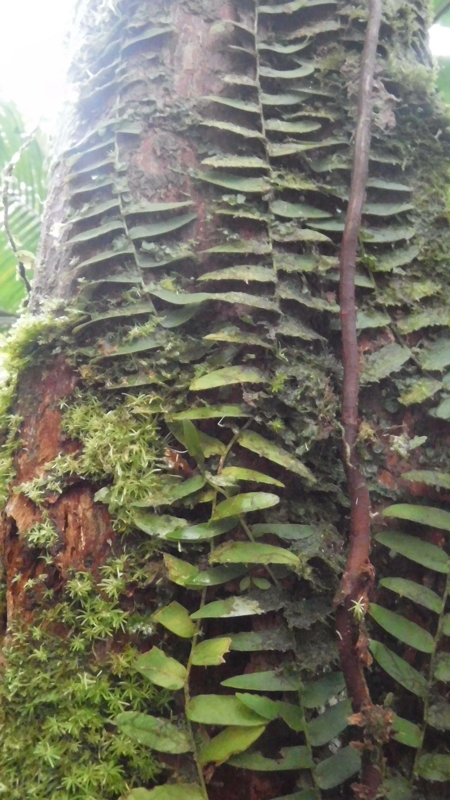
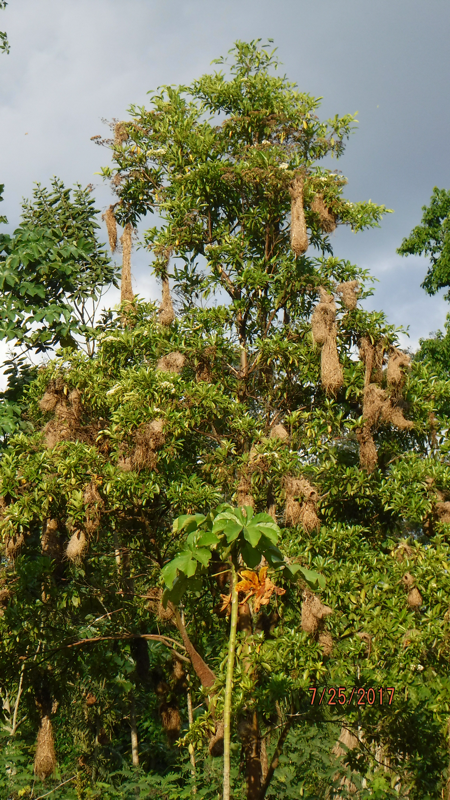
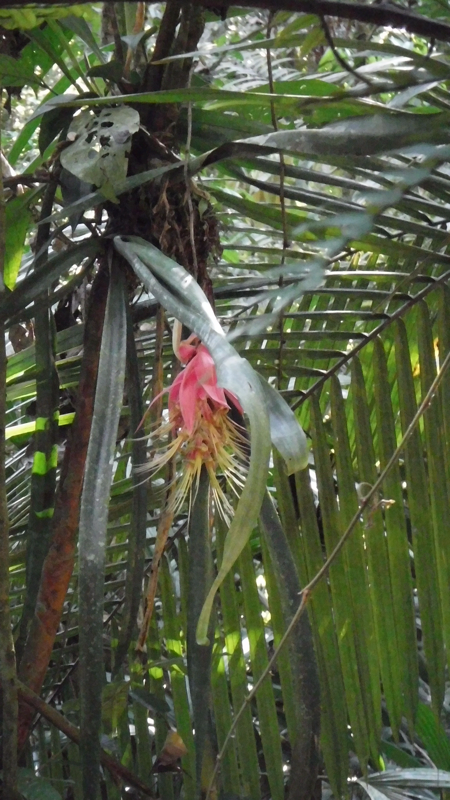
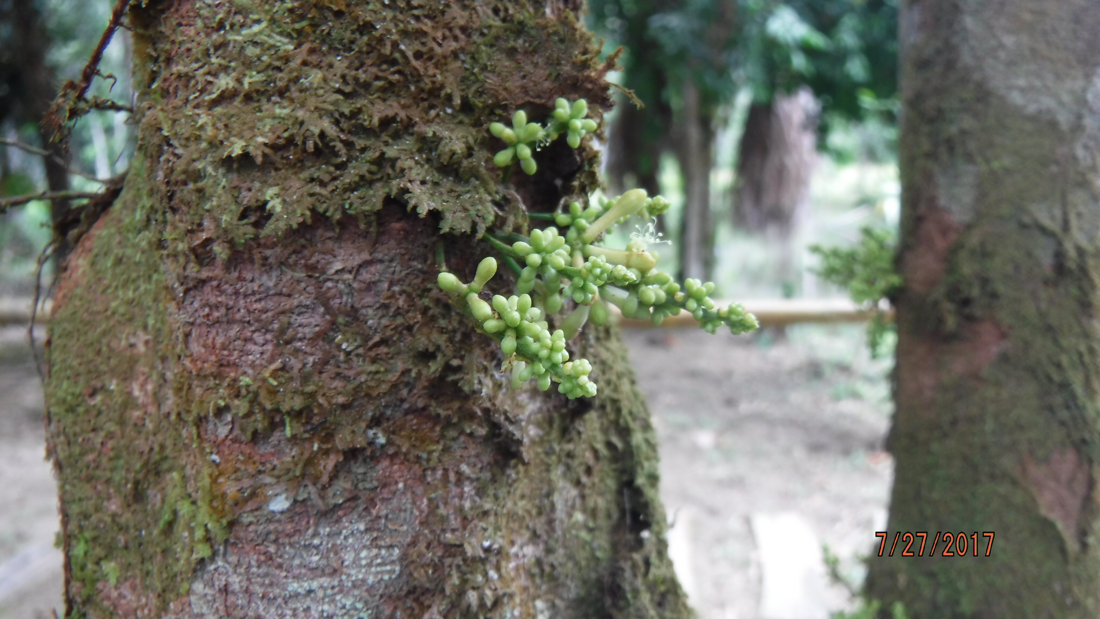
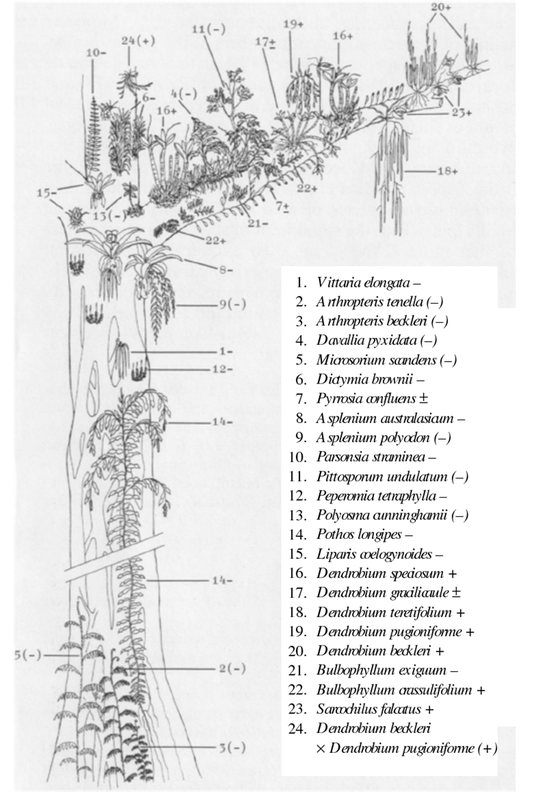
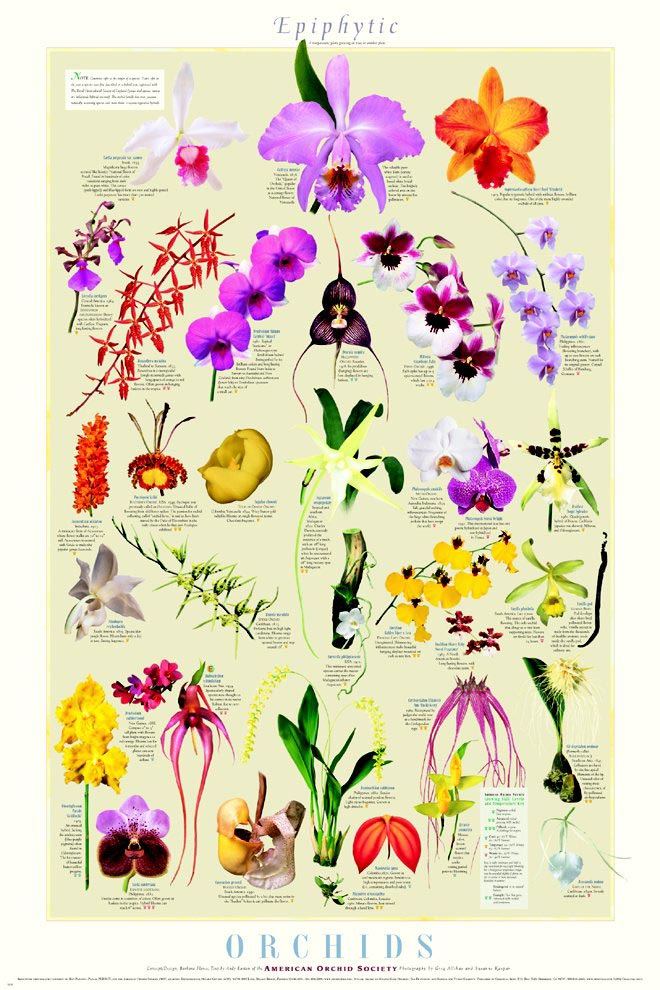
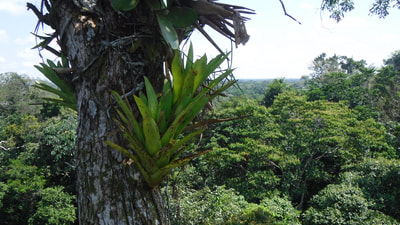
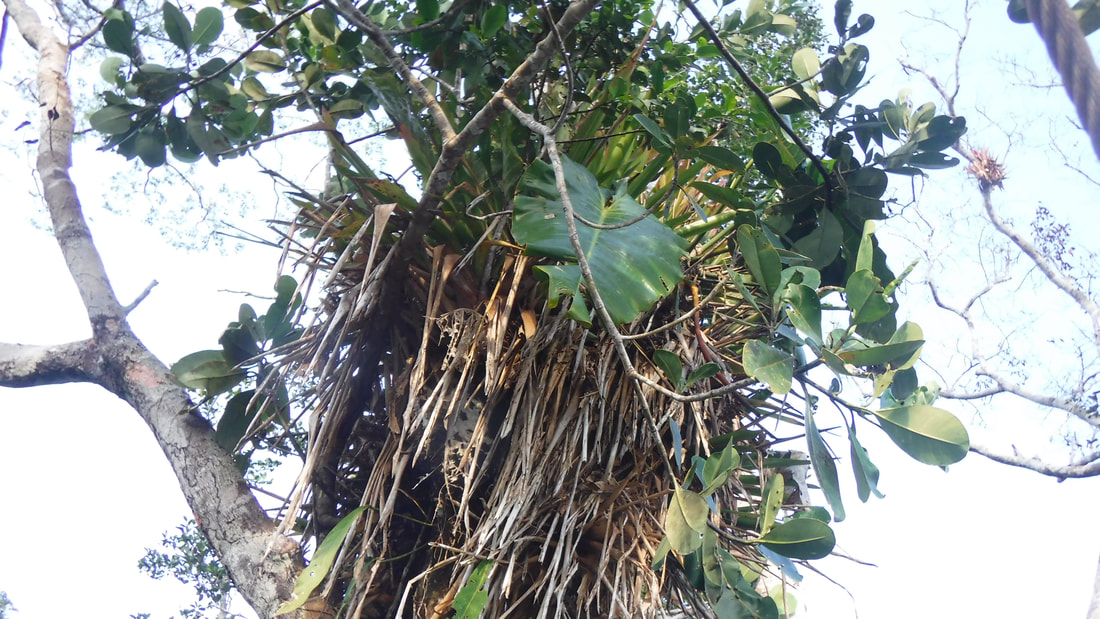
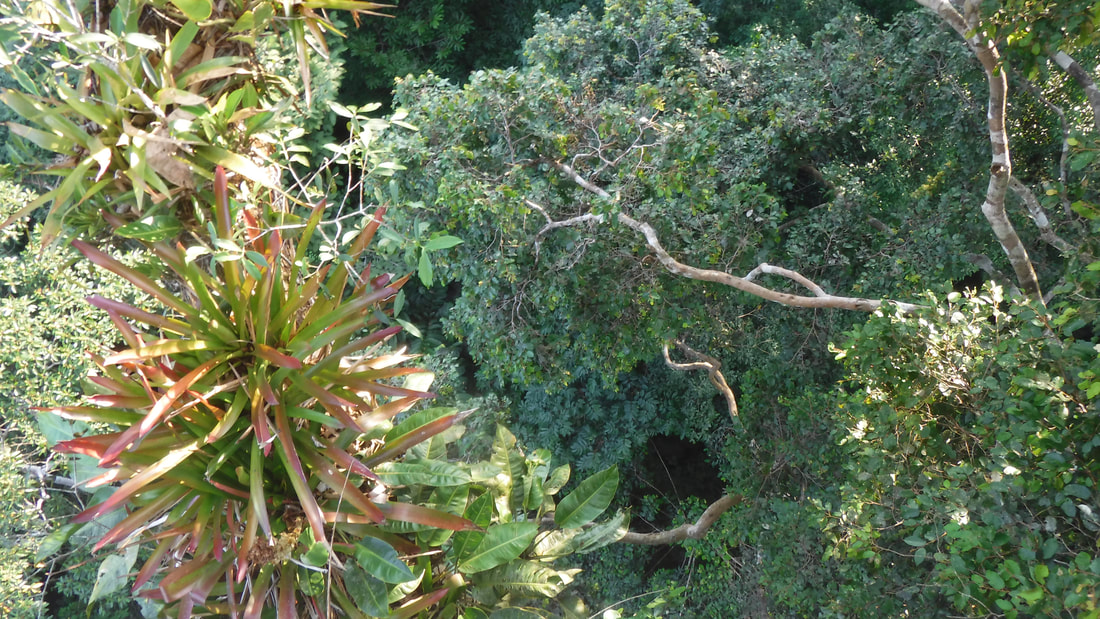
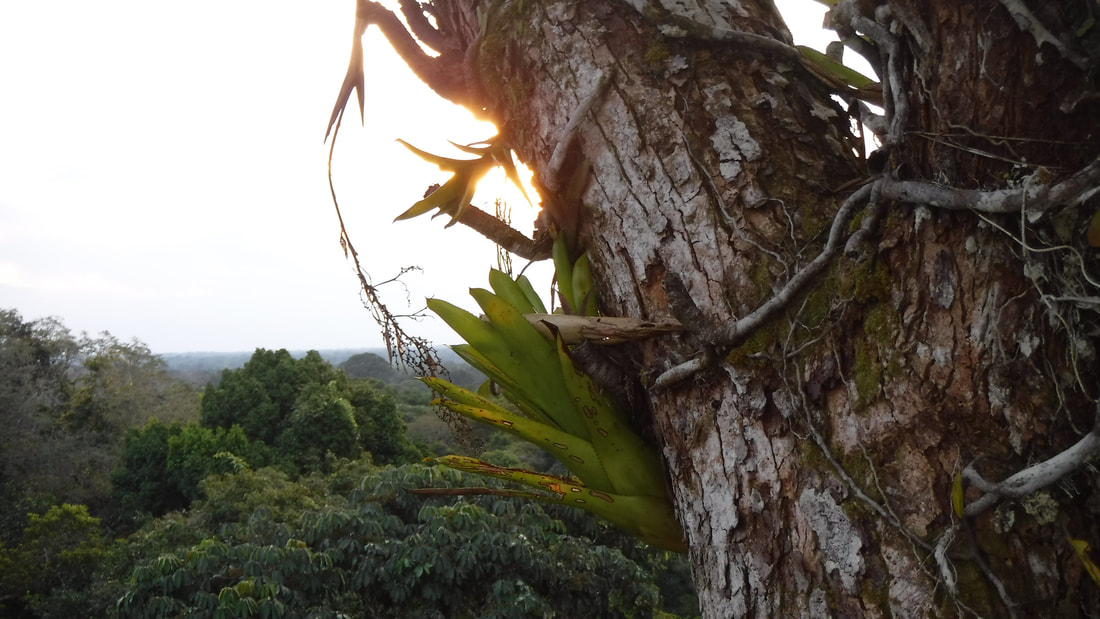
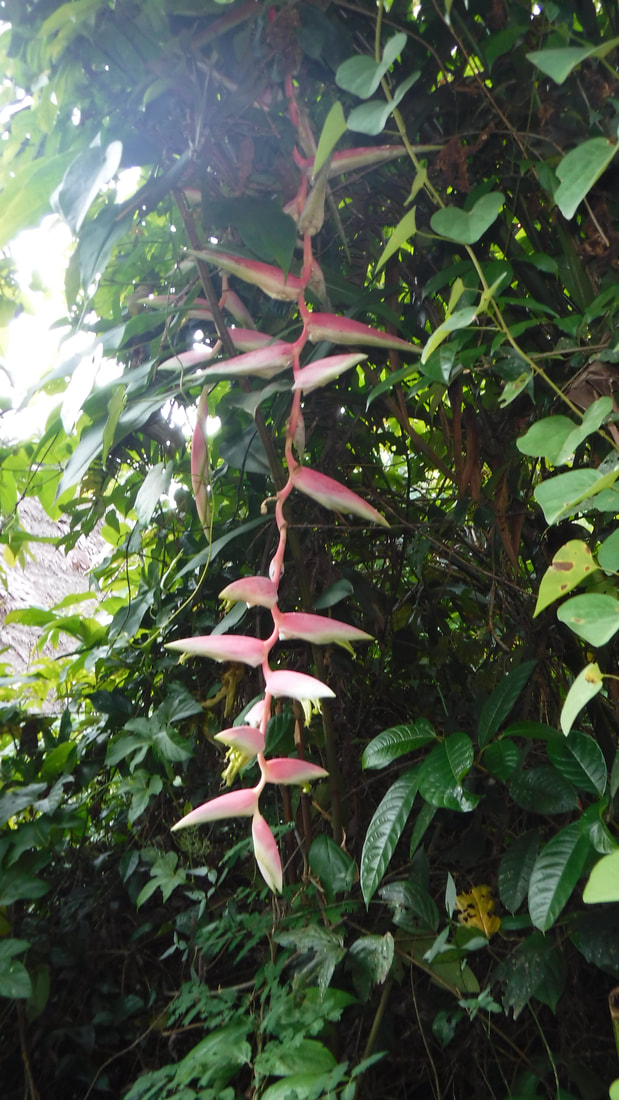
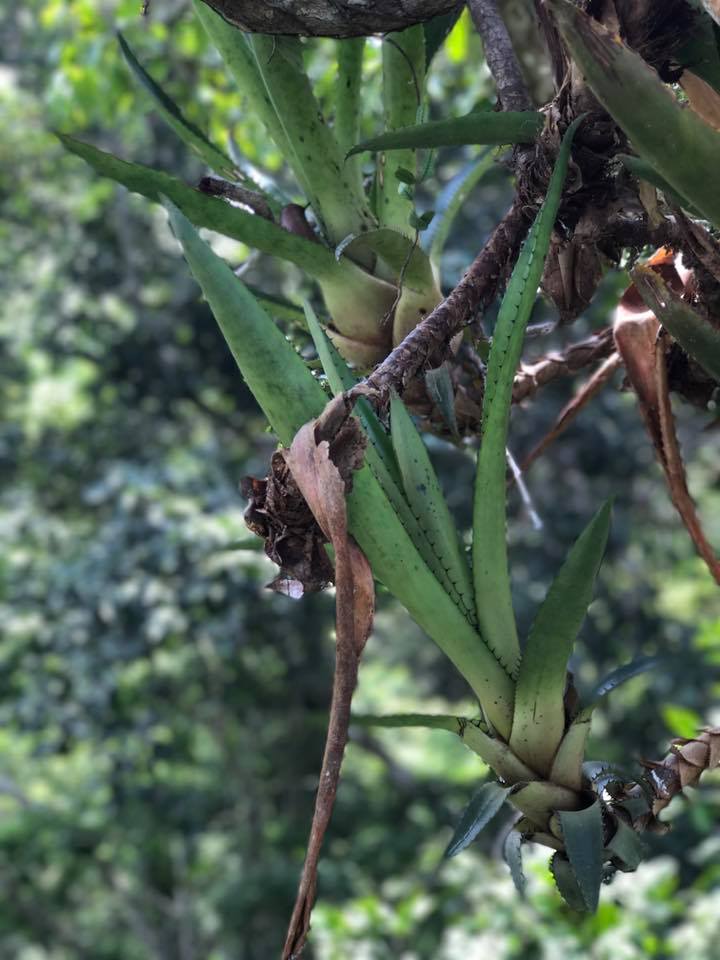
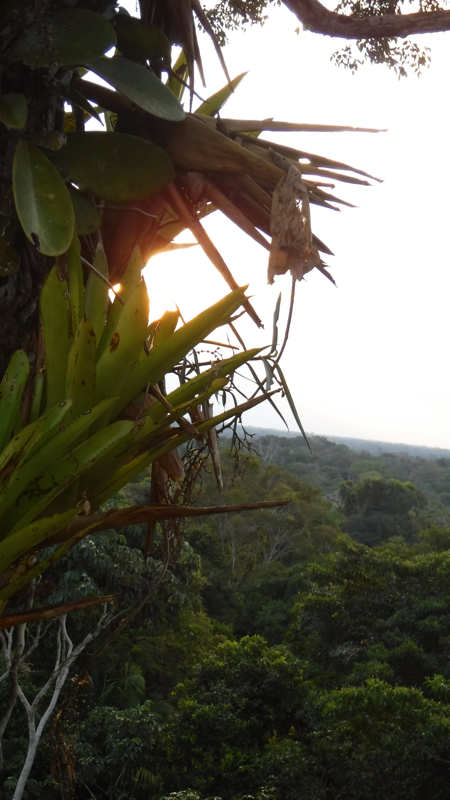
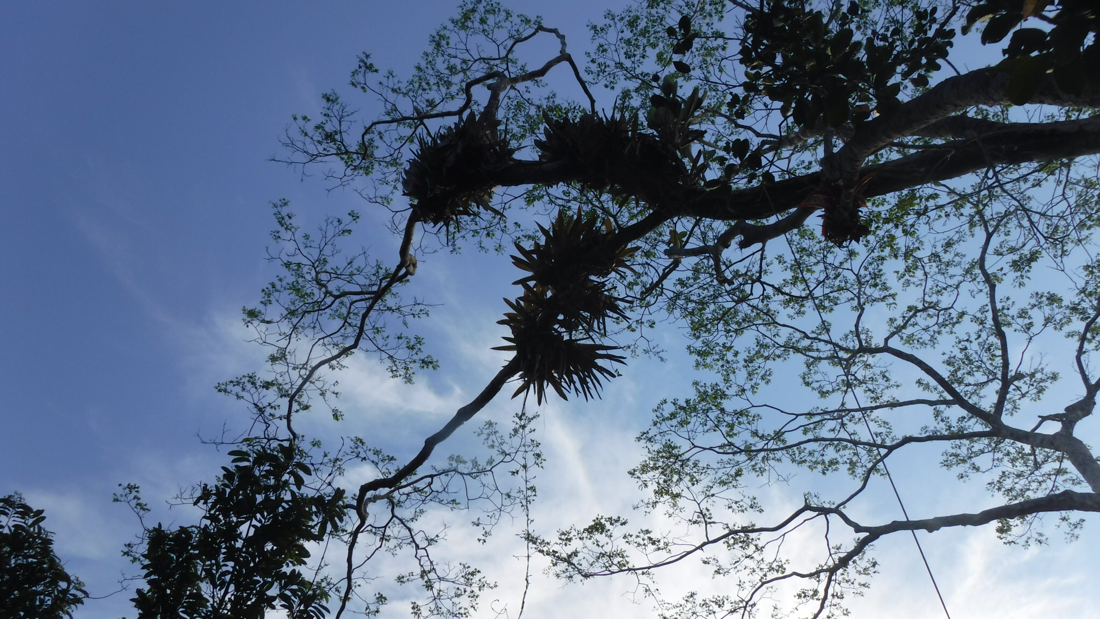
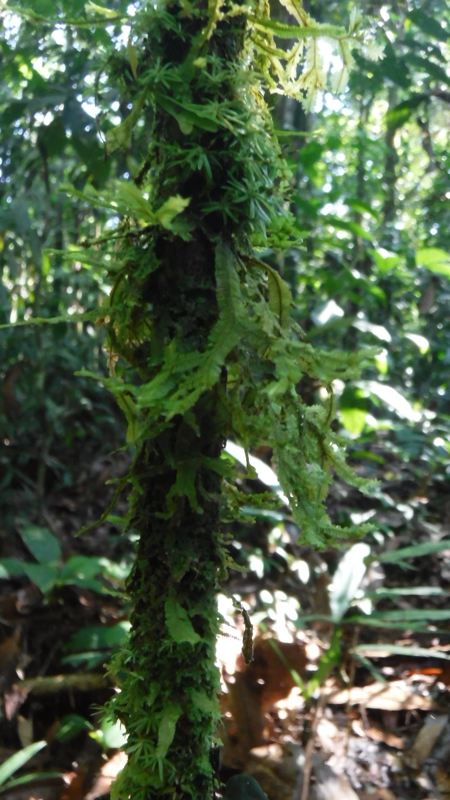
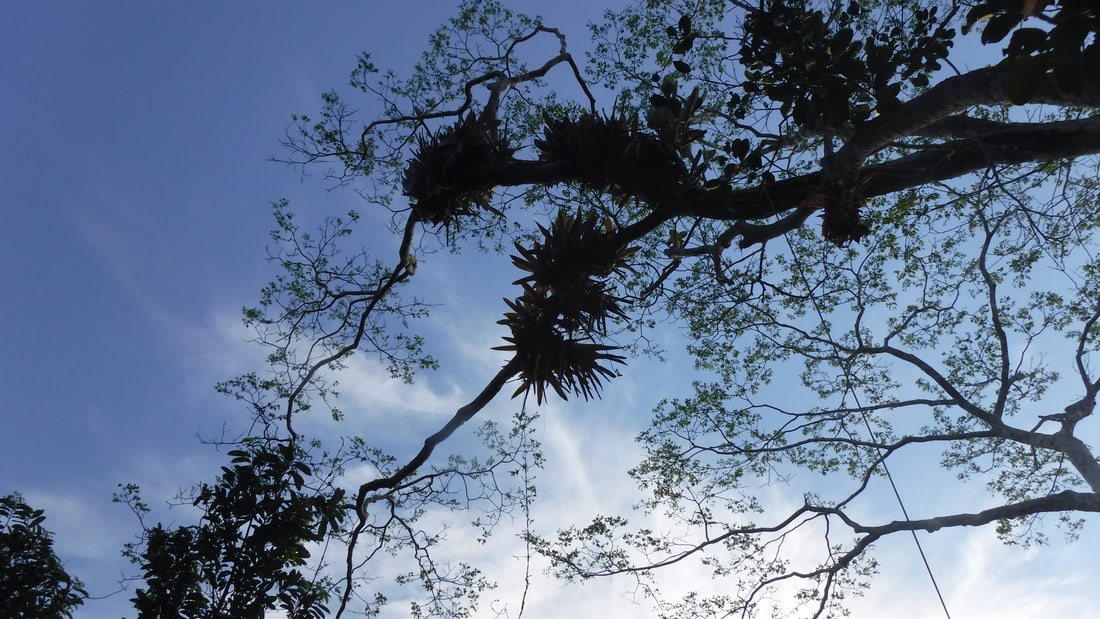
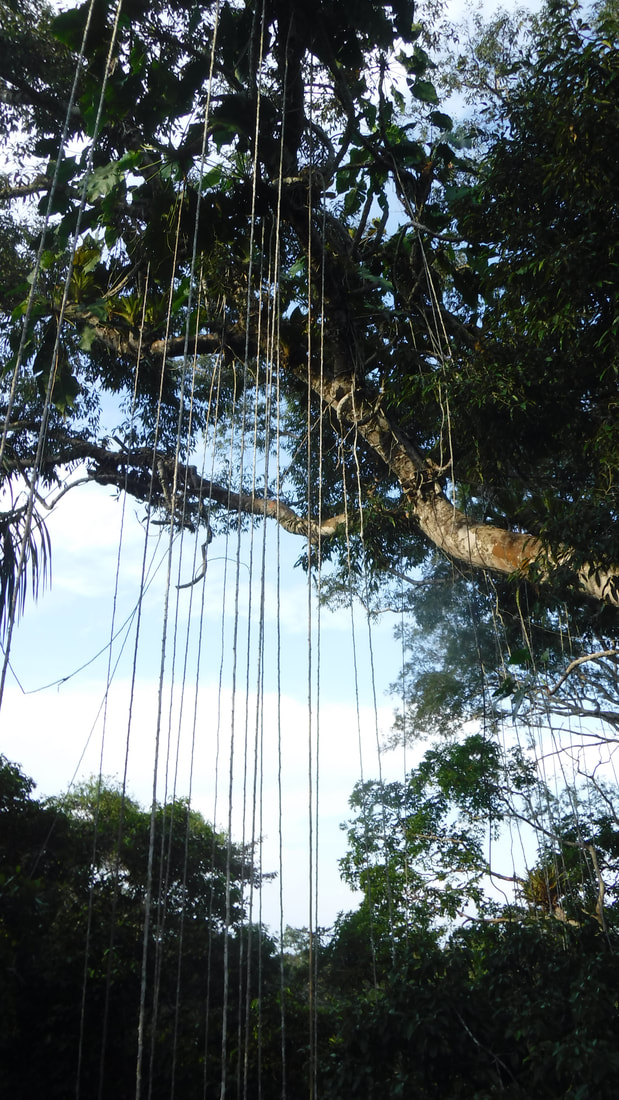
Background Information: Epiphytes are air plants, that live in host plants. Epiphytes have a symbiotic relationship with their host trees. Examples of epiphytes are bromeliads or orchids. Many epiphytes collect water, acting as a water well for insects and animals and even become an ecosystem, housing a variety of insects.
About Epiphytes and list of types
Epiphyte Guide
Difference between epiphytes and parasitic air plants
Texas Epiphytes and Parasites (not all of these listed are actually parasites, but good list of plants to identify)
Epiphytes and other air plants and lichens in Texas
Plants in the Amazon
Pictures of Bromeliads
Pictures of Orchids
Objective: Students will use the scientific method to study the effects of pollutants on water collected in epiphytes. Students will understand the water cycle, identify plant and insect species, and study the relationship between living and non-living things.
TEKS: scientific method, fair experiment, variables and constants, water cycle, plant adaptations, ecology, sun, photosynthesis, energy transfer
Hook: Show pictures and videos of different epiphytes and the wide variety of life that it hosts.
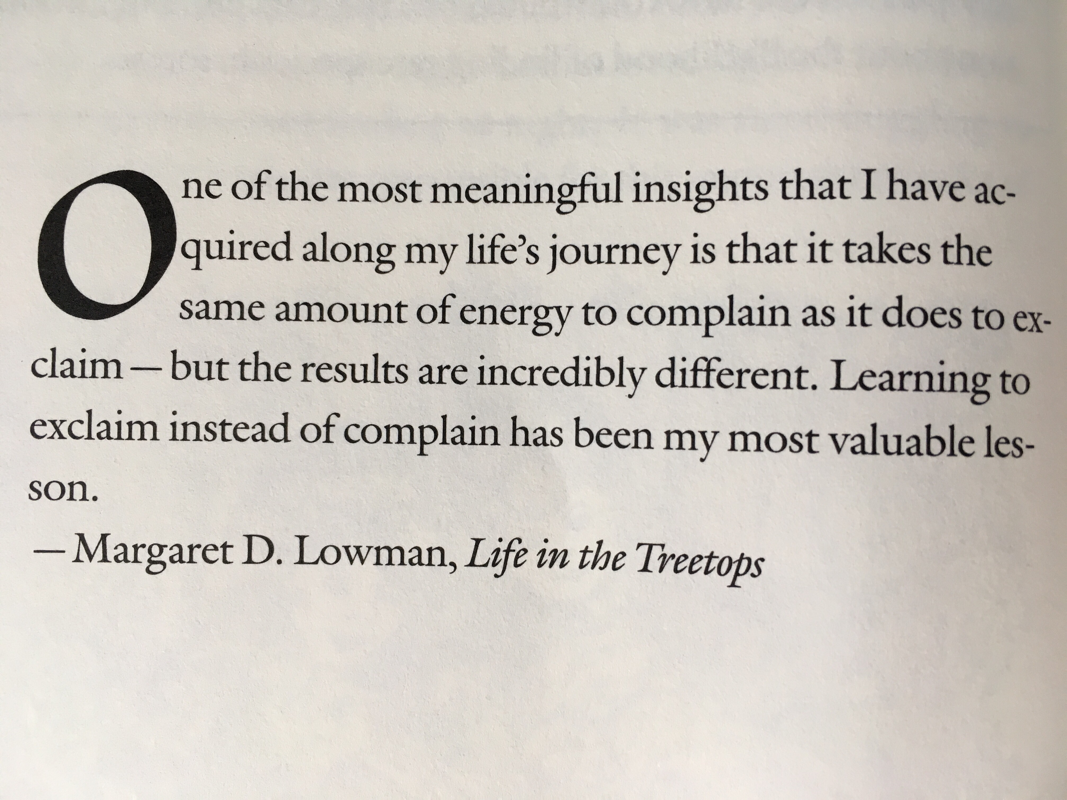
Read excerpt from Dr. Meg Lowman's book about this experiment. Her boys did a similar experiment while they were in the Amazon and Australia.
Lesson Plan: Teacher places epiphytes on the middle of the table (orchid, bromeliad, pitcher plants). Students write down observations using their five senses. (microscopes, magnifying glasses, graph paper, ruler are all available). Then teacher explains the experiment with students: Students will cut solo cups in half, to act as epiphytes. They will pour water into their cup "epiphytes" and choose a plant or tree to place the cup outside. Each group will have one cup with only water in it, and two other cups with two pollutants of their choosing (bleach, soap, lotion, hairspray...) . The students will keep a log of the activity in their cups over the course of one month. The goal is for the students to study the biodiversity in the epiphyte. Does the pollutant increase or decrease the number of insects that live and/or die in the epiphyte? After one month of observation and study, students will summarize their findings and what further study may need to occur. (Teacher must reiterate the importance of consistency, fair experiments, only one variable and all the rest constants.) The focus is two fold 1) scientific method and fair experiment 2) study of ecology (how living and non-living things interact)
Note to teachers: You may want to write your principal, asking for permission on this experiment. Here is what I wrote ( you are welcome to copy and paste if you like.)
Dear _____________-
I would like my kids to conduct a 6 week experiment on the biodiversity found in epiphytes on the playground. Epiphytes are plants that live in host trees. They have a symbiotic relationship with the host tree. Examples include bromeliads, orchids, and other air plants. I want my kids to use plastic solo cups to mimic epiphytes. I want them to observe the biodiversity found in the cups over the course of 6 weeks. They will check each week, and identify the arthropods found living or dead in the cups, or "epiphytes". They will have one variable (the type of pollutant in each cup: salt water, detergent, fertilizer, and a control, just water). They are going to ask the experimental question: "Do pollutants affect the biodiversity found in epiphytes?" Since I'm teaching about variables and constants tomorrow, I'd love to pose this question to them, so they can identify the variable and constants in this experimental question, and then scout out where they are going to house their "epiphytes". I do however, think I need to ask permission to do this, because this experiment entails tacking, or lightly nailing solo cups (that are cut in half) to some trees on the playground. Is this okay? I wanted to double check before I introduced the experiment to the kids tomorrow. It won't hurt the trees at all. I just wanted to make sure all was good before proceeding.
Tomorrow, I would just be introducing the experiment, having them identify the variable and constants, and then scouting out their location for their "epiphyte". They will be working in groups, so there would only be a total of 12 cups on the playground in the trees.
For more specifics, you can email Hannah for additional info and lesson plans.
About Epiphytes and list of types
Epiphyte Guide
Difference between epiphytes and parasitic air plants
Texas Epiphytes and Parasites (not all of these listed are actually parasites, but good list of plants to identify)
Epiphytes and other air plants and lichens in Texas
Plants in the Amazon
Pictures of Bromeliads
Pictures of Orchids
Objective: Students will use the scientific method to study the effects of pollutants on water collected in epiphytes. Students will understand the water cycle, identify plant and insect species, and study the relationship between living and non-living things.
TEKS: scientific method, fair experiment, variables and constants, water cycle, plant adaptations, ecology, sun, photosynthesis, energy transfer
Hook: Show pictures and videos of different epiphytes and the wide variety of life that it hosts.
Read excerpt from Dr. Meg Lowman's book about this experiment. Her boys did a similar experiment while they were in the Amazon and Australia.
Lesson Plan: Teacher places epiphytes on the middle of the table (orchid, bromeliad, pitcher plants). Students write down observations using their five senses. (microscopes, magnifying glasses, graph paper, ruler are all available). Then teacher explains the experiment with students: Students will cut solo cups in half, to act as epiphytes. They will pour water into their cup "epiphytes" and choose a plant or tree to place the cup outside. Each group will have one cup with only water in it, and two other cups with two pollutants of their choosing (bleach, soap, lotion, hairspray...) . The students will keep a log of the activity in their cups over the course of one month. The goal is for the students to study the biodiversity in the epiphyte. Does the pollutant increase or decrease the number of insects that live and/or die in the epiphyte? After one month of observation and study, students will summarize their findings and what further study may need to occur. (Teacher must reiterate the importance of consistency, fair experiments, only one variable and all the rest constants.) The focus is two fold 1) scientific method and fair experiment 2) study of ecology (how living and non-living things interact)
Note to teachers: You may want to write your principal, asking for permission on this experiment. Here is what I wrote ( you are welcome to copy and paste if you like.)
Dear _____________-
I would like my kids to conduct a 6 week experiment on the biodiversity found in epiphytes on the playground. Epiphytes are plants that live in host trees. They have a symbiotic relationship with the host tree. Examples include bromeliads, orchids, and other air plants. I want my kids to use plastic solo cups to mimic epiphytes. I want them to observe the biodiversity found in the cups over the course of 6 weeks. They will check each week, and identify the arthropods found living or dead in the cups, or "epiphytes". They will have one variable (the type of pollutant in each cup: salt water, detergent, fertilizer, and a control, just water). They are going to ask the experimental question: "Do pollutants affect the biodiversity found in epiphytes?" Since I'm teaching about variables and constants tomorrow, I'd love to pose this question to them, so they can identify the variable and constants in this experimental question, and then scout out where they are going to house their "epiphytes". I do however, think I need to ask permission to do this, because this experiment entails tacking, or lightly nailing solo cups (that are cut in half) to some trees on the playground. Is this okay? I wanted to double check before I introduced the experiment to the kids tomorrow. It won't hurt the trees at all. I just wanted to make sure all was good before proceeding.
Tomorrow, I would just be introducing the experiment, having them identify the variable and constants, and then scouting out their location for their "epiphyte". They will be working in groups, so there would only be a total of 12 cups on the playground in the trees.
For more specifics, you can email Hannah for additional info and lesson plans.

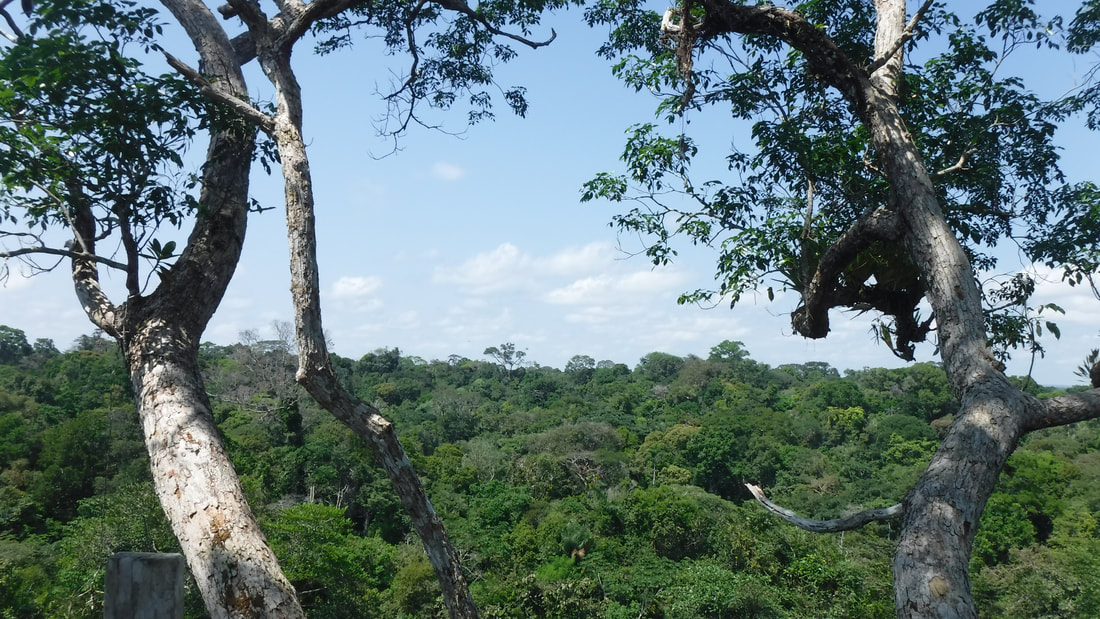
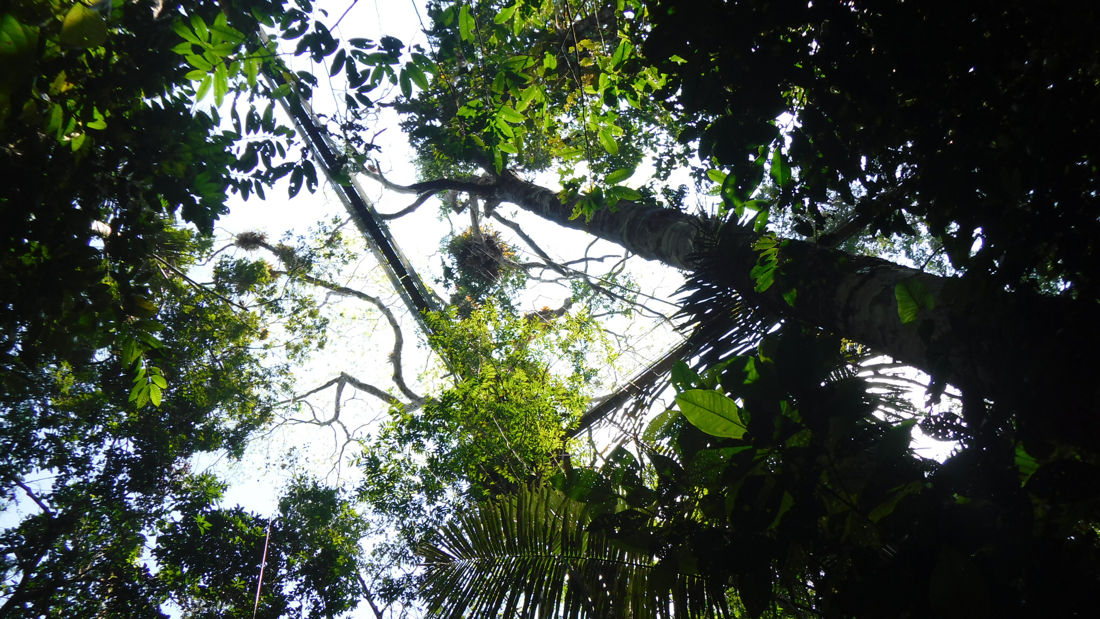


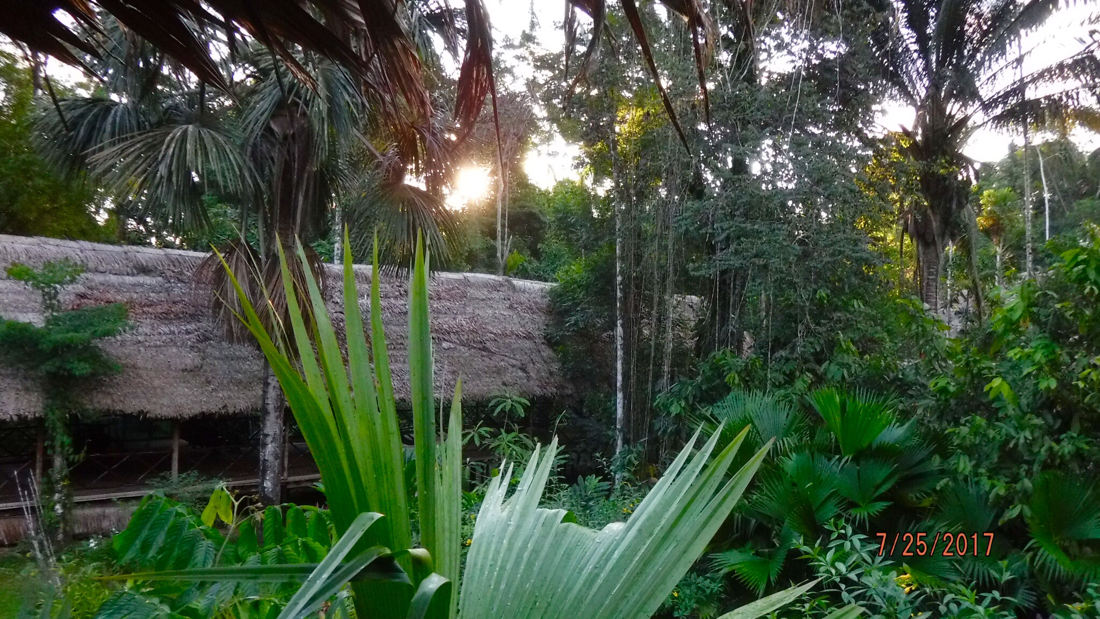
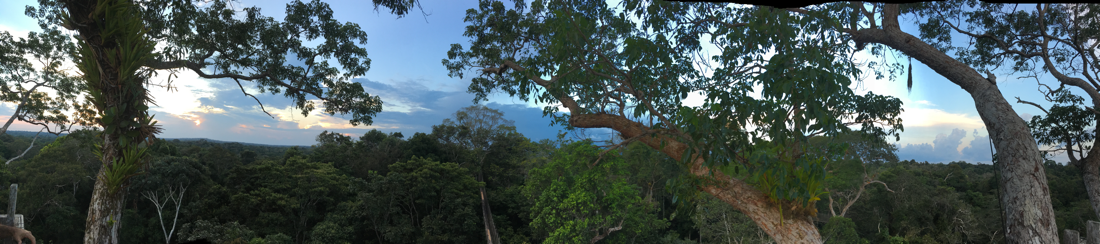
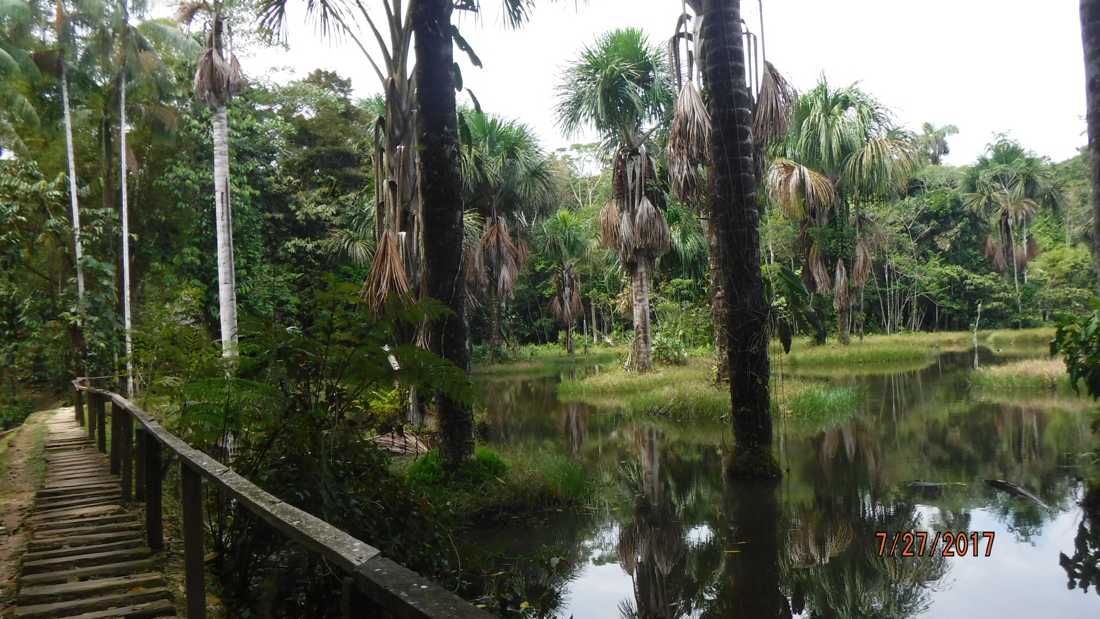
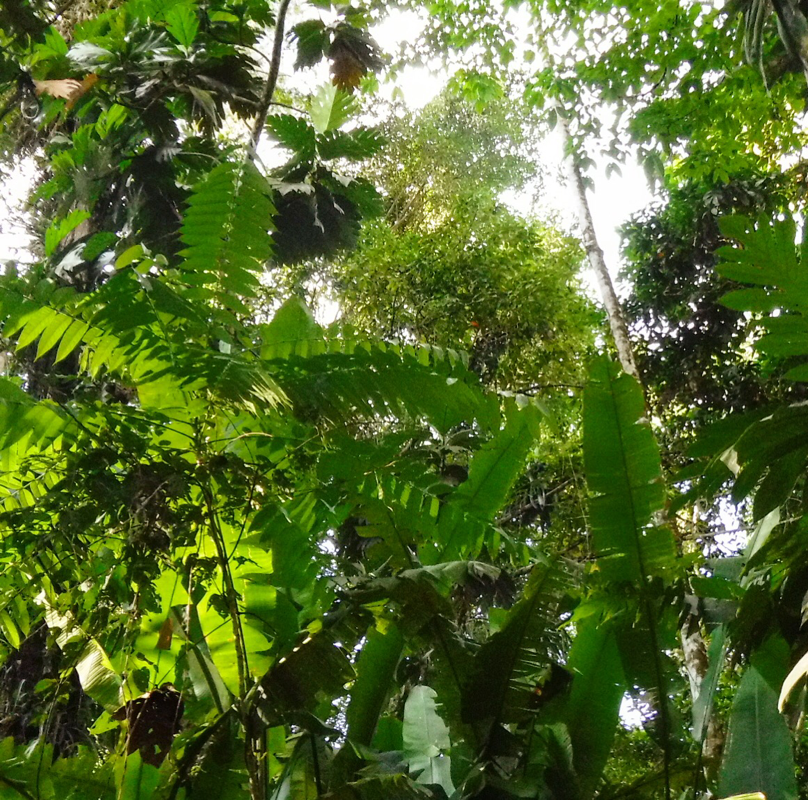
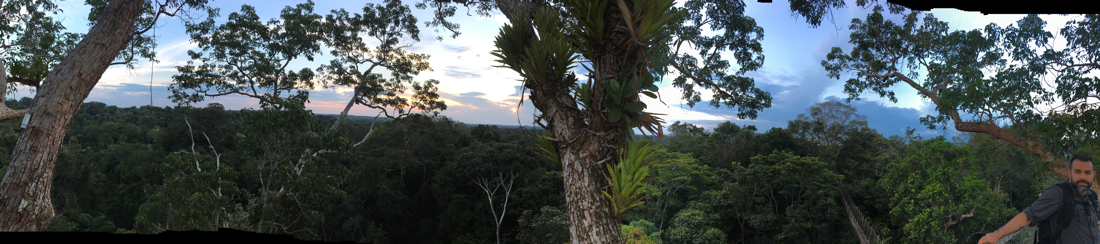
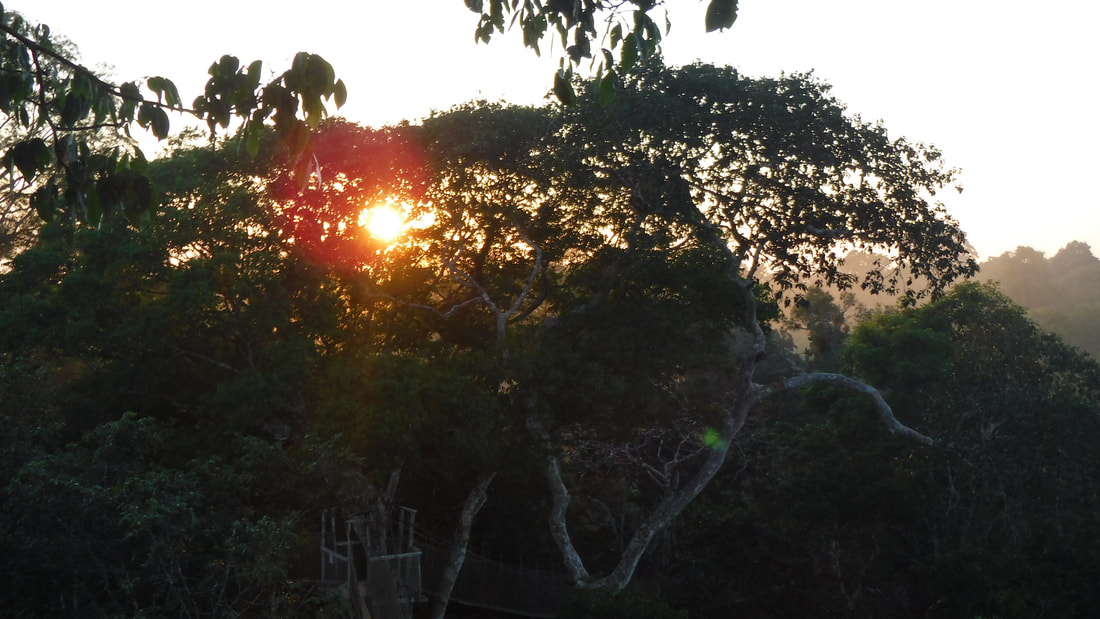
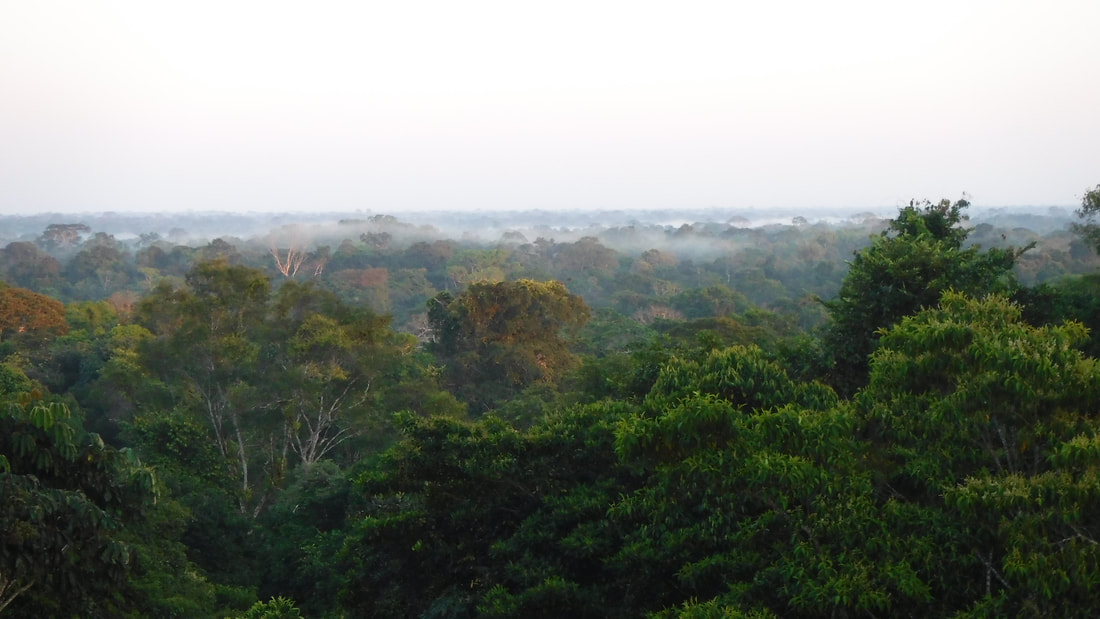
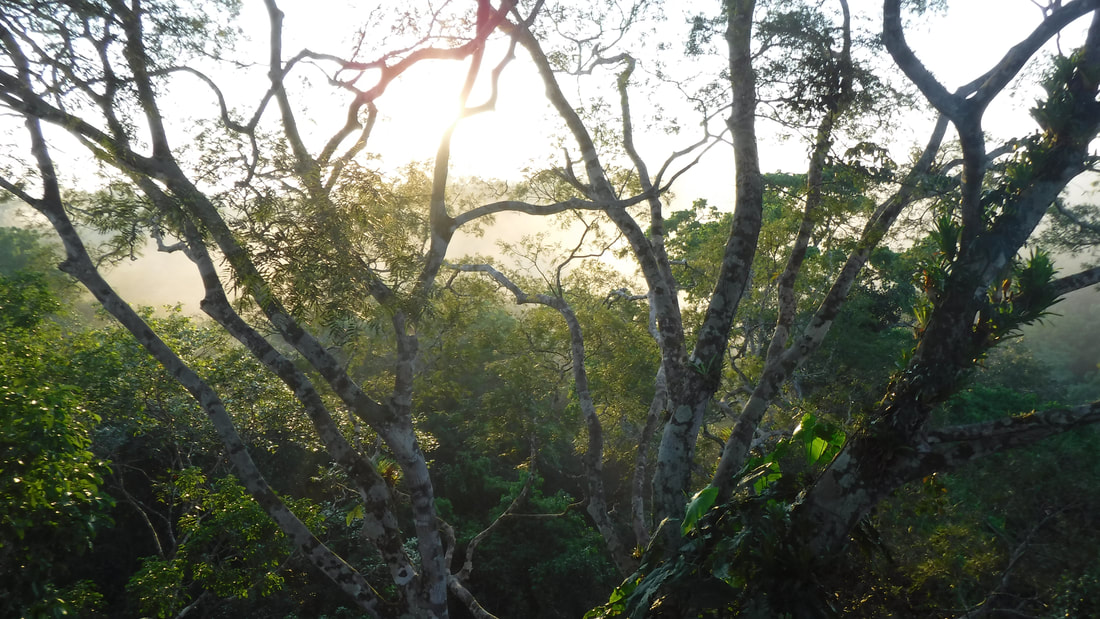
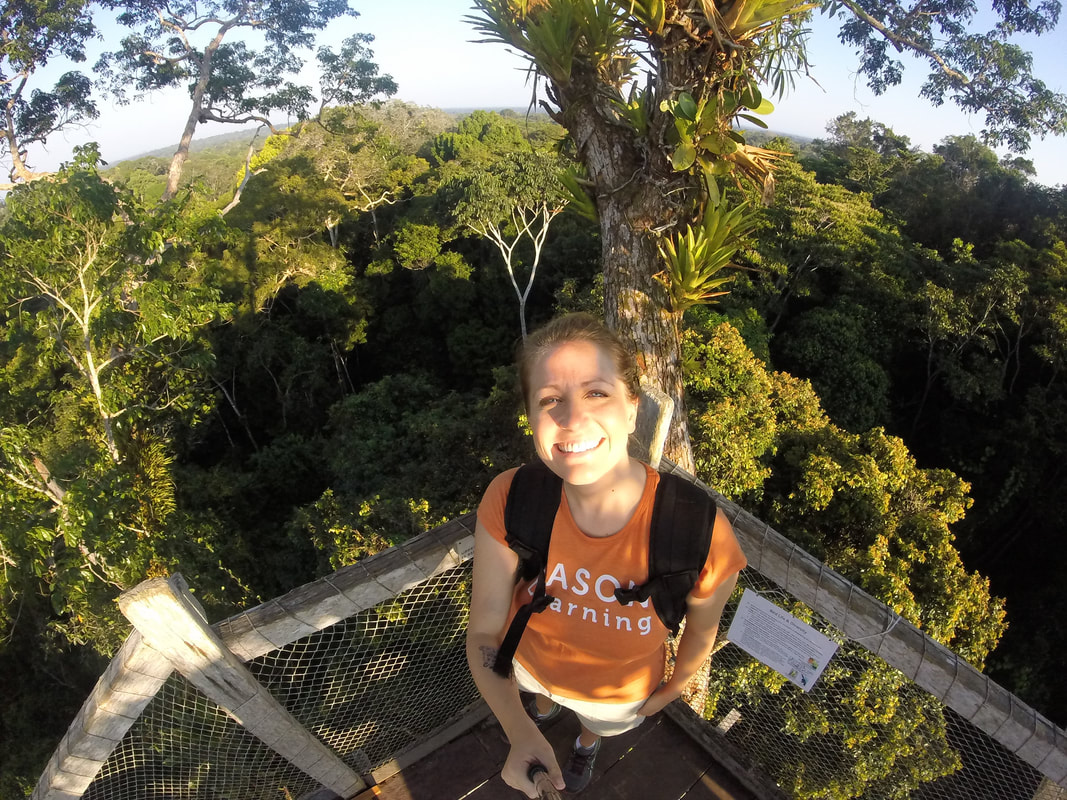
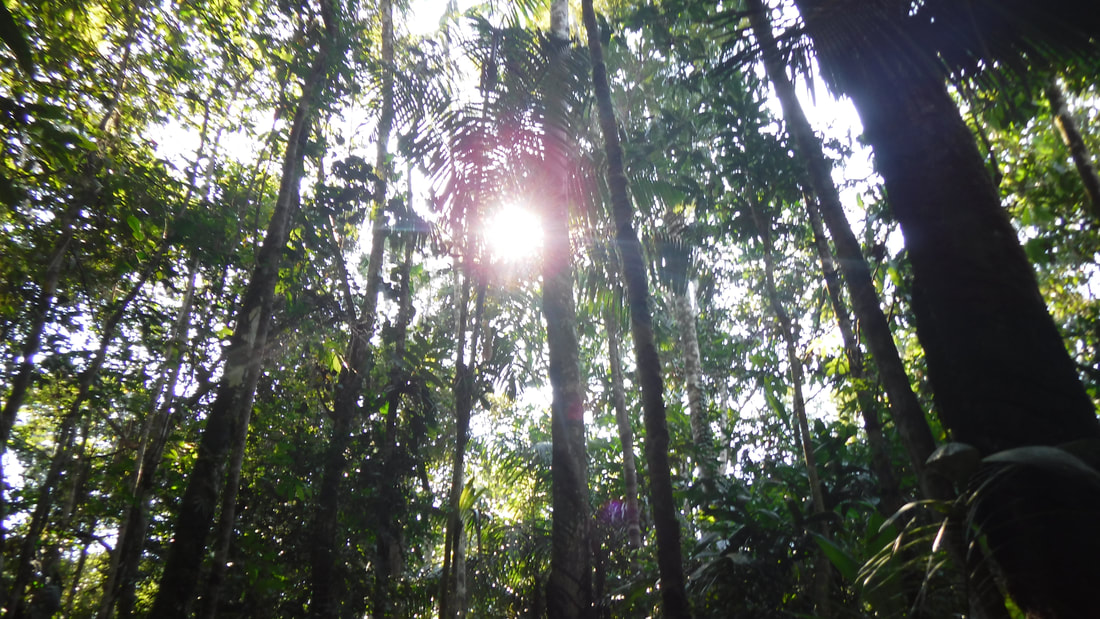
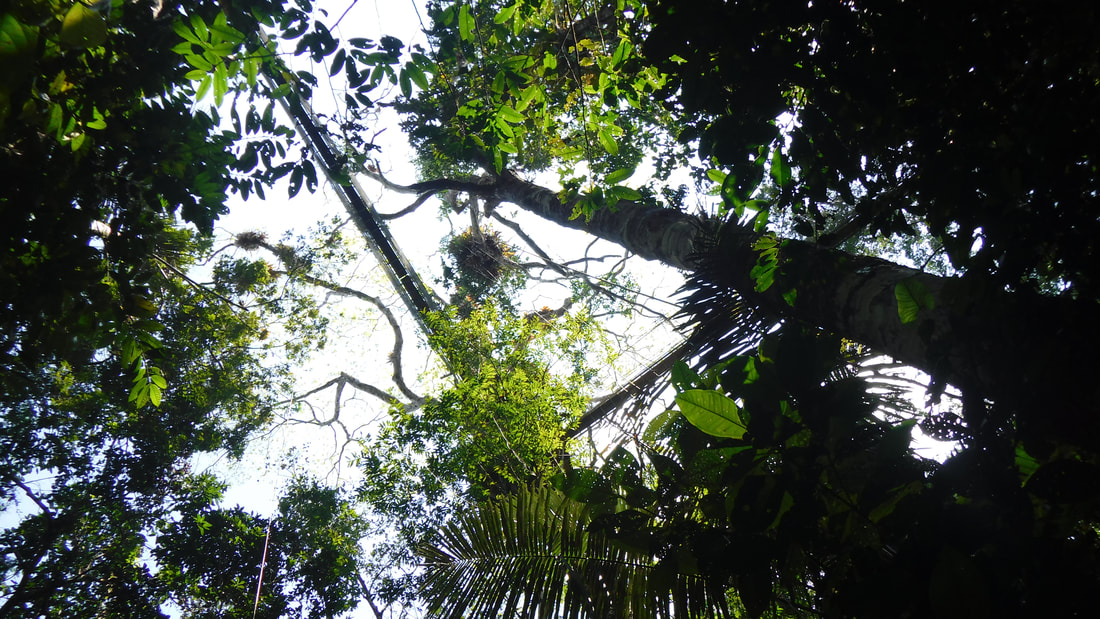
3. Build a Model of the Layers of the Rainforest
Objective: Students will know the different layers of the rainforest. Students will study and identify where the majority of life is in the rainforest. Students will compare and contrast temperate and tropical rainforests. Students will locate the rainforests around the world, especially in the United States.
TEKS: Energy transfer, solar energy, light energy, chemical energy, photosynthesis, carbon dioxide oxygen cycle, life cycle of trees and plants
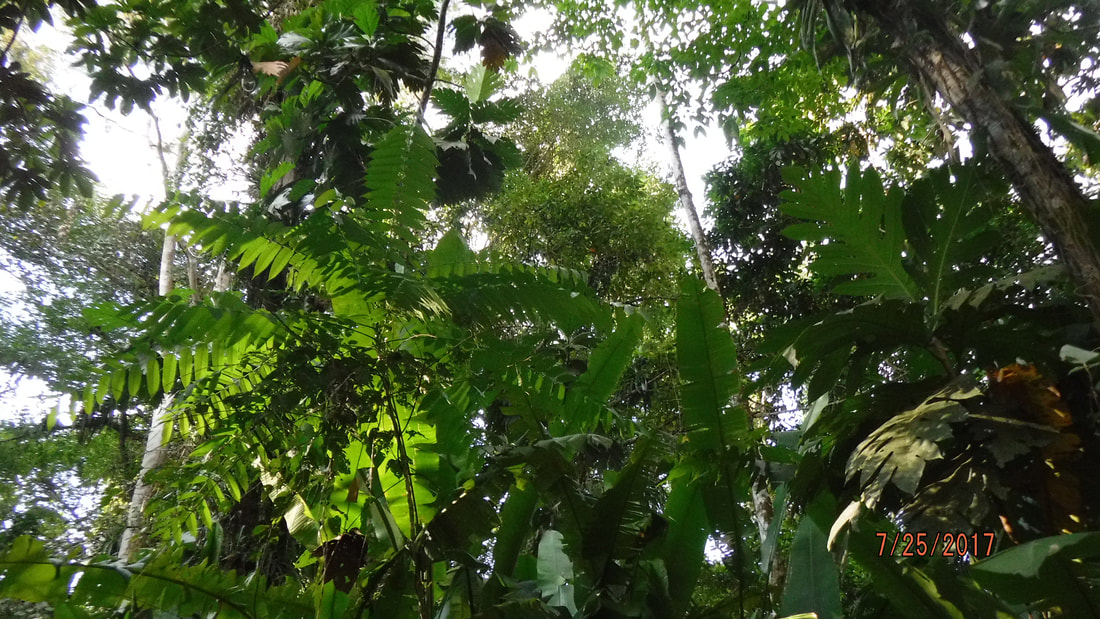
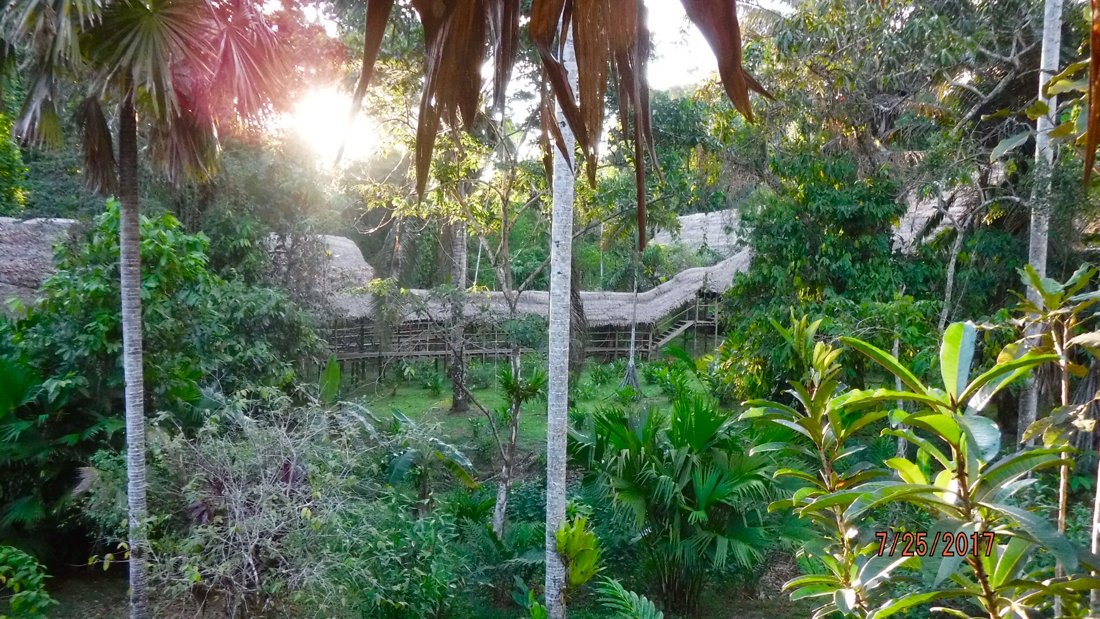
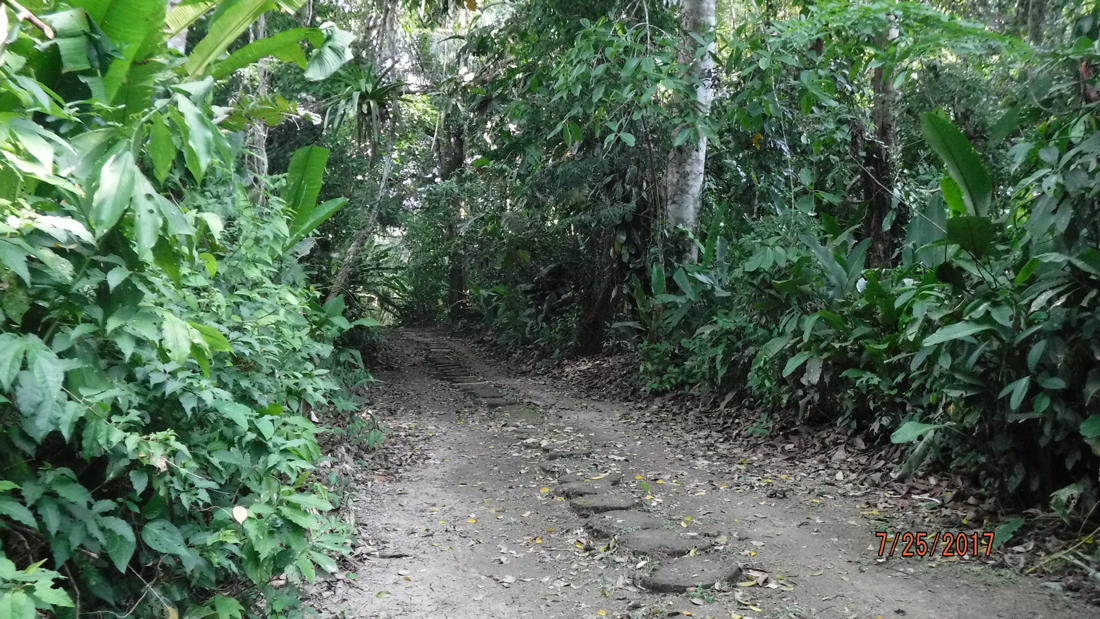
Hook: Teacher takes students on a virtual tour of the rainforest using some of the links on the following page. Teacher reads aloud a book about rainforest layers.
Lesson Plan: Students research layers of rainforest with partners. For homework, students build a model showing the layers of the rainforest, including labeled layers, heights, plant and animal life, water cycle and carbon dioxide/oxygen cycle, source of energy (sun)
TEKS: Energy transfer, solar energy, light energy, chemical energy, photosynthesis, carbon dioxide oxygen cycle, life cycle of trees and plants
Hook: Teacher takes students on a virtual tour of the rainforest using some of the links on the following page. Teacher reads aloud a book about rainforest layers.
Lesson Plan: Students research layers of rainforest with partners. For homework, students build a model showing the layers of the rainforest, including labeled layers, heights, plant and animal life, water cycle and carbon dioxide/oxygen cycle, source of energy (sun)
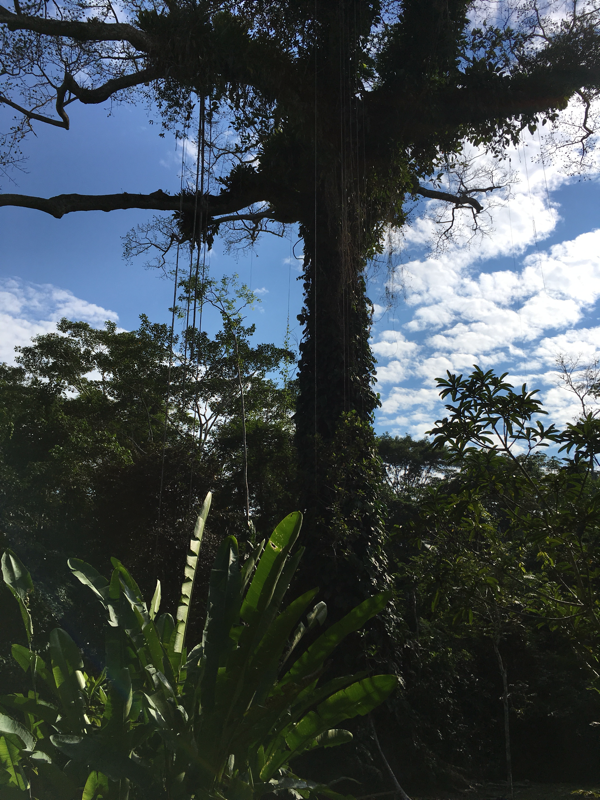
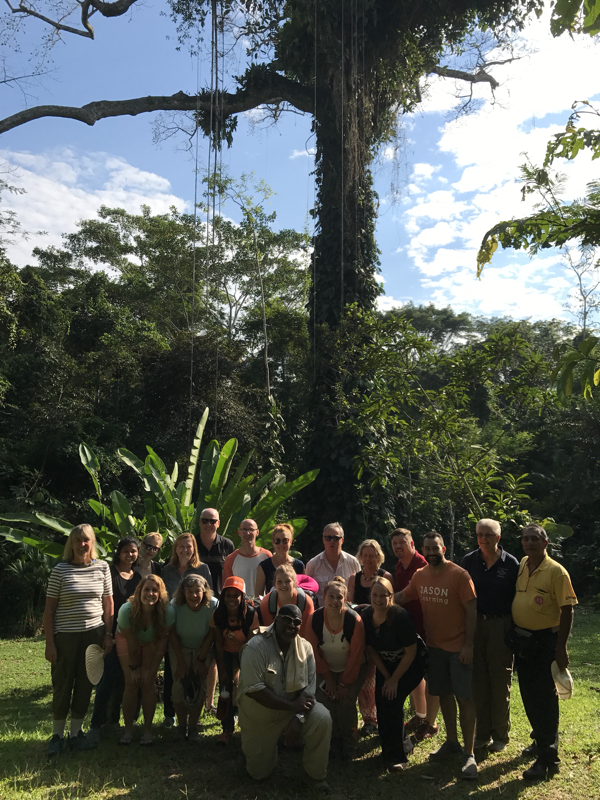
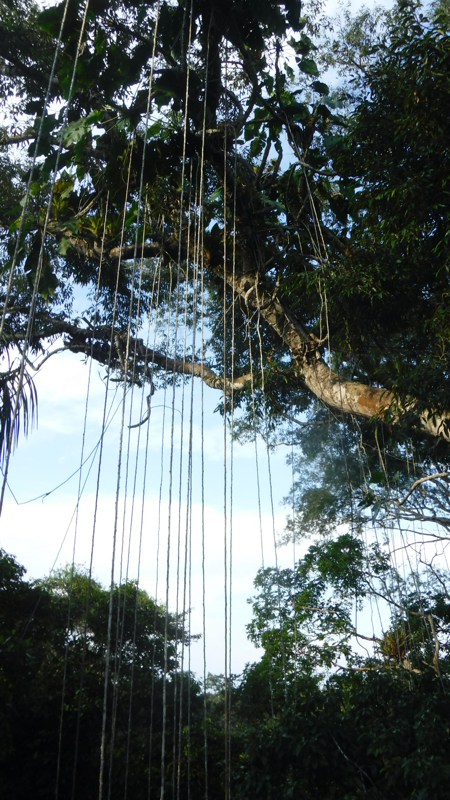
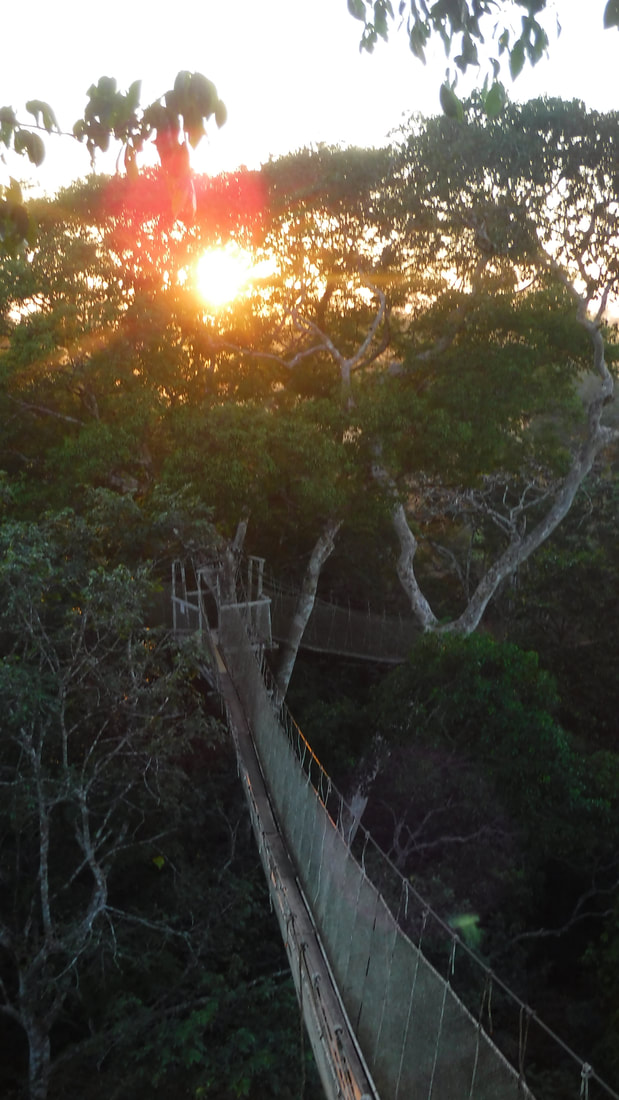
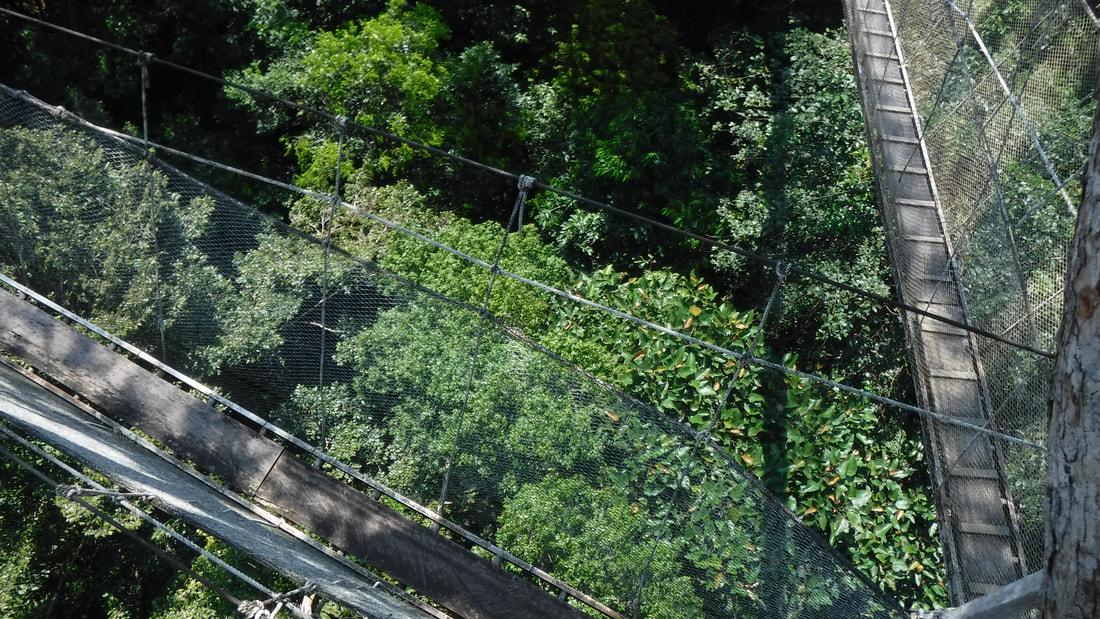
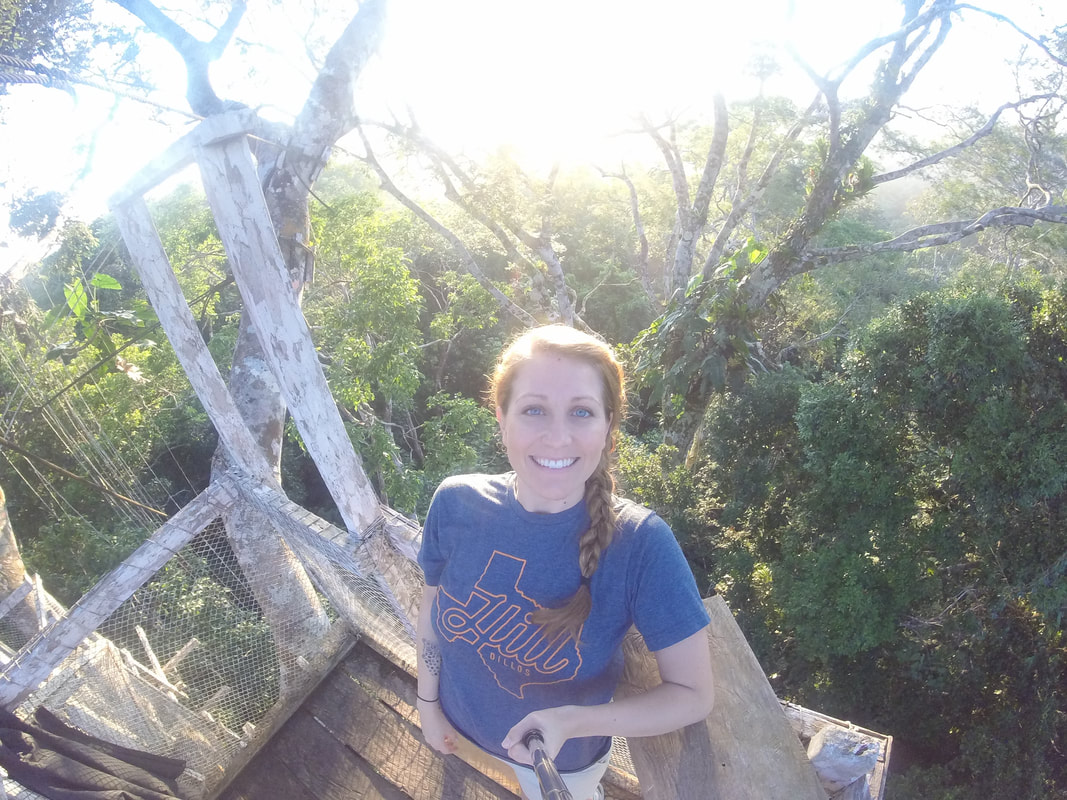
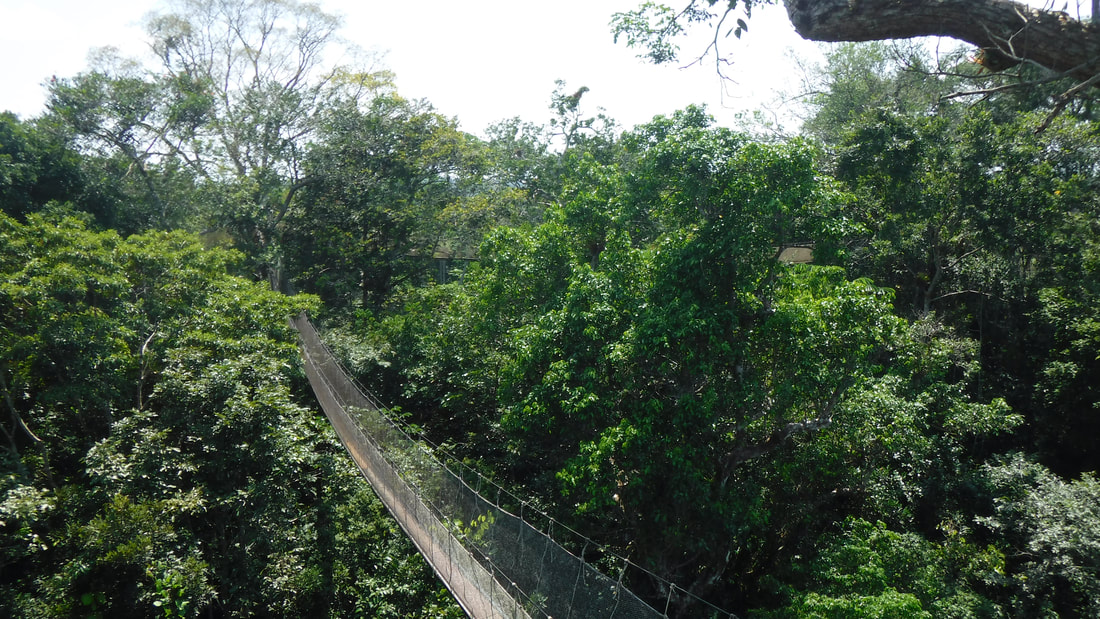
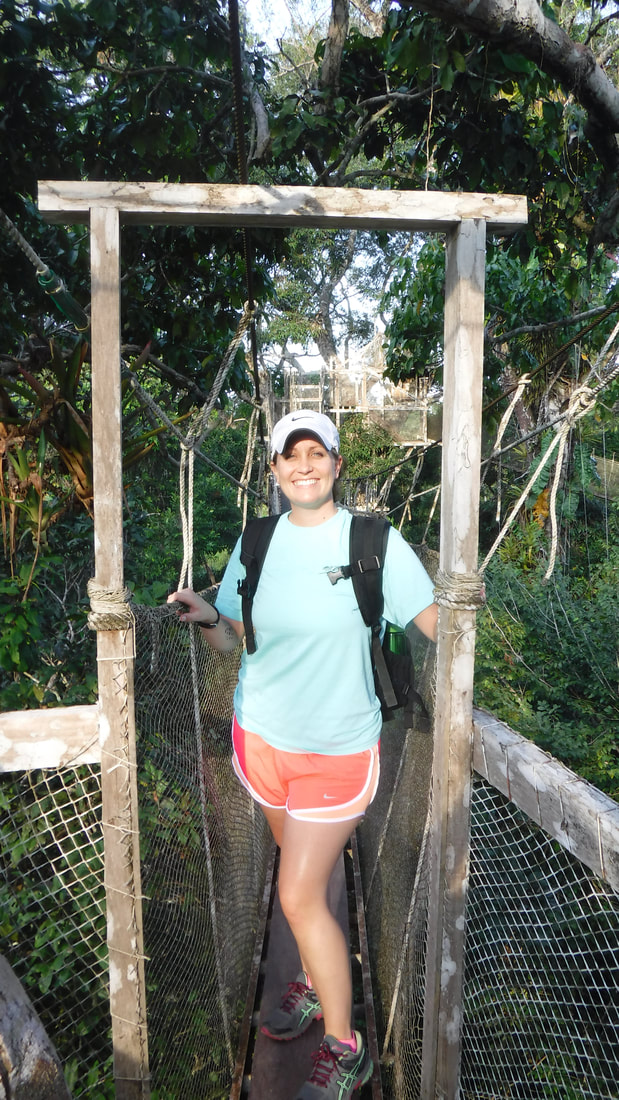
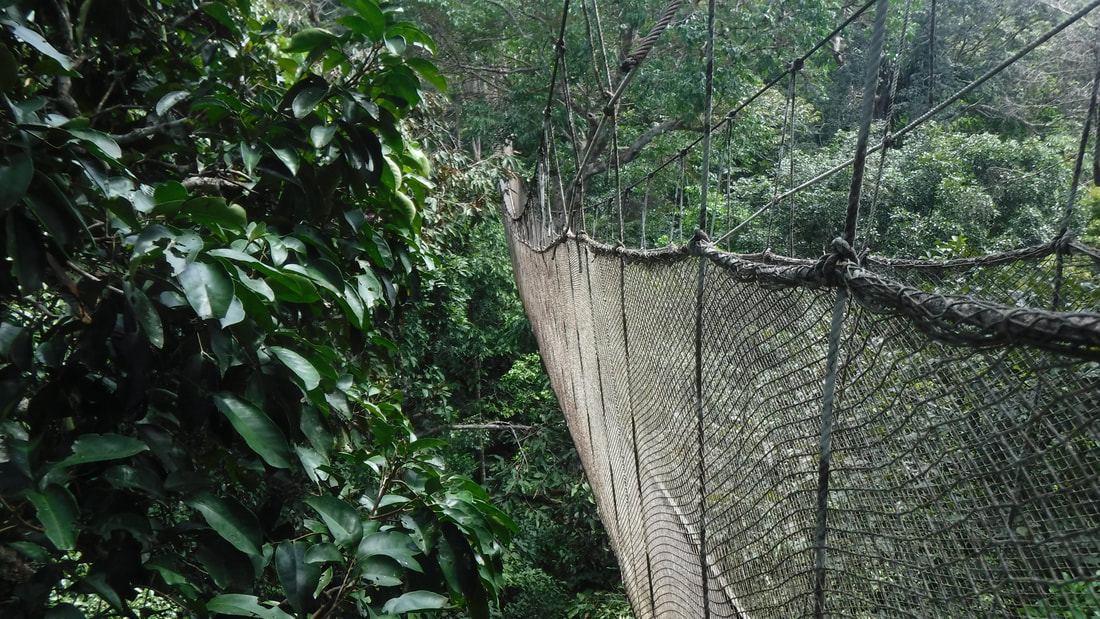
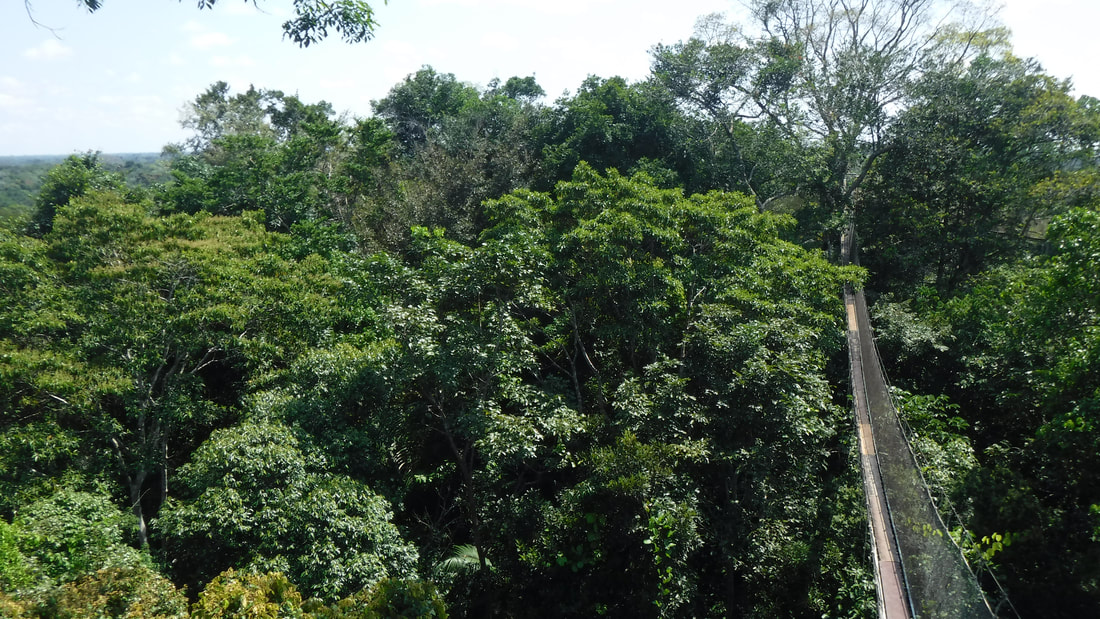
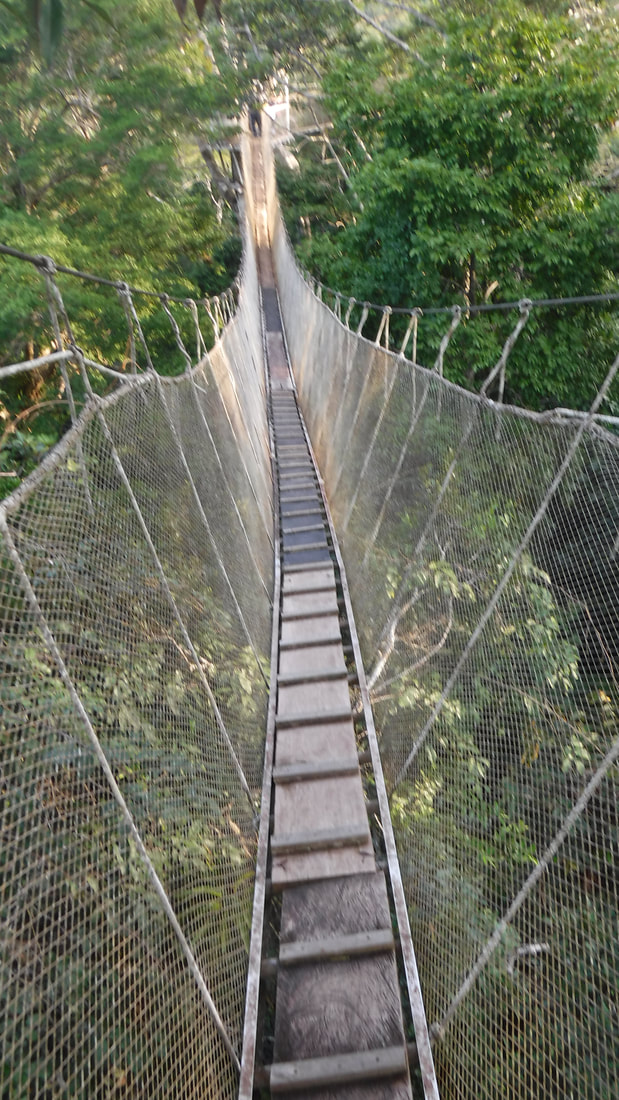
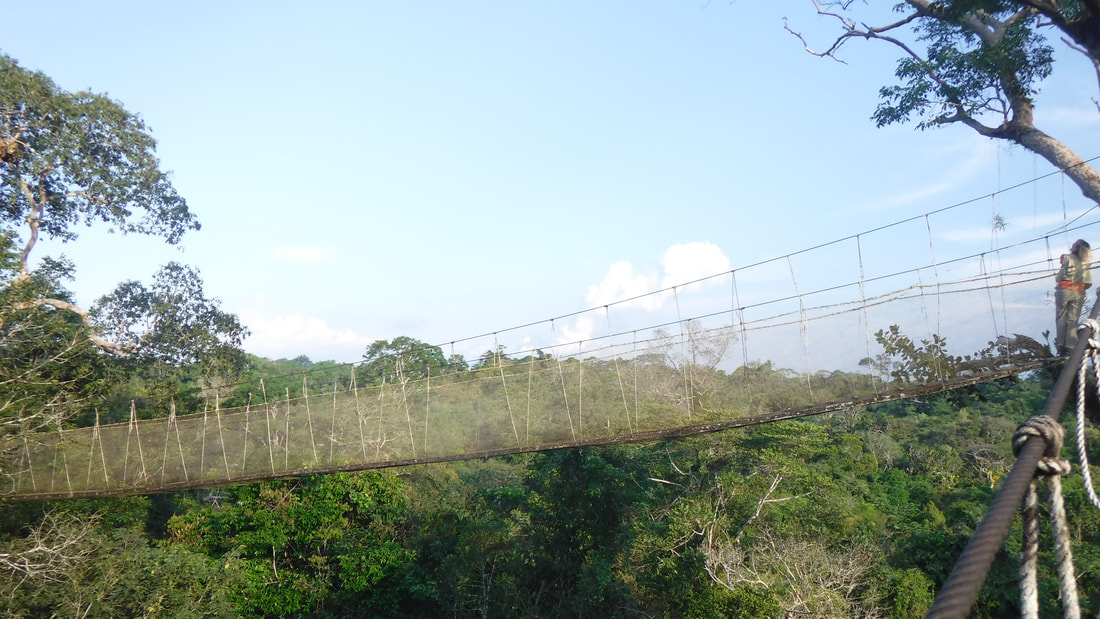
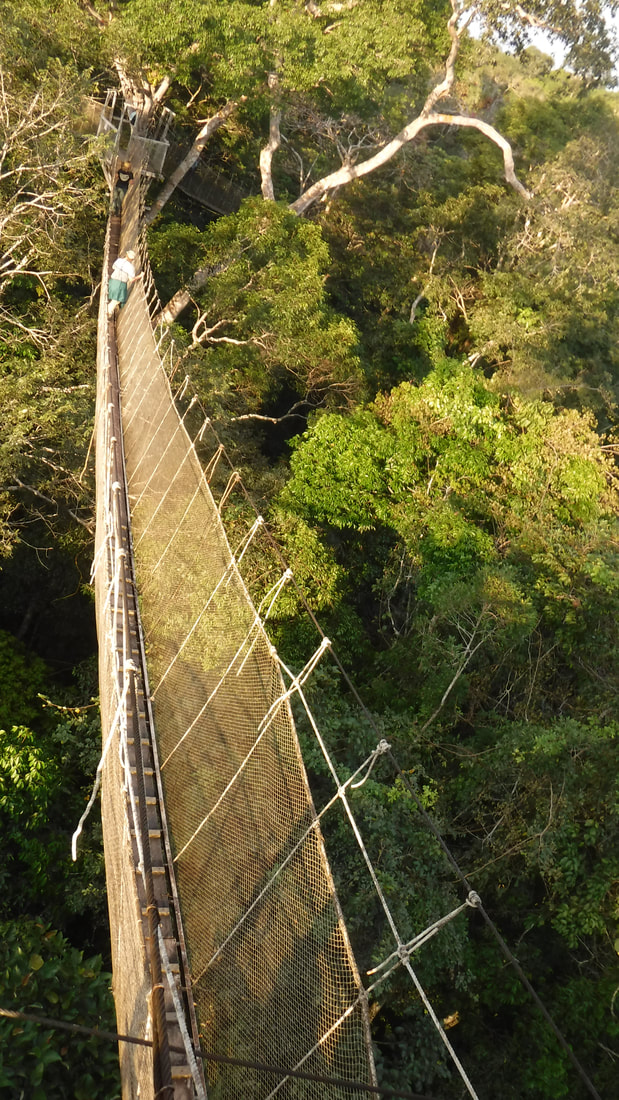
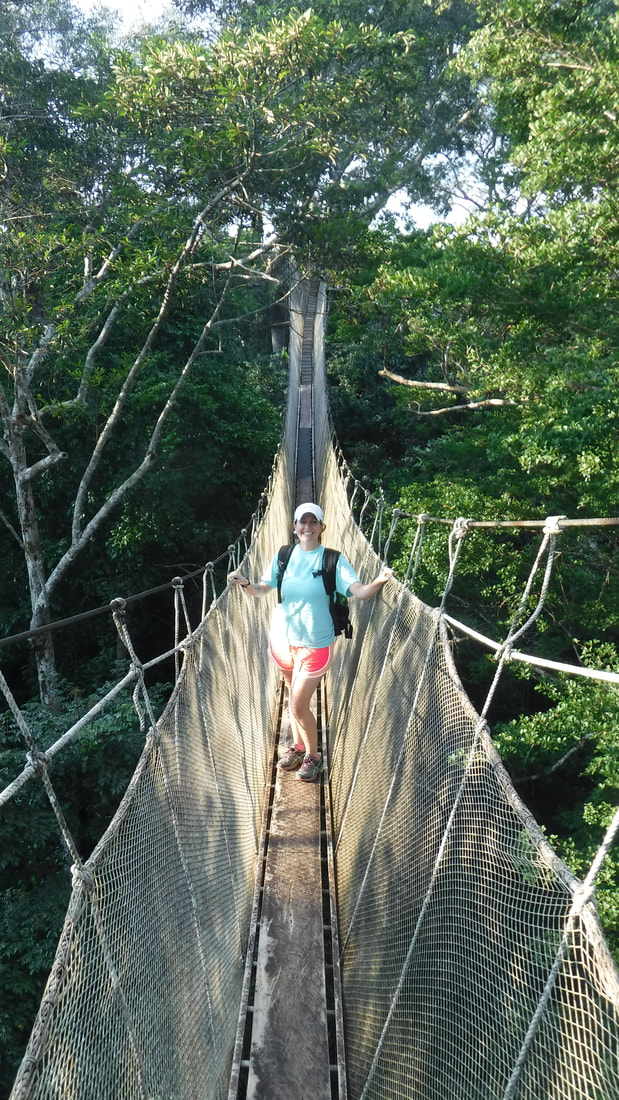
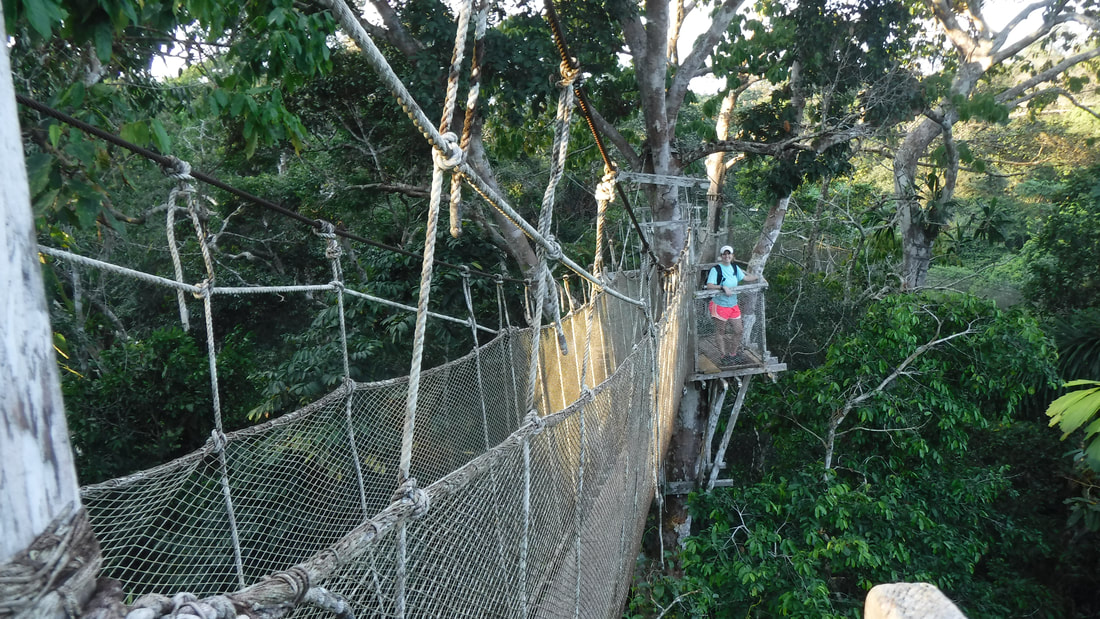
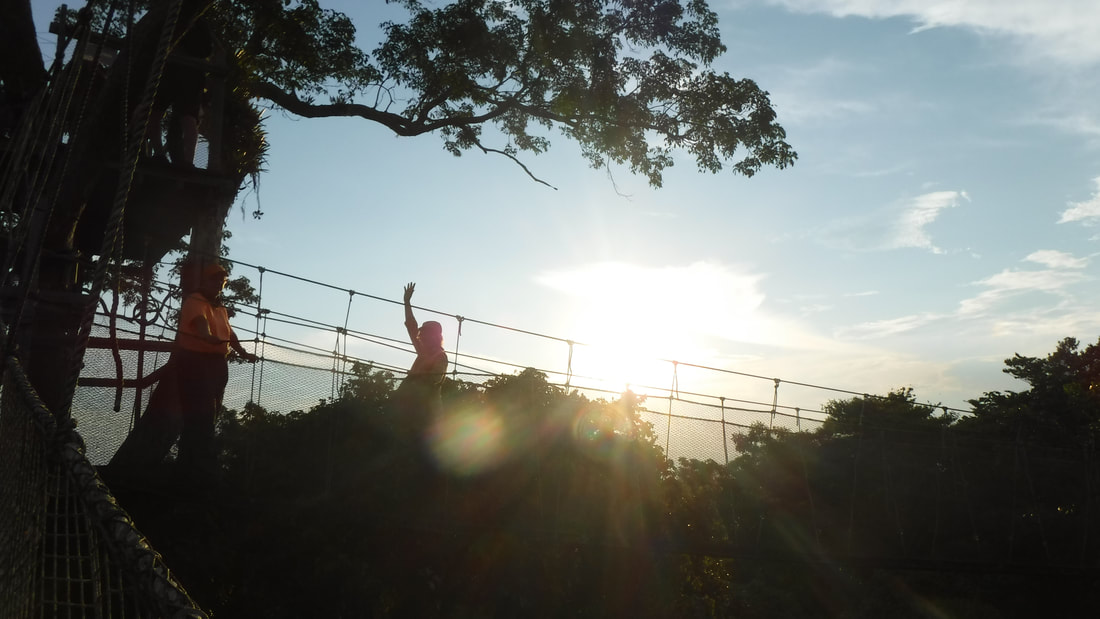
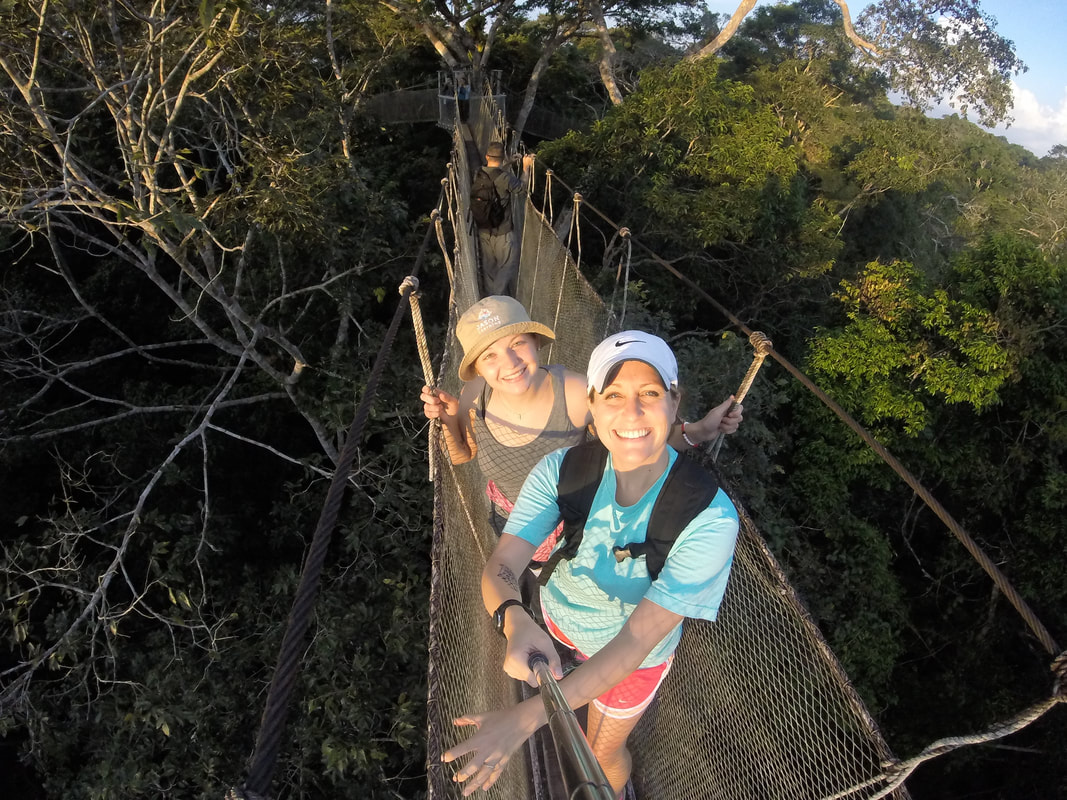
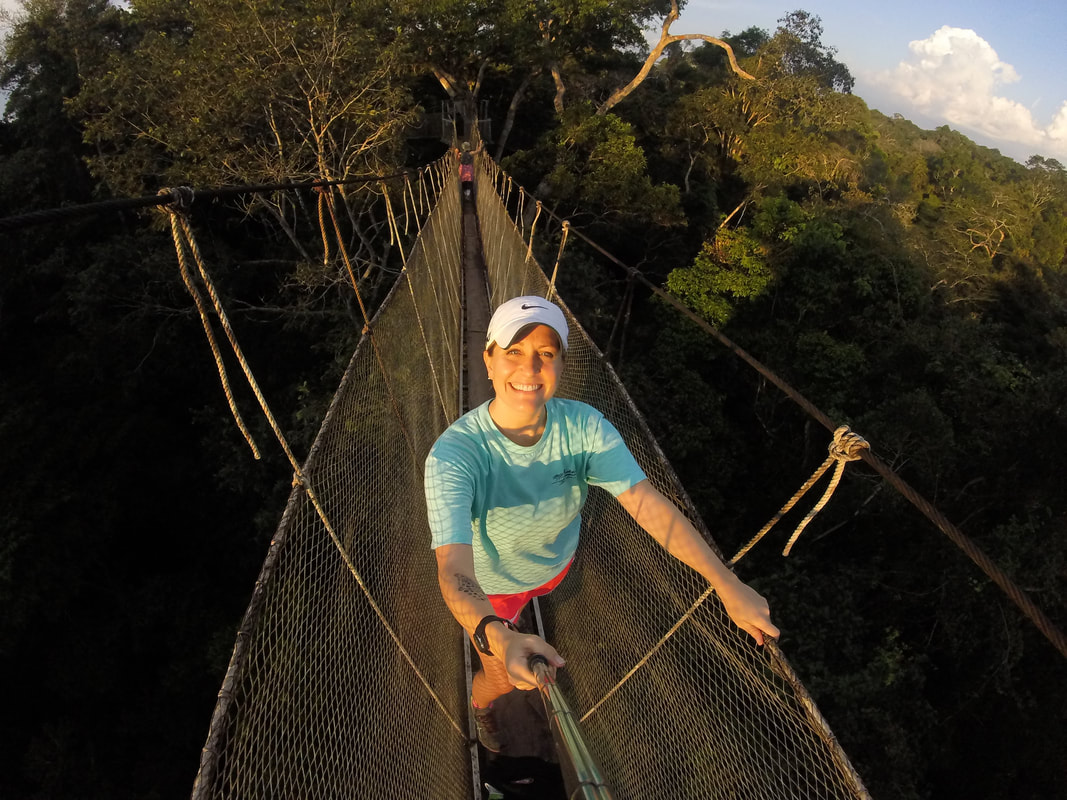
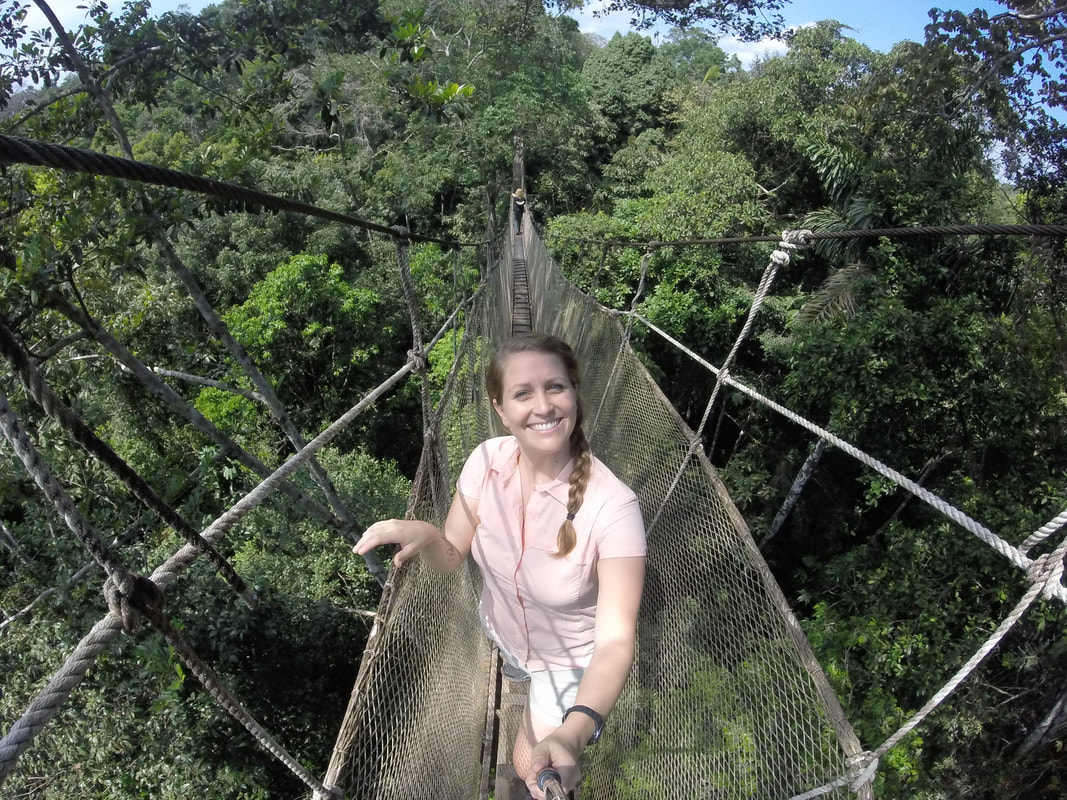
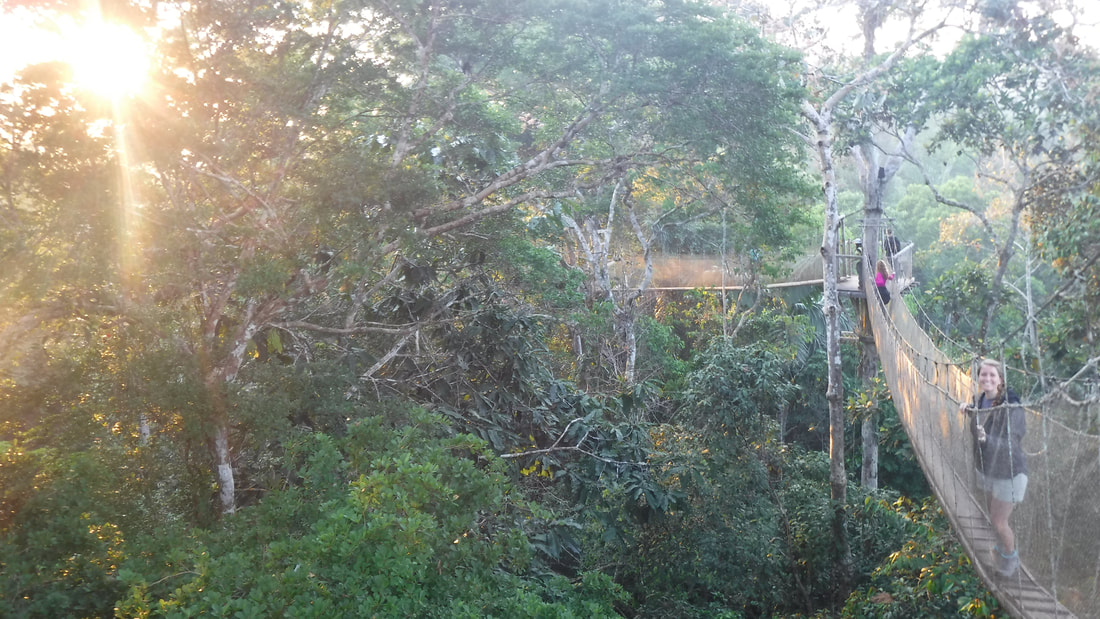
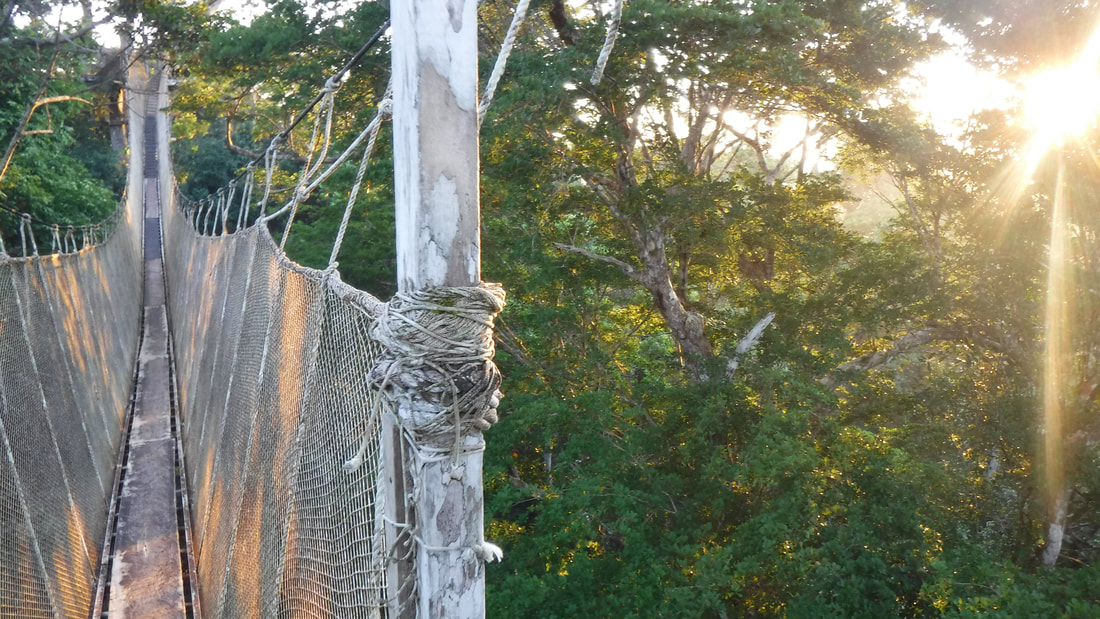
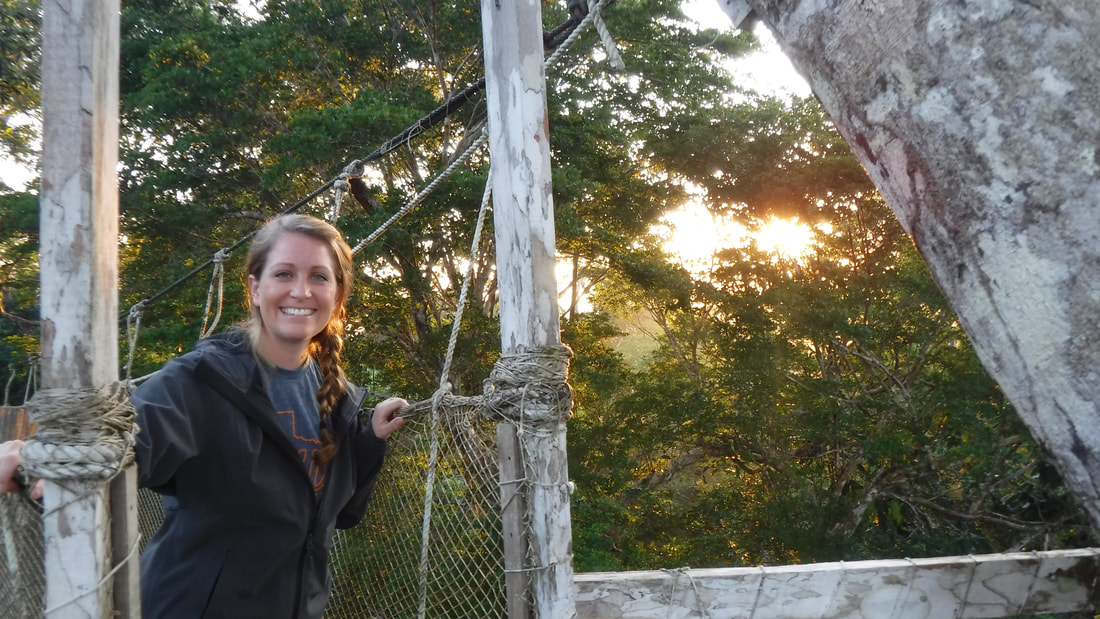
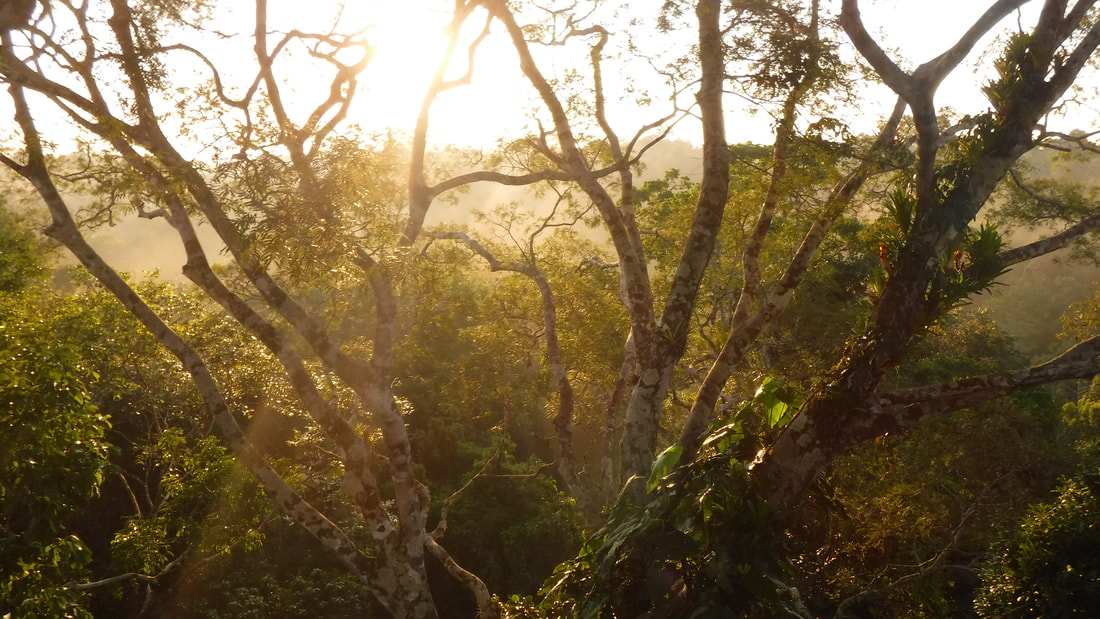
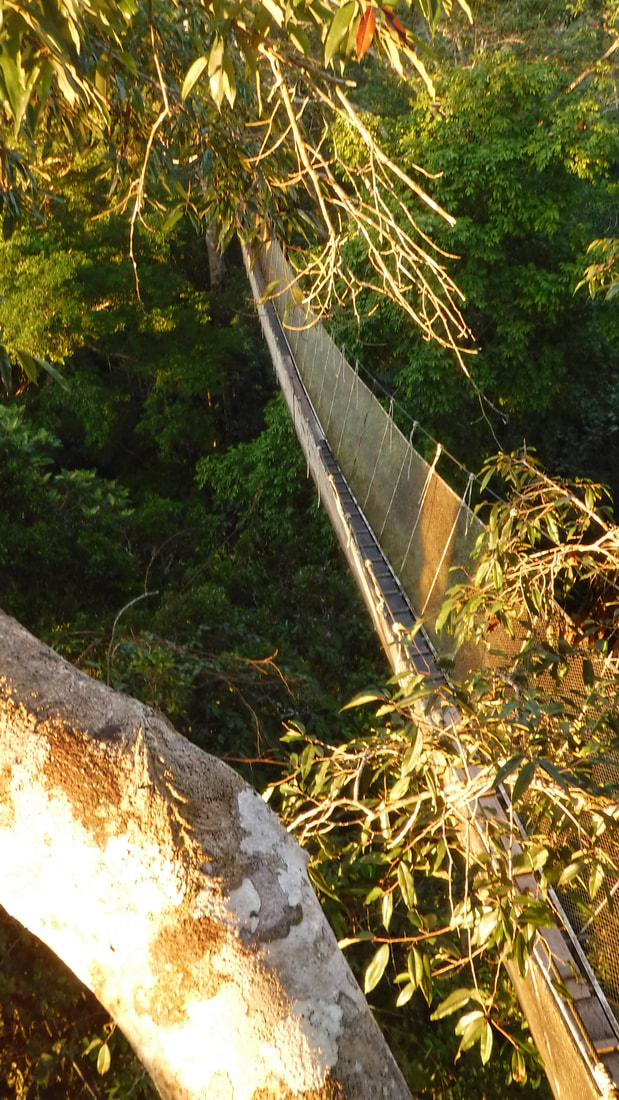
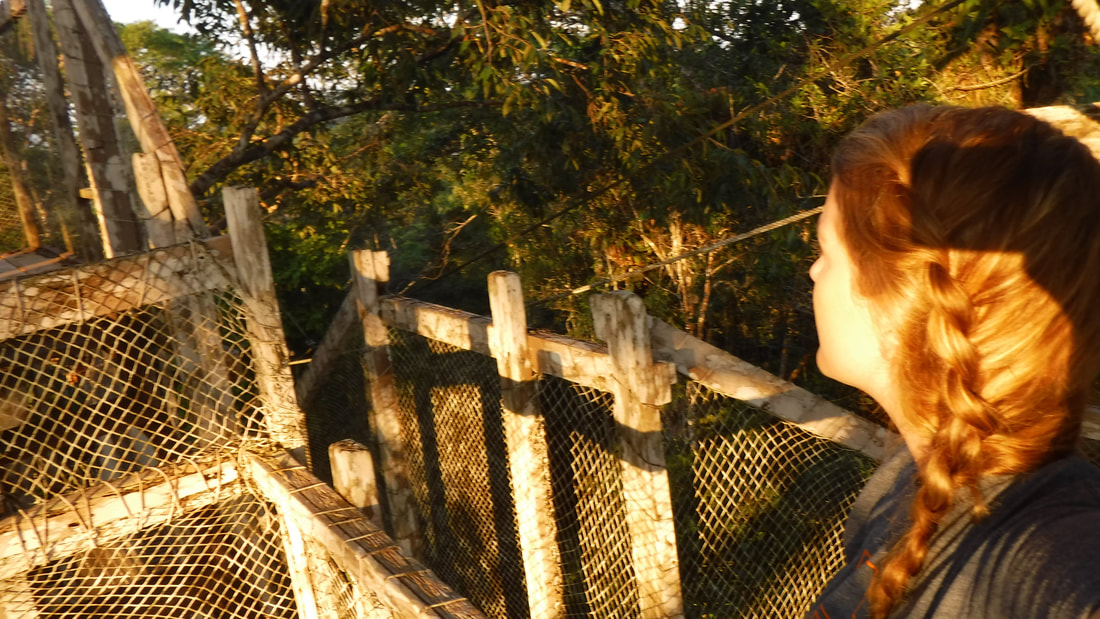
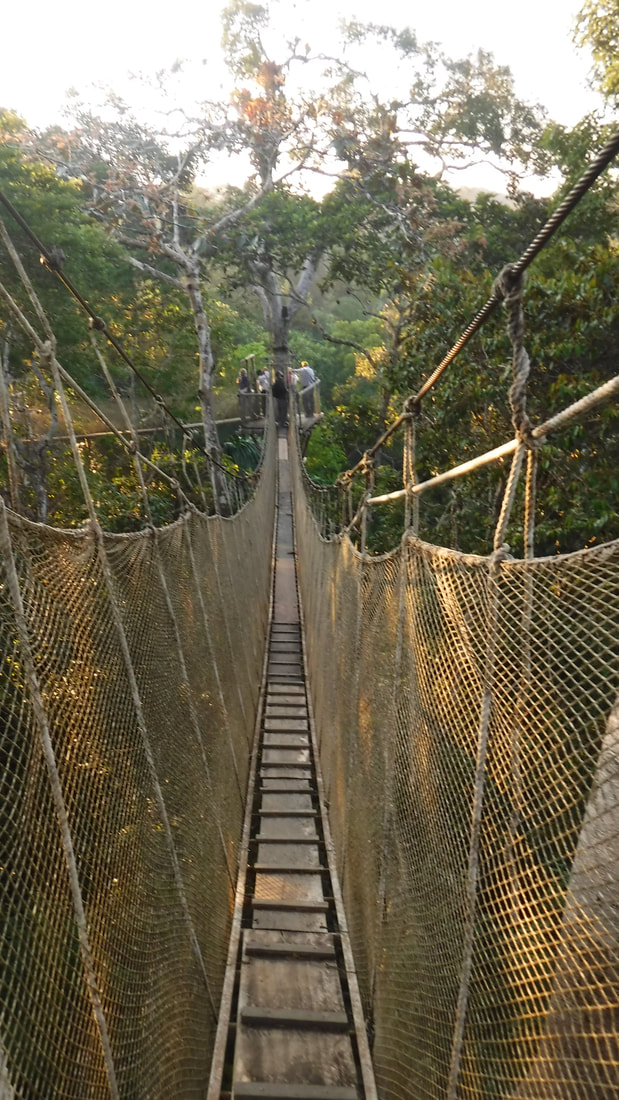
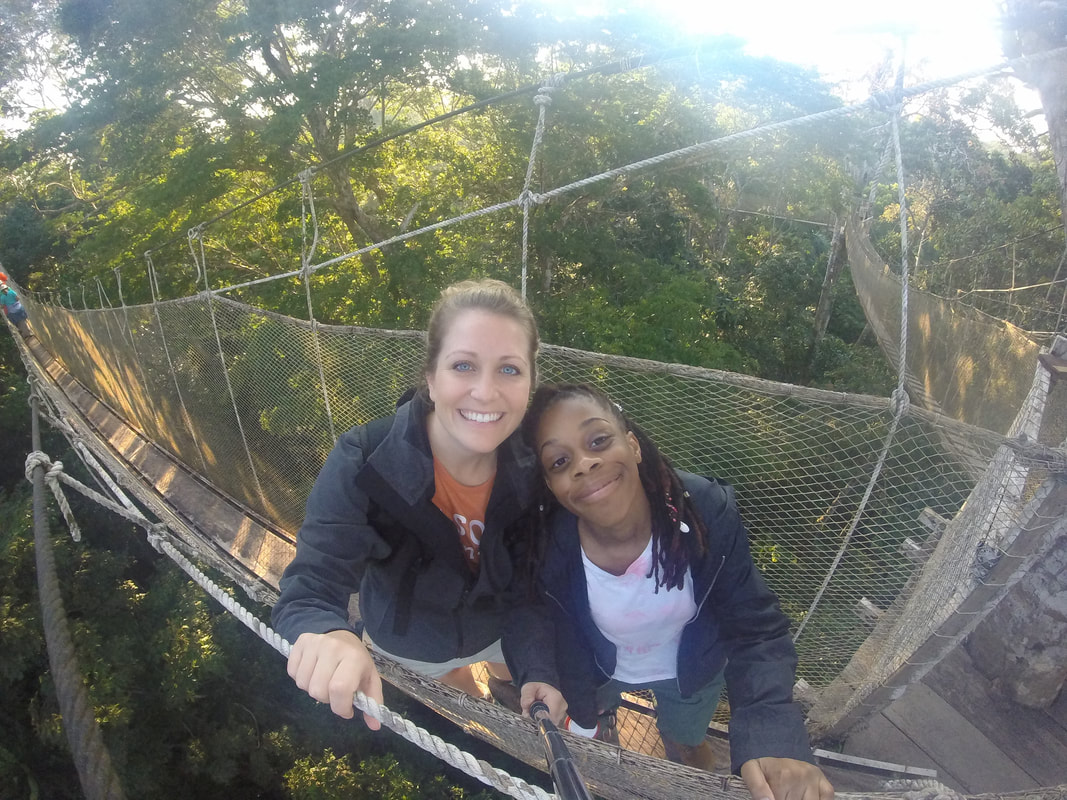
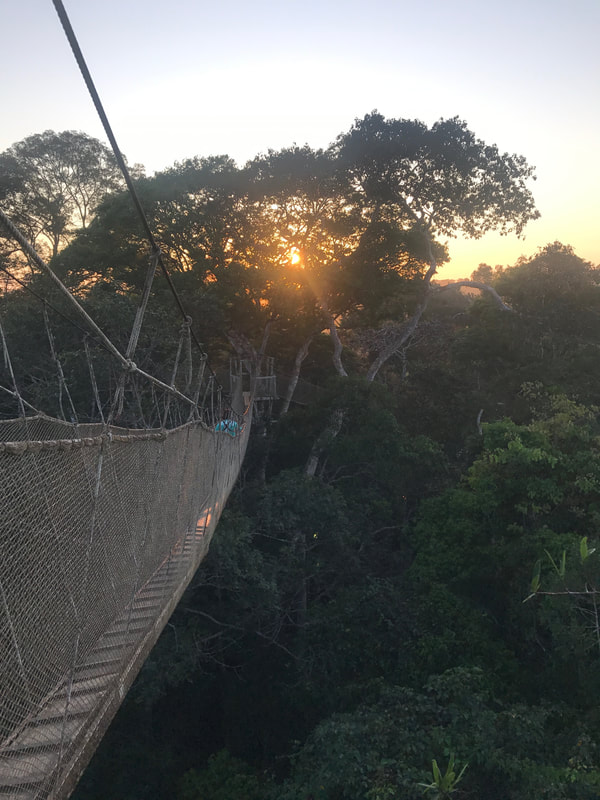
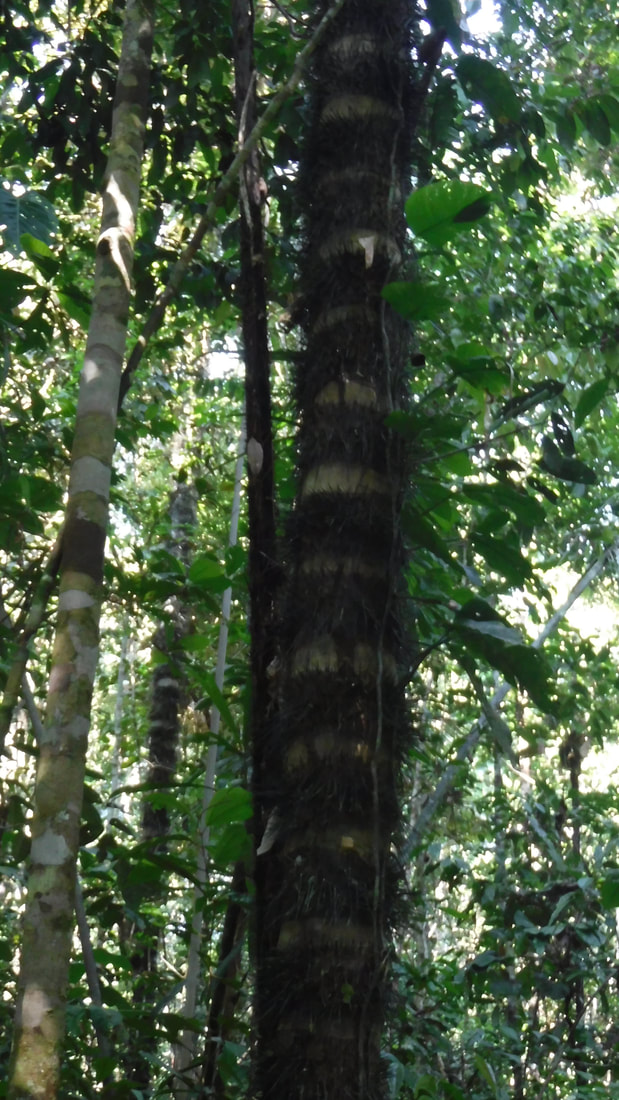
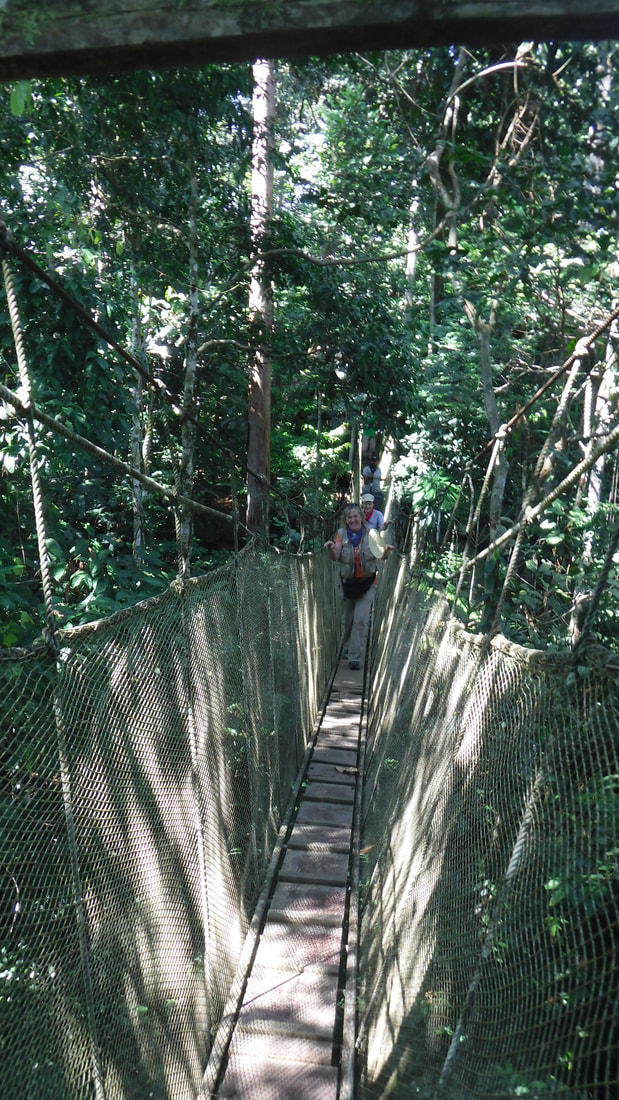
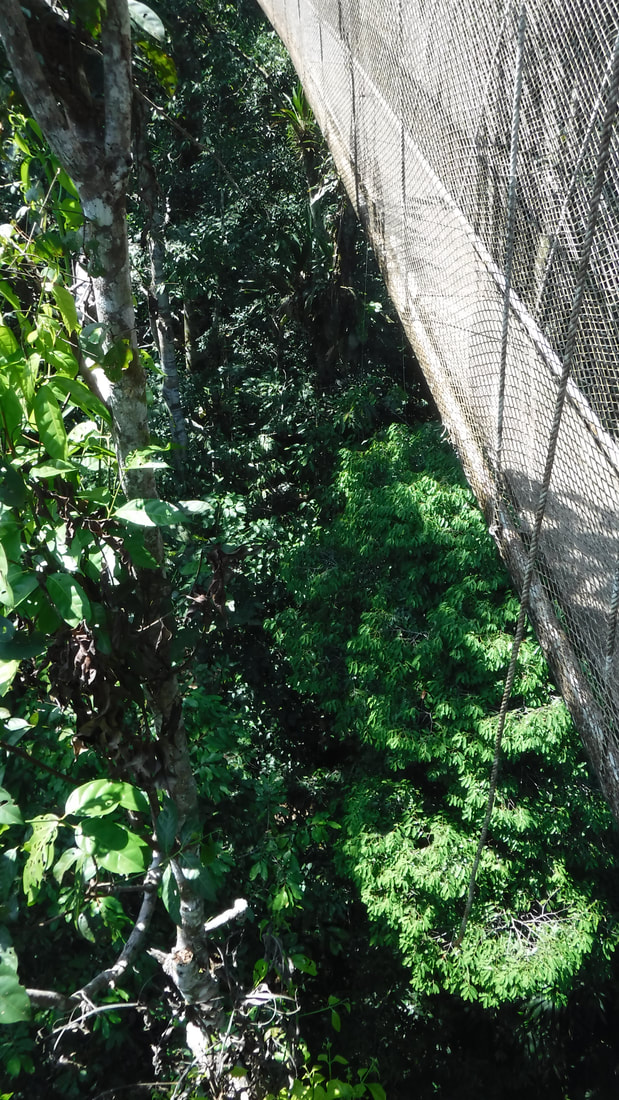
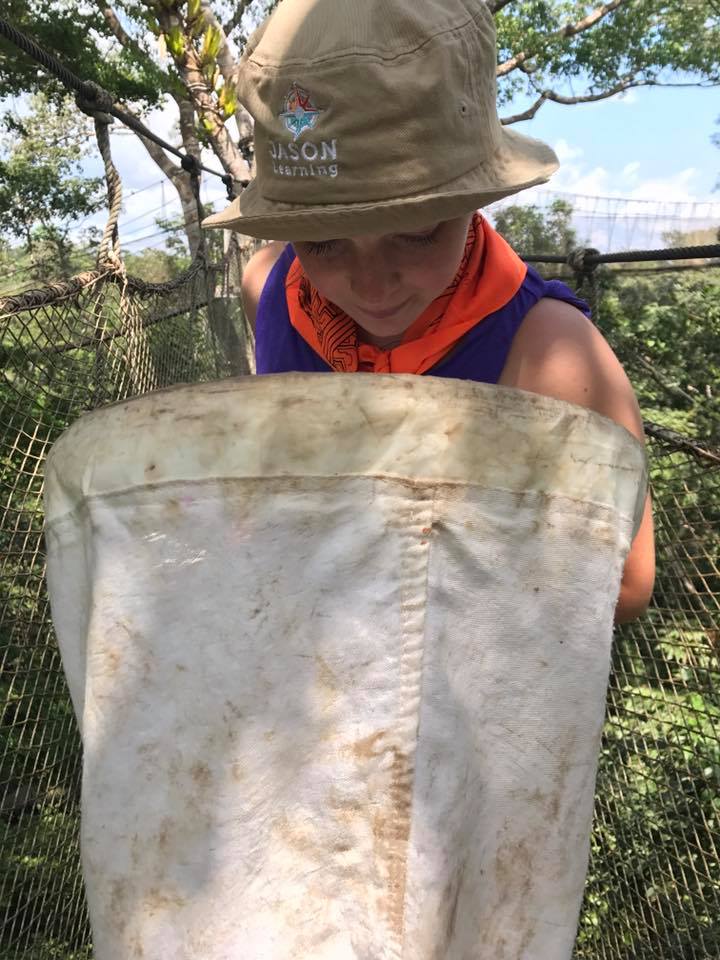
4. Design a Canopy Walkway
Objective: Students will know the layers of the rainforest, and aim to bring easy access to the canopy for scientific research and ecotourism while also generating revenue for locals.
Hook: Teacher shows students canopy walkway virtual tours.
Lesson Plan: Students will design and build a canopy walkway model. Students will study the different canopy walkways around the world and identify effective engineering. Students will use technology to research effective models and plans. Students have the option of drawing, building a model out of tongue depressors, or creating a computer generated model.
For more specifics, check out the JASON Learning Canopy Walkway Design Lesson Plan:


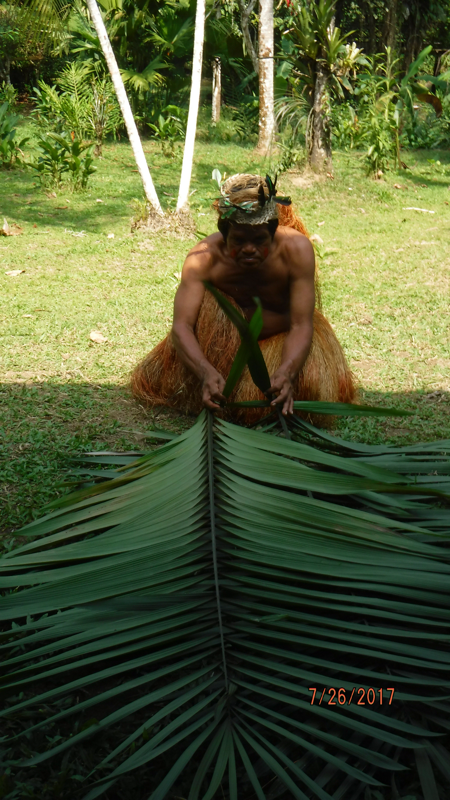
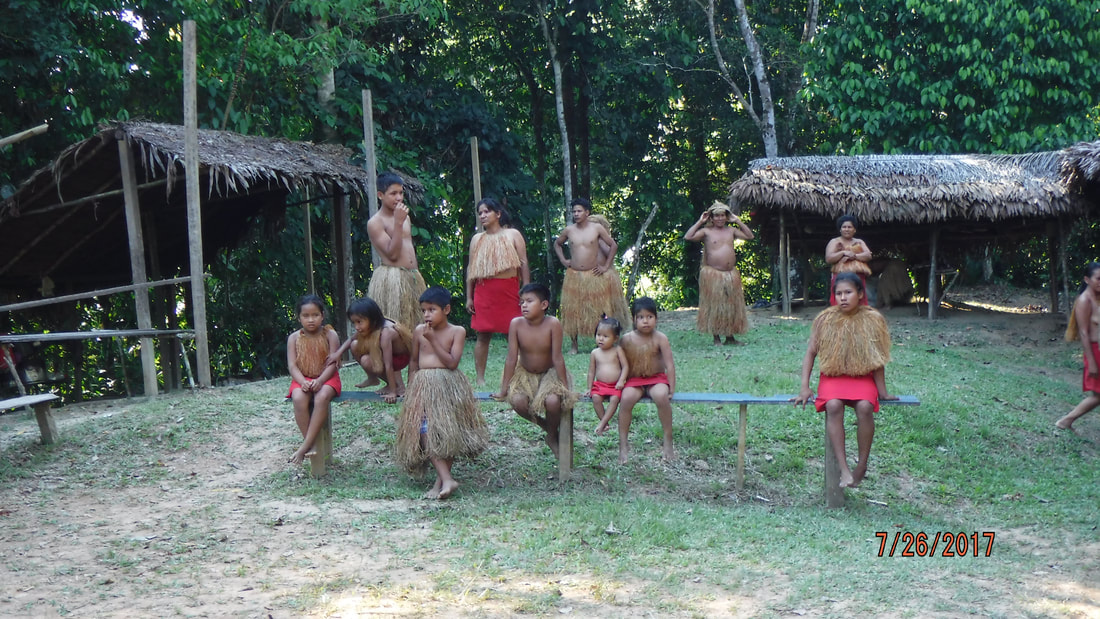
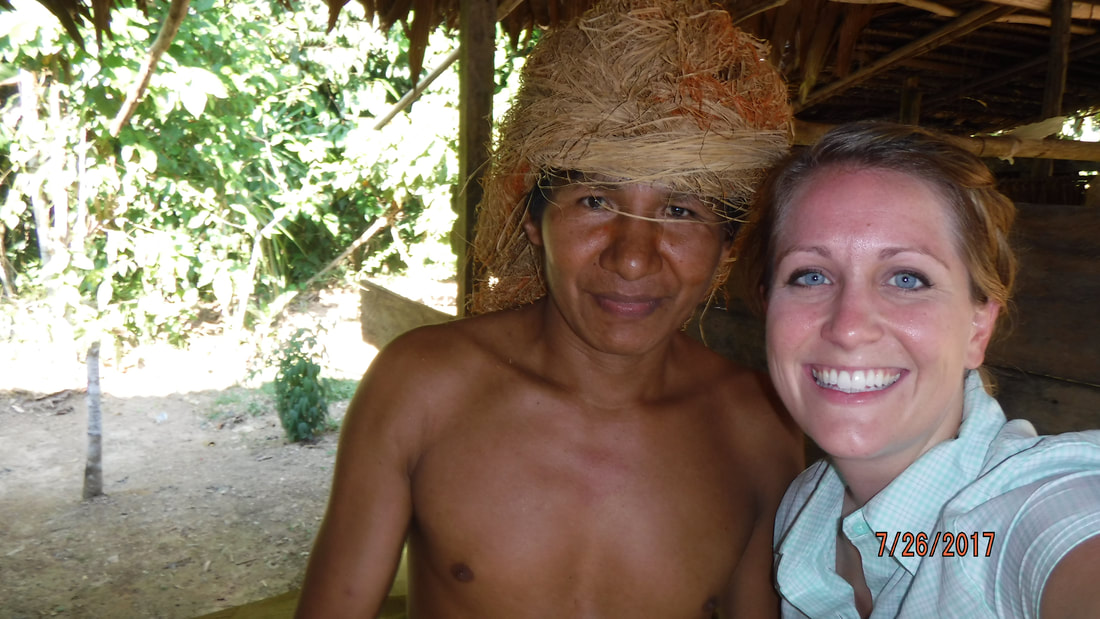
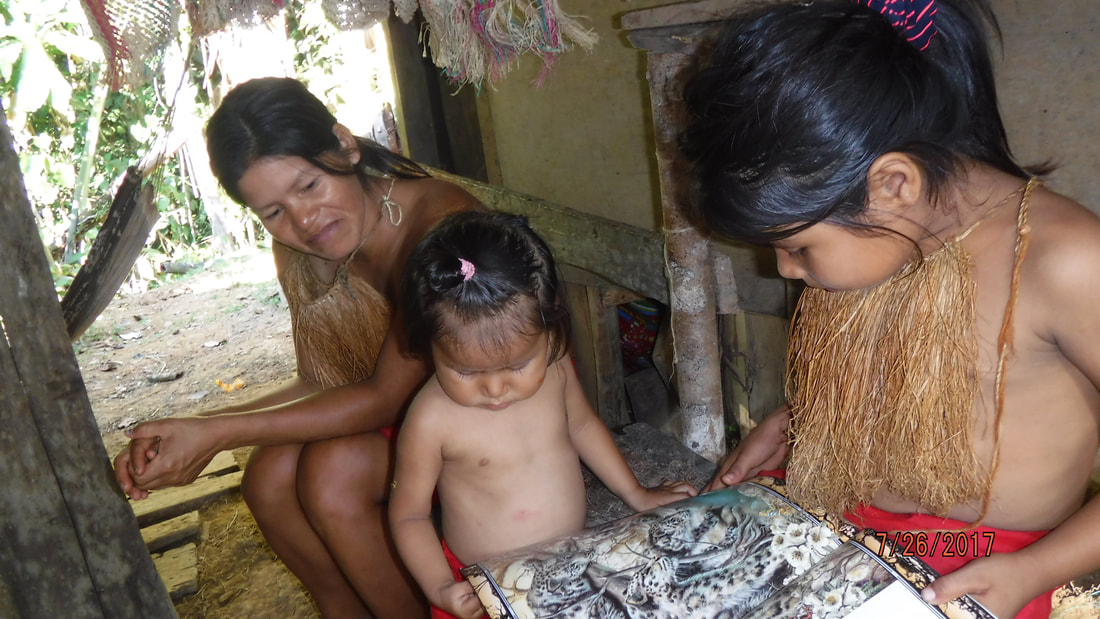
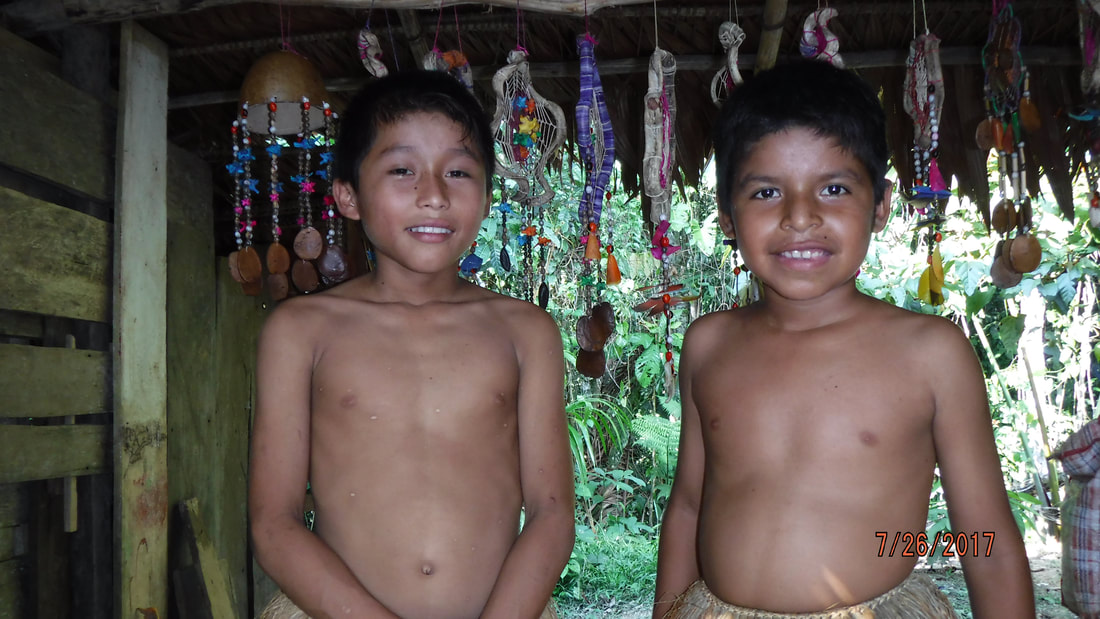
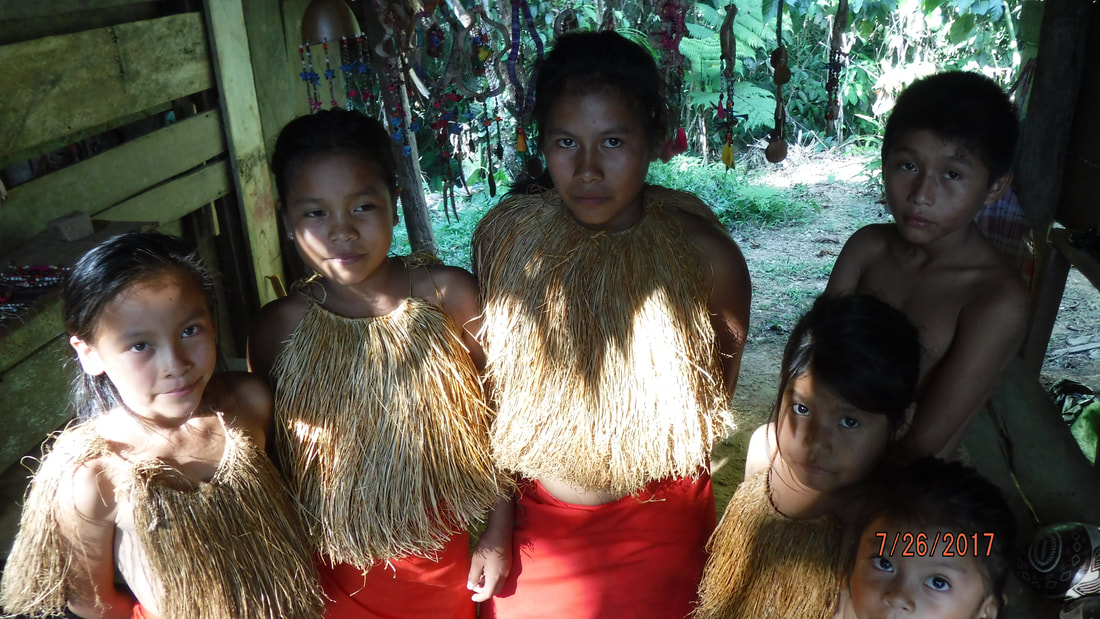
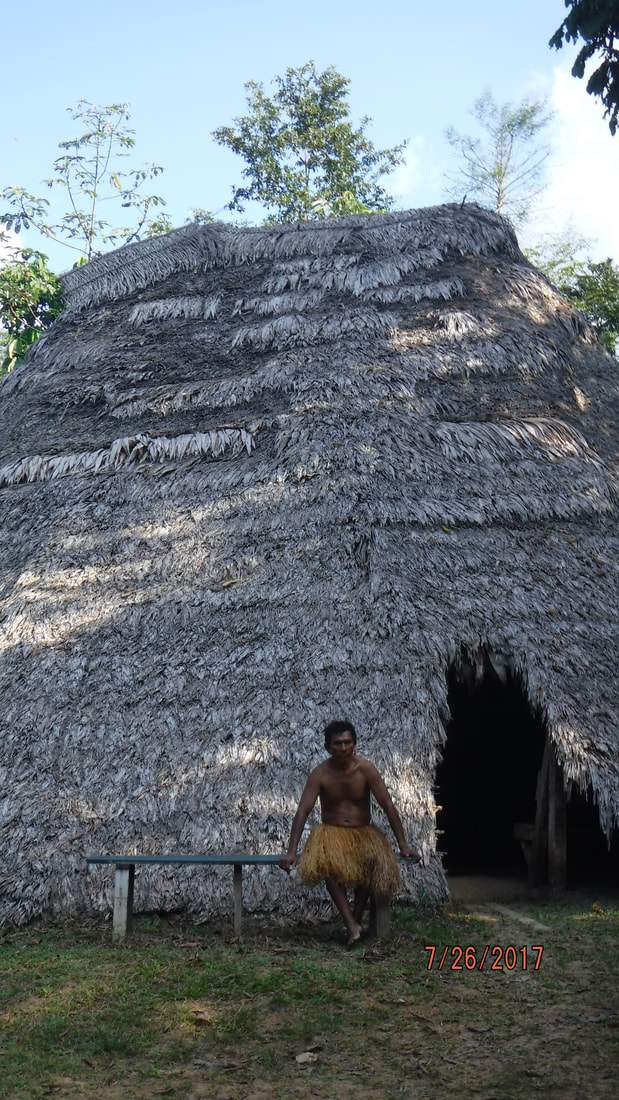
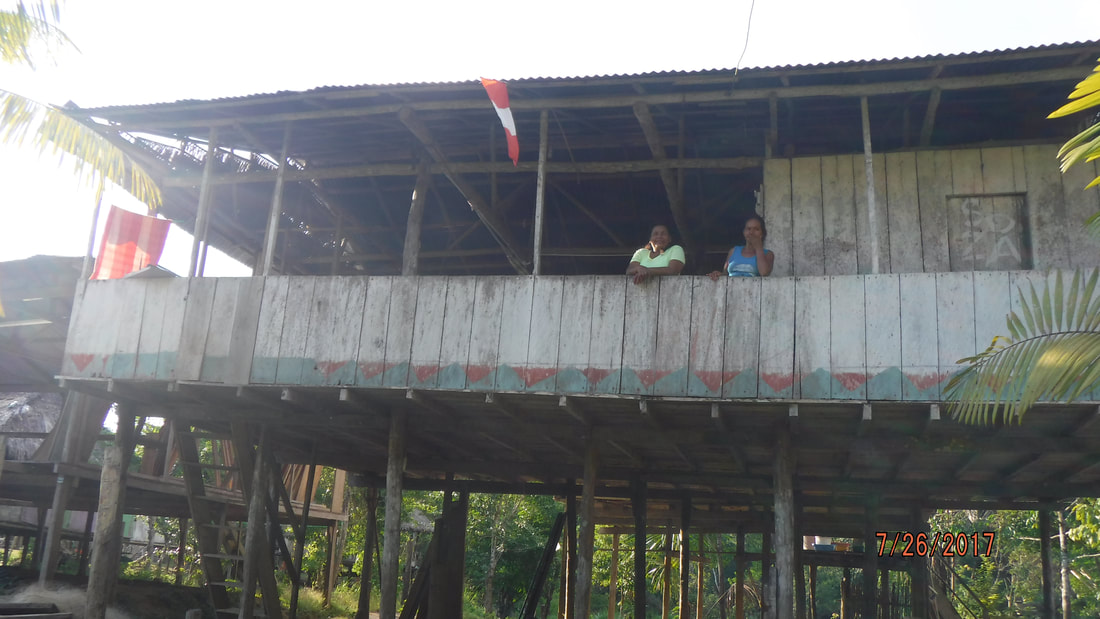
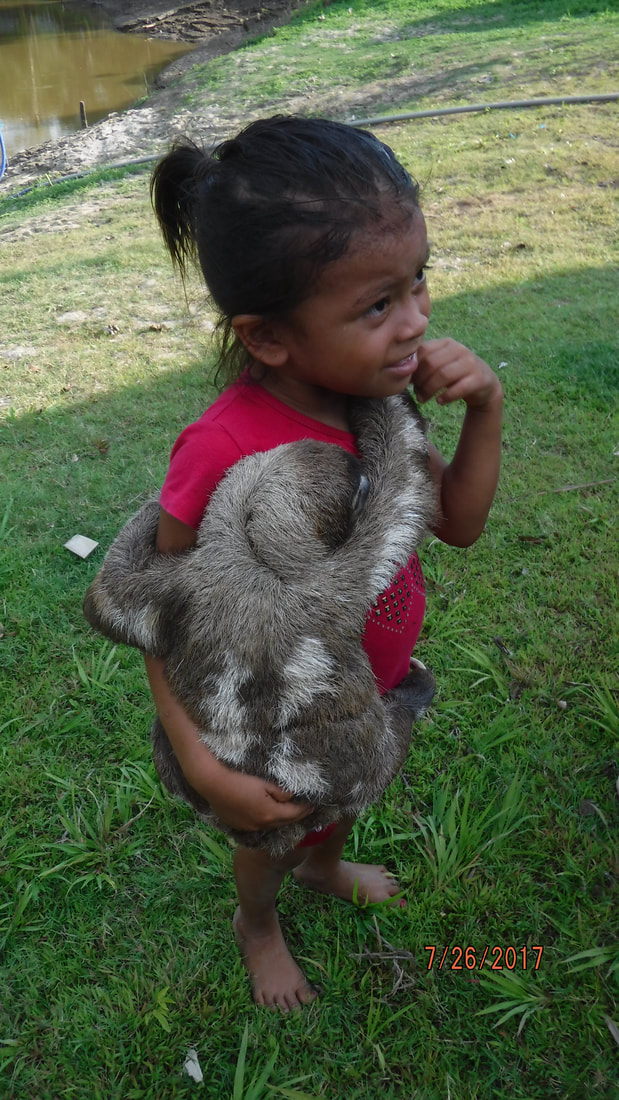
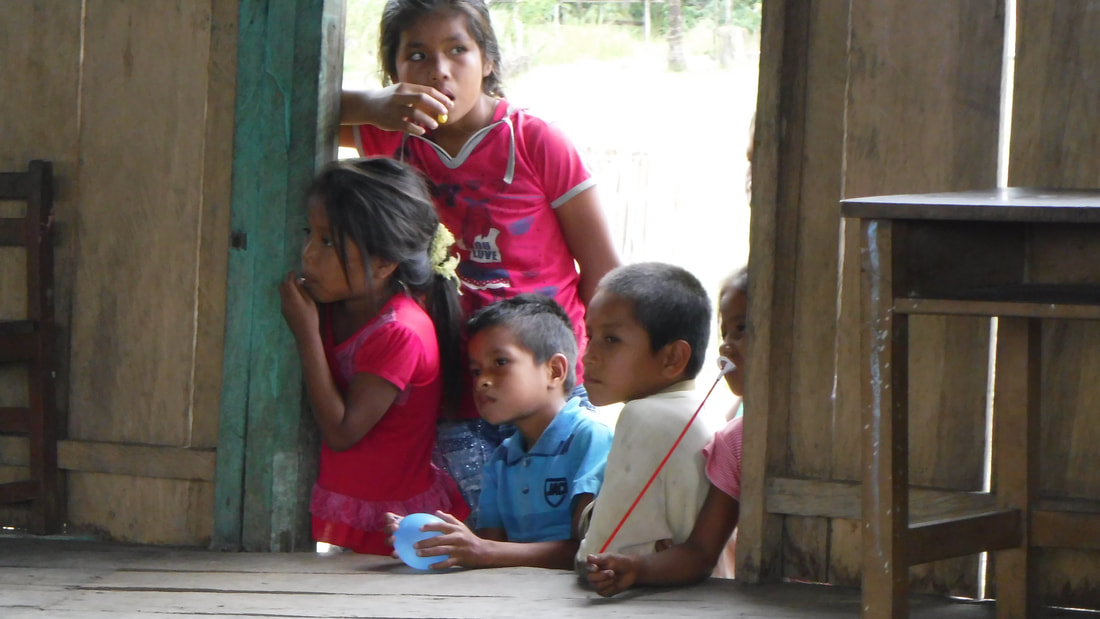
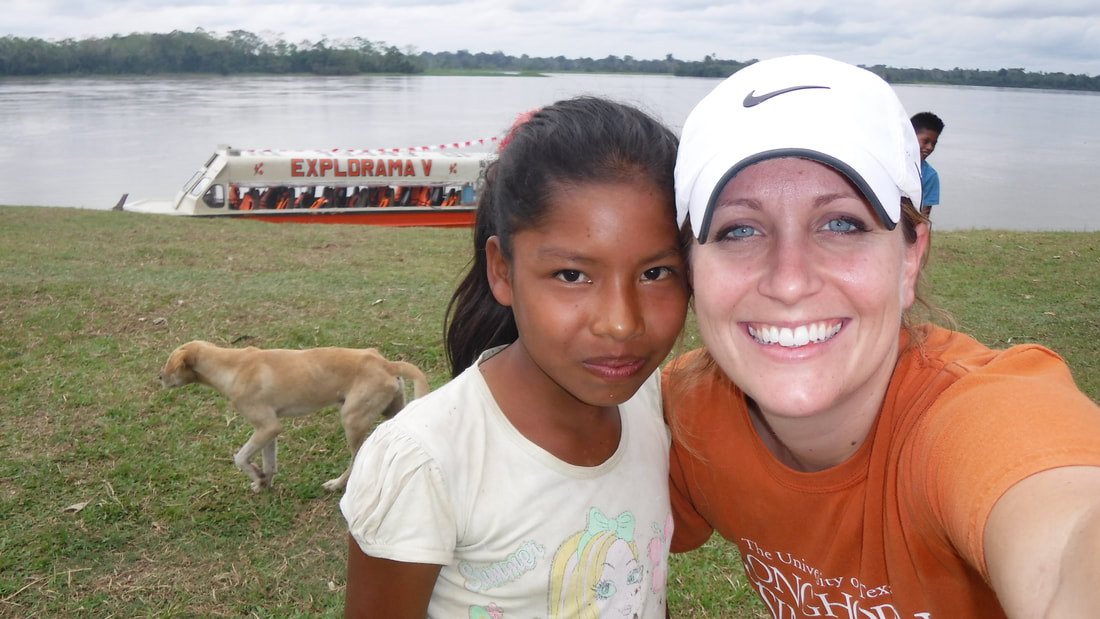
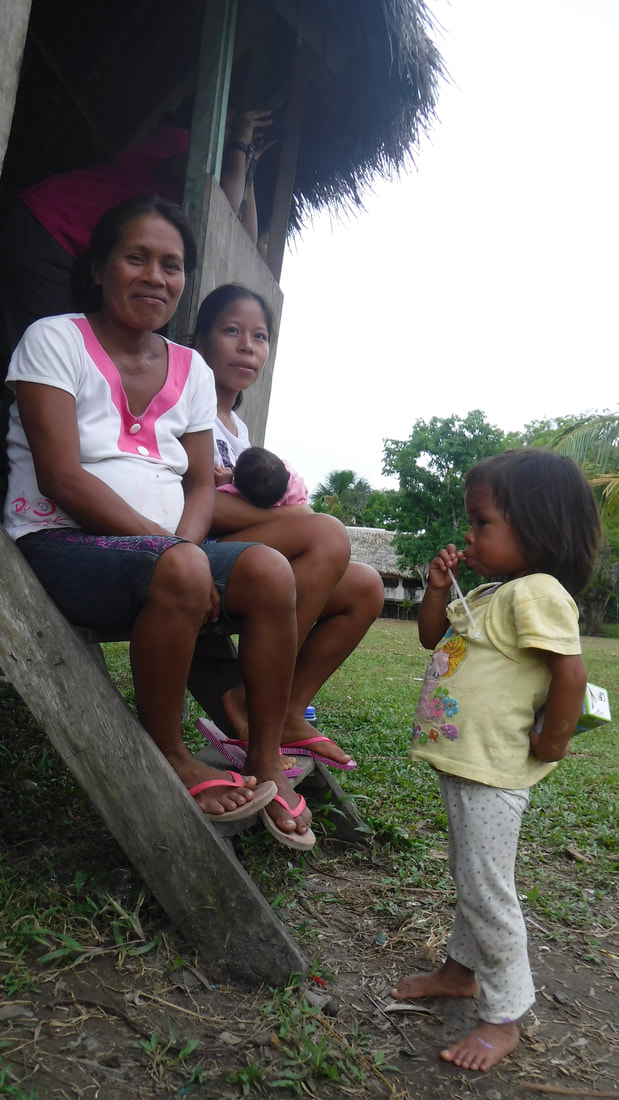
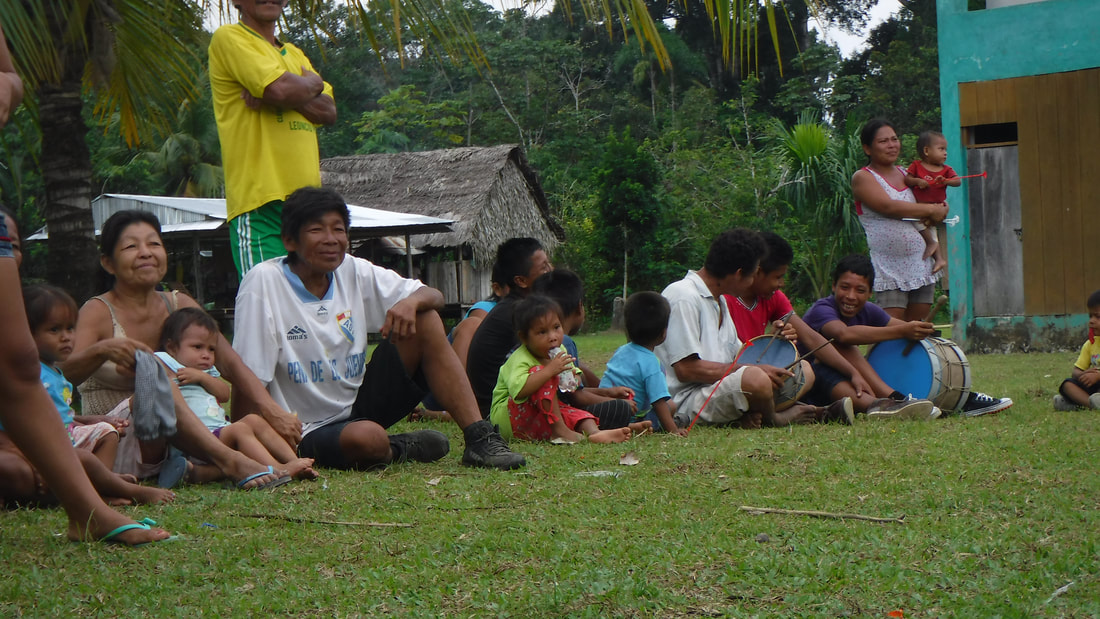
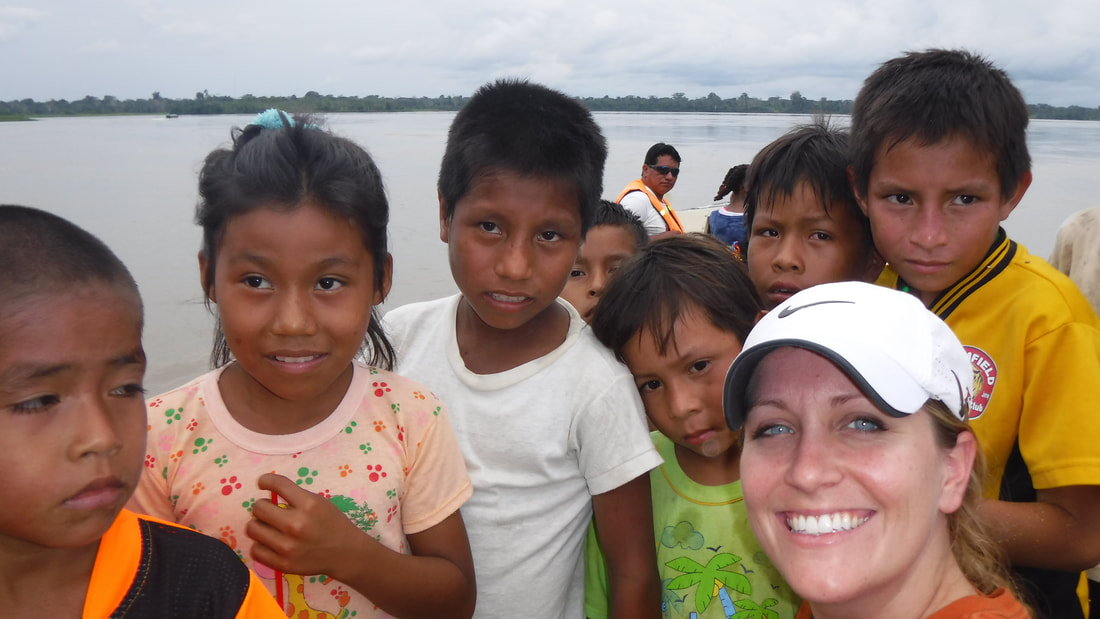
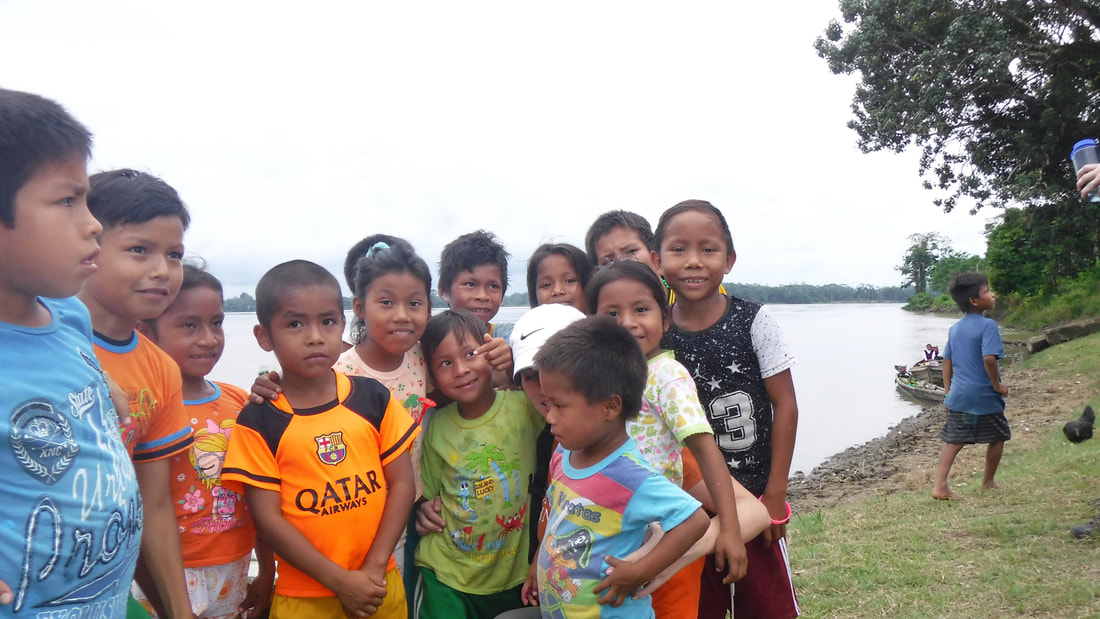
5. research Tribes in the Amazon
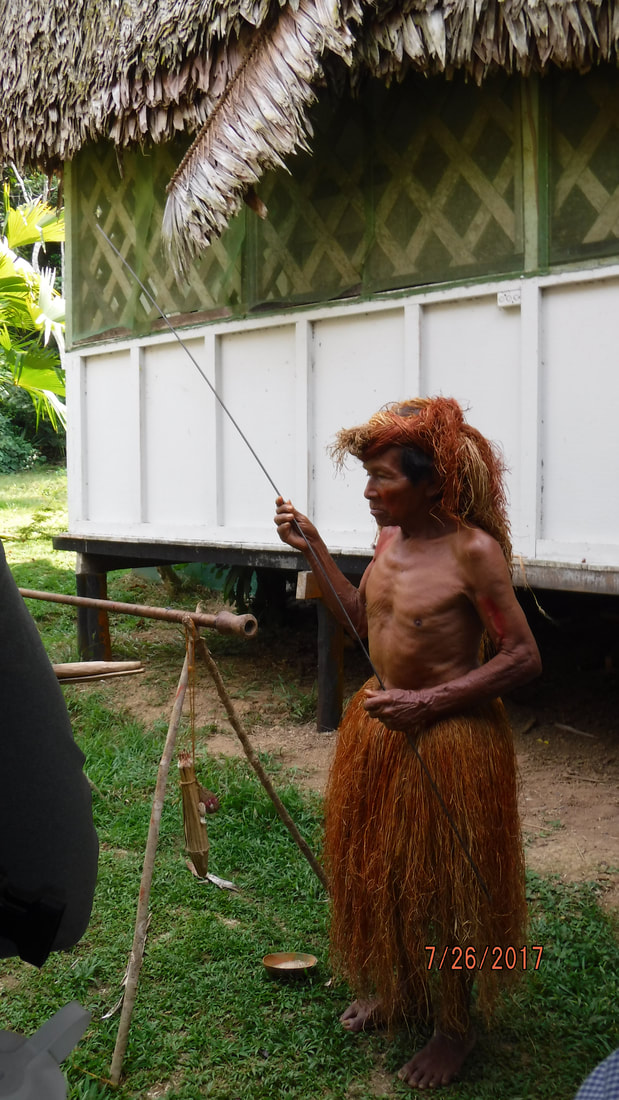
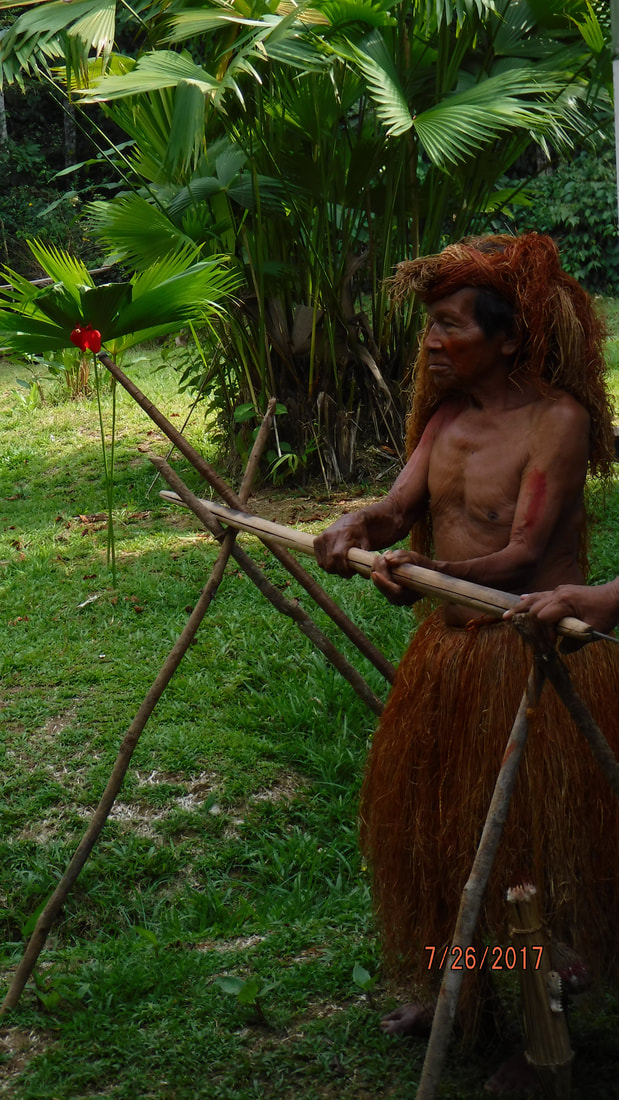
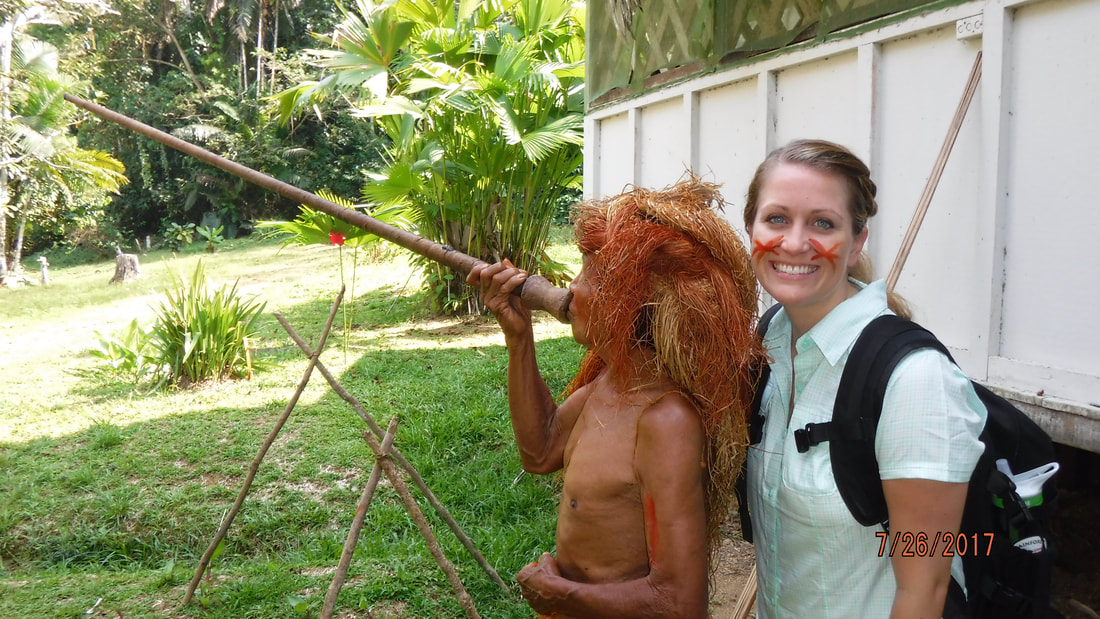
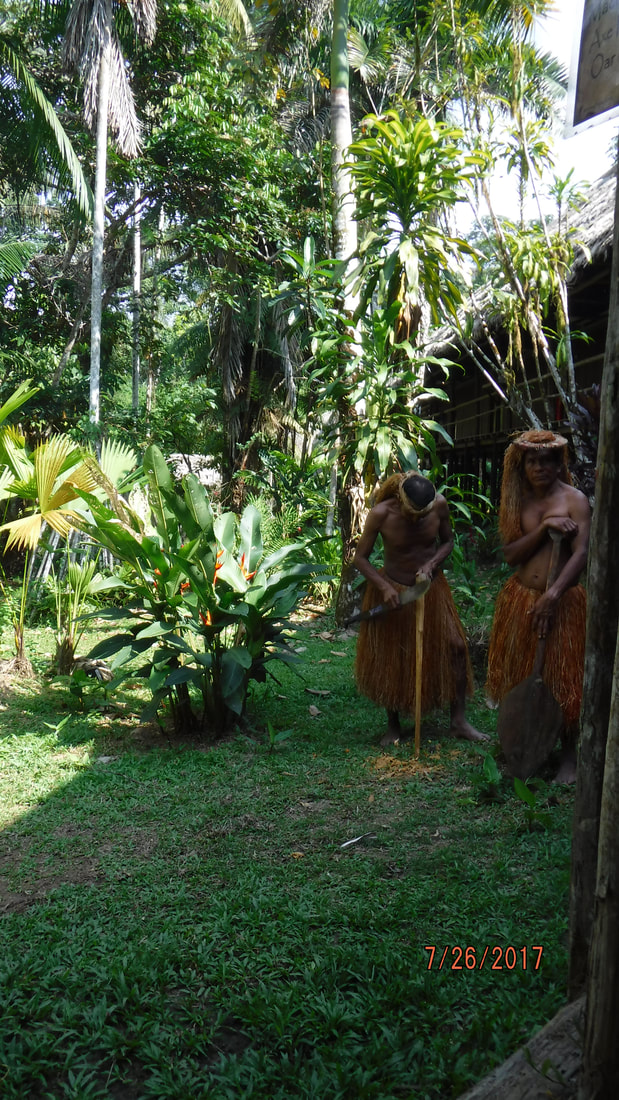
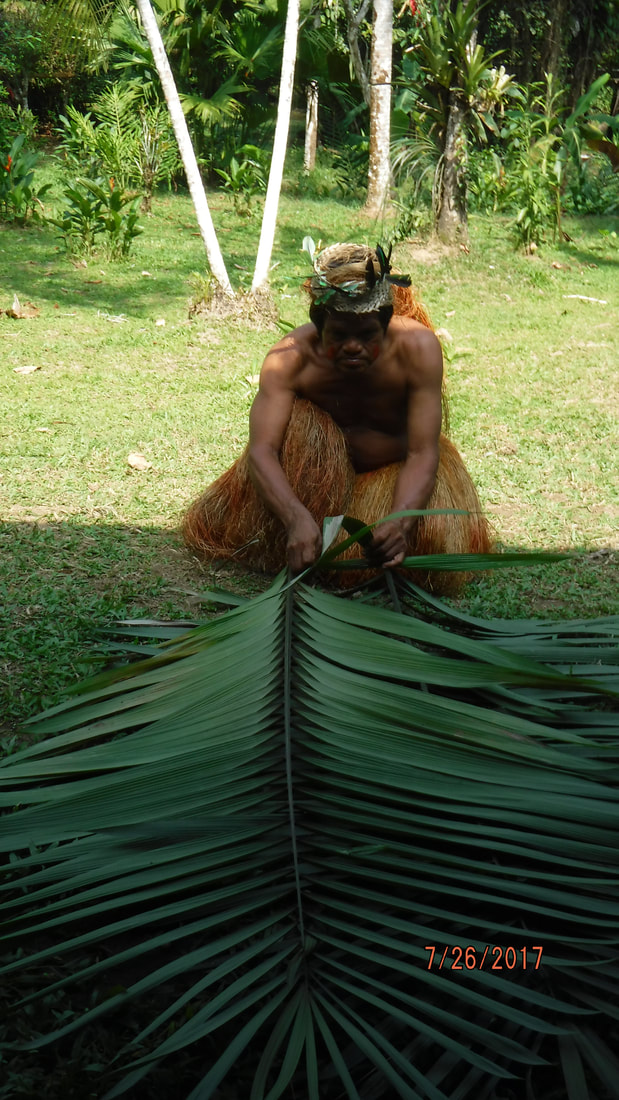
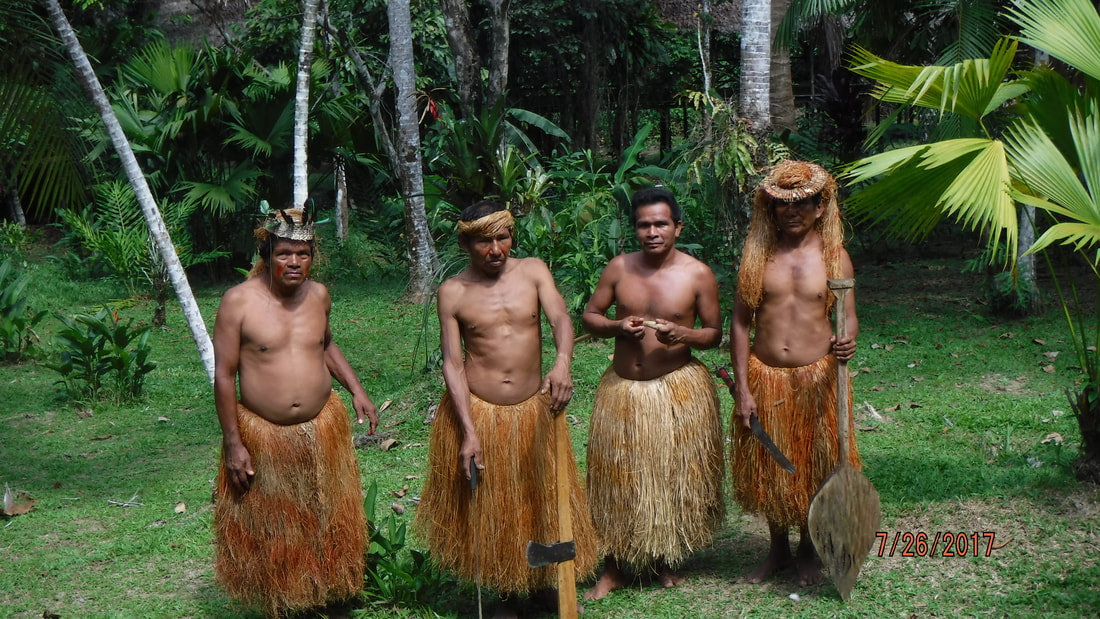
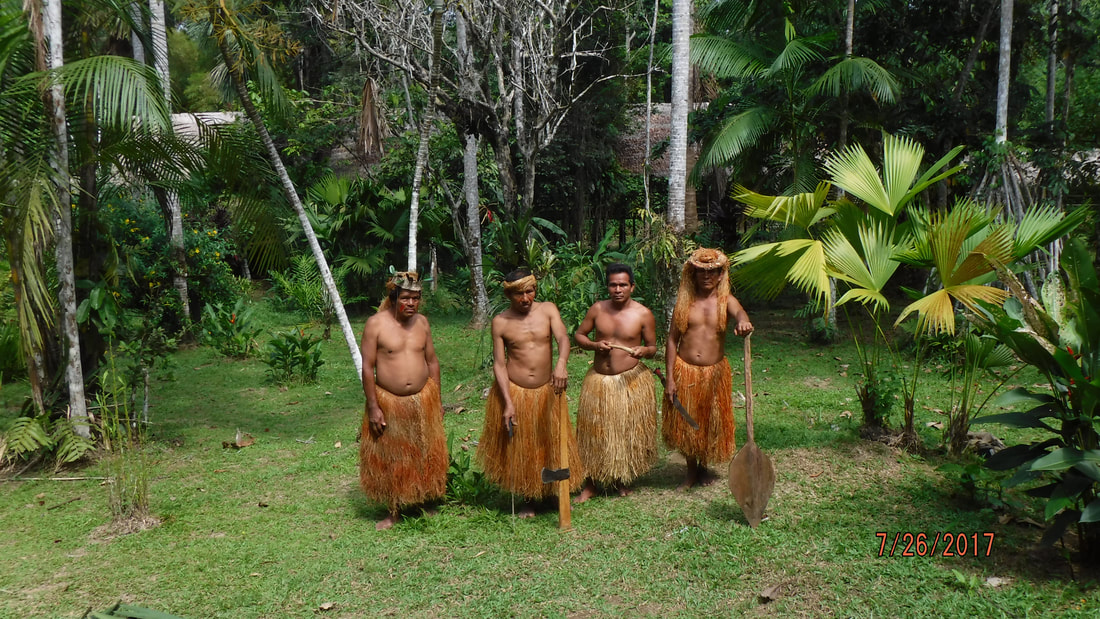
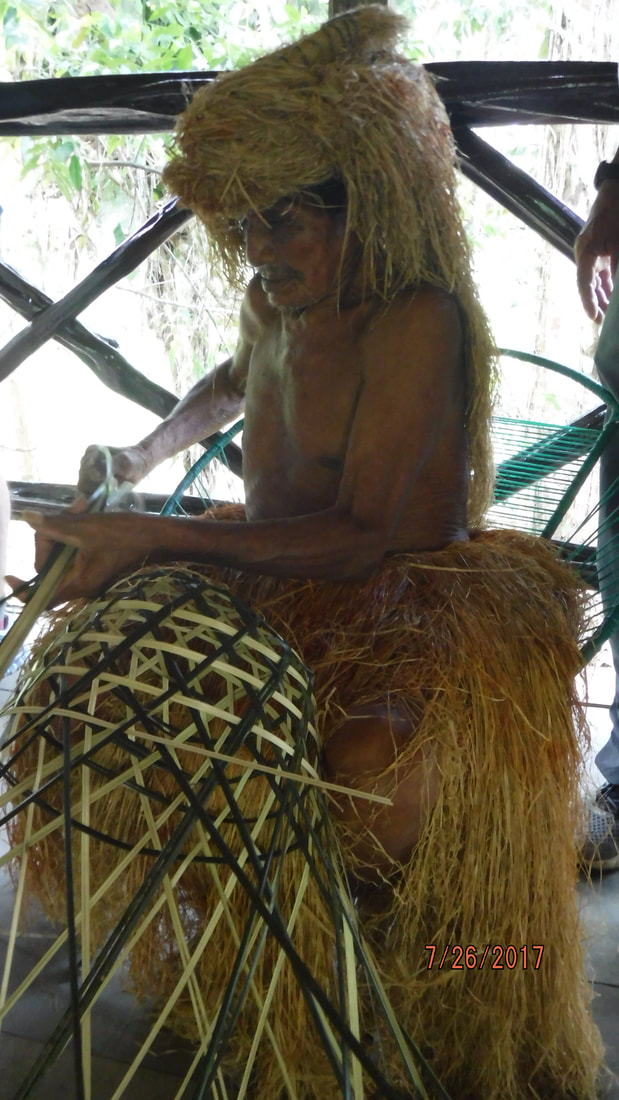
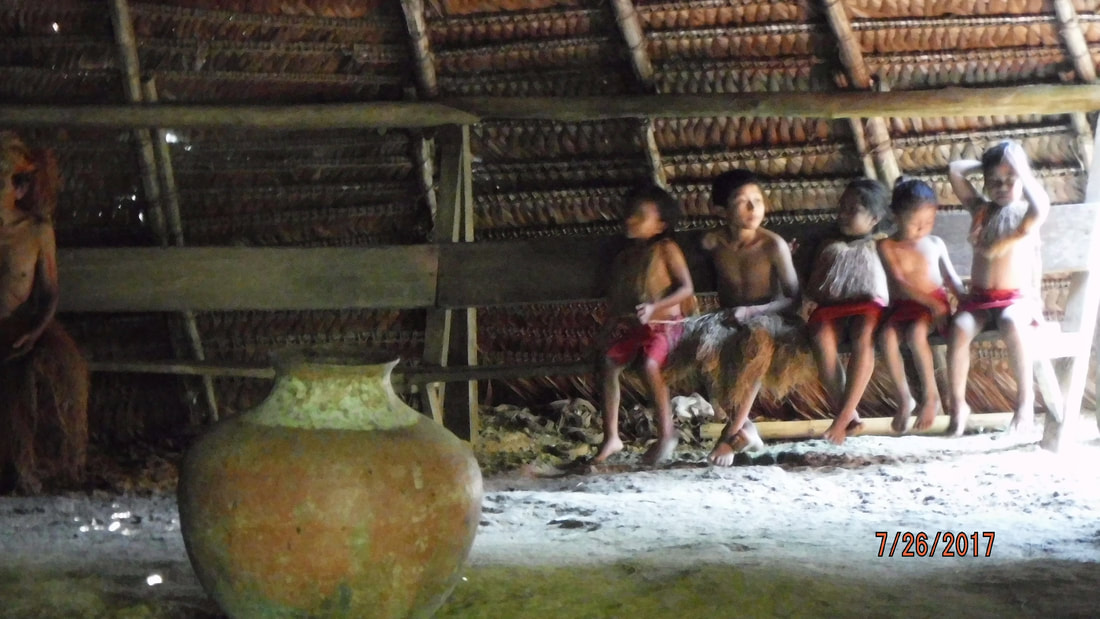
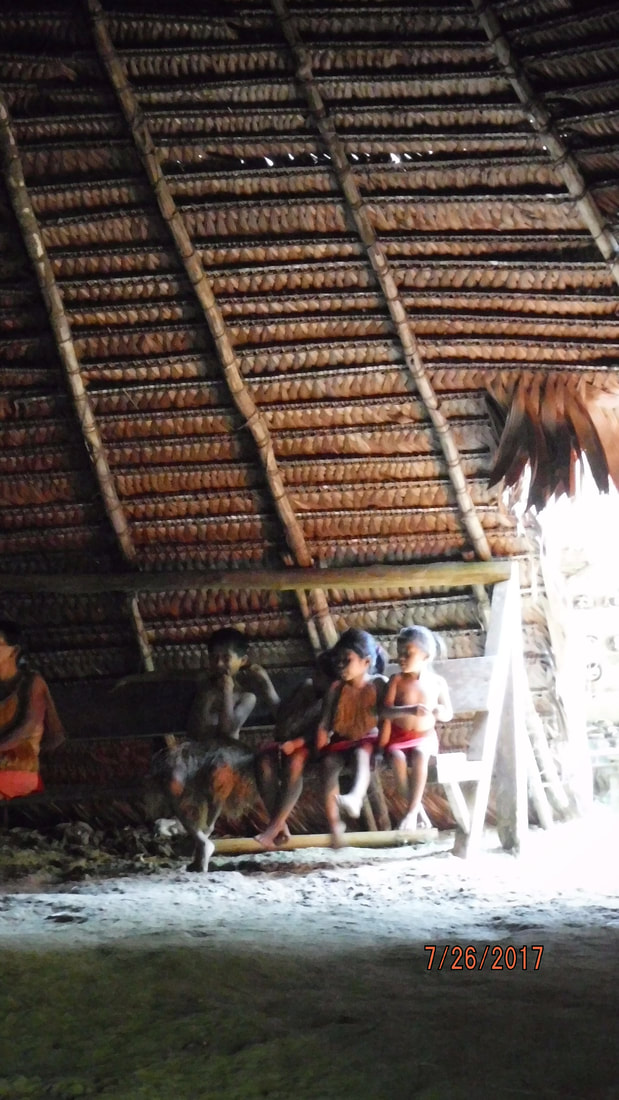
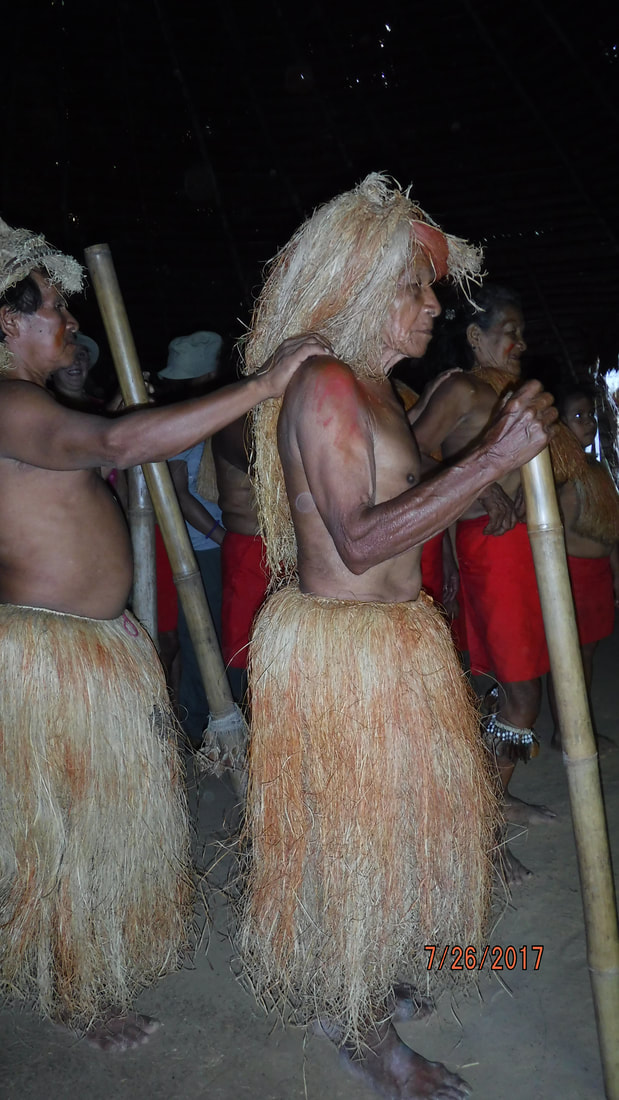
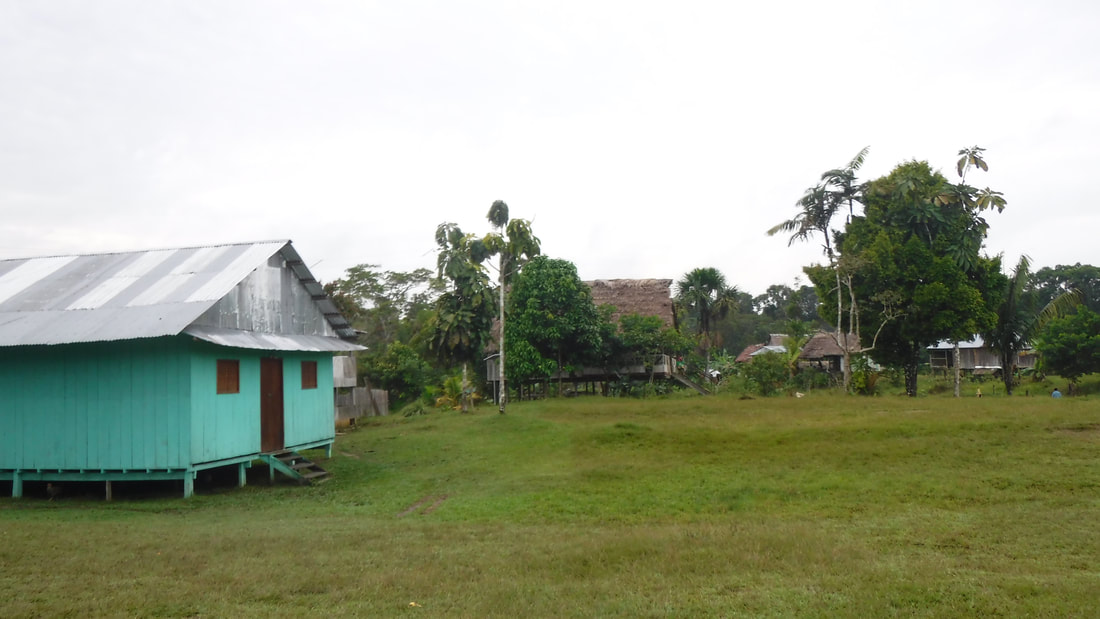
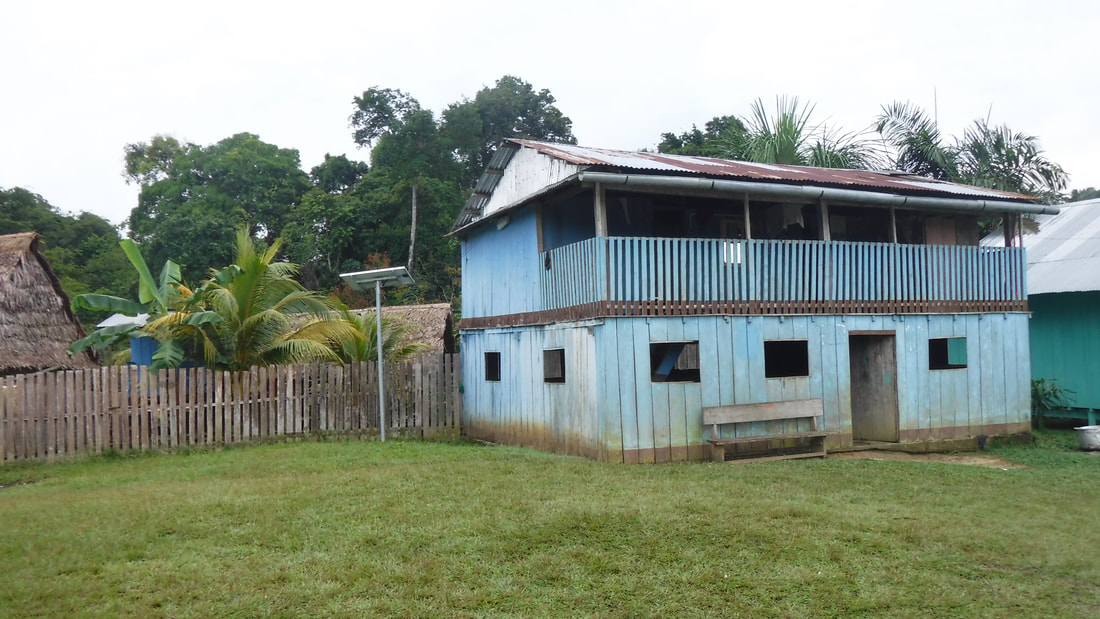
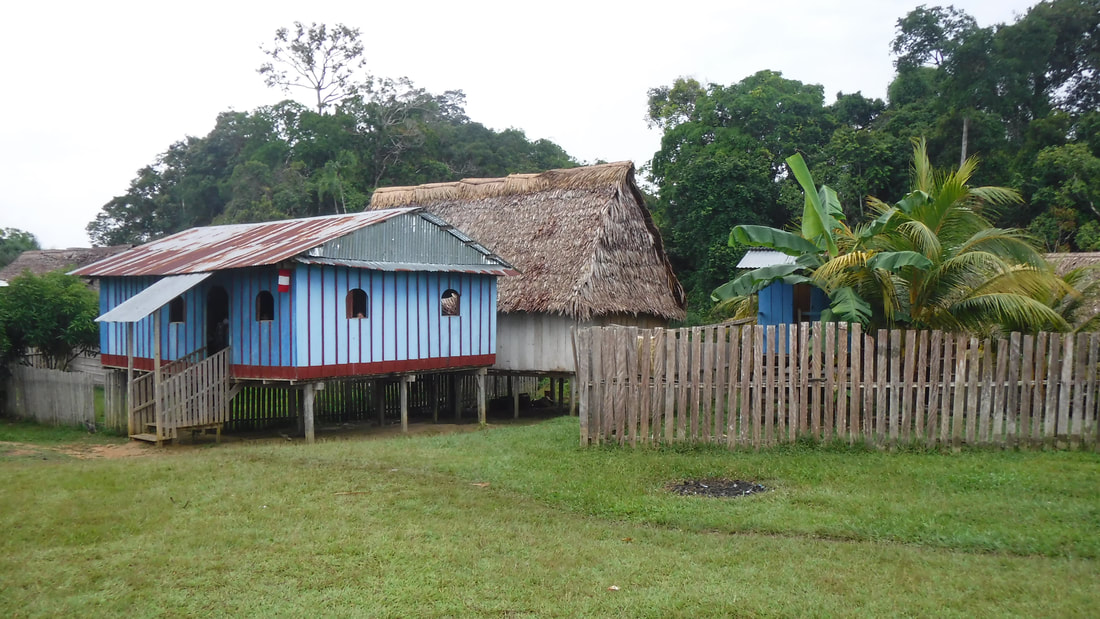
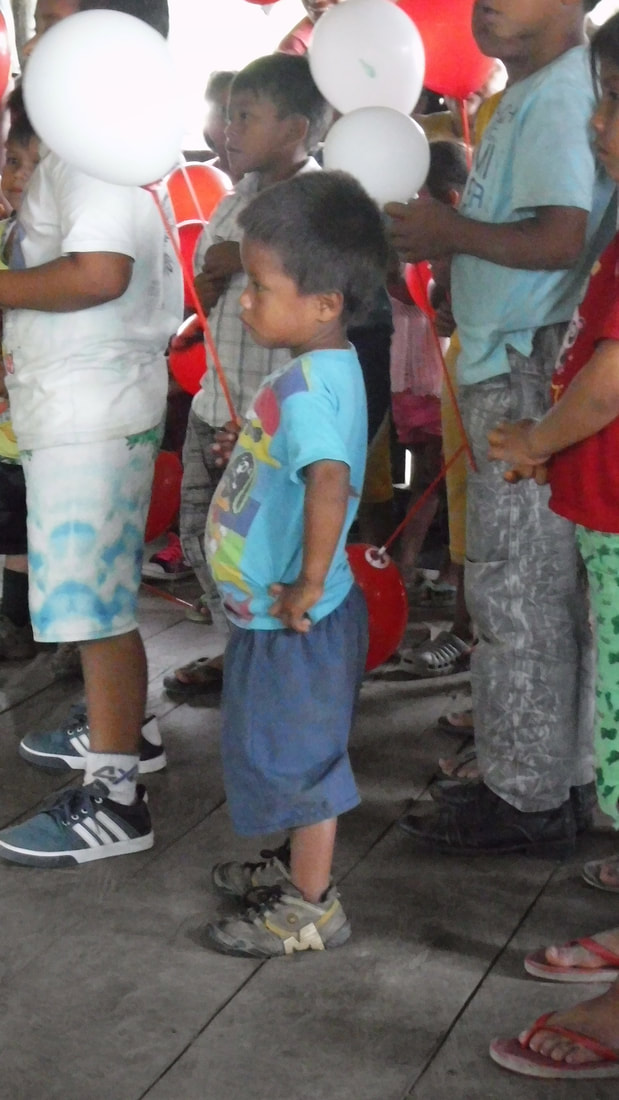
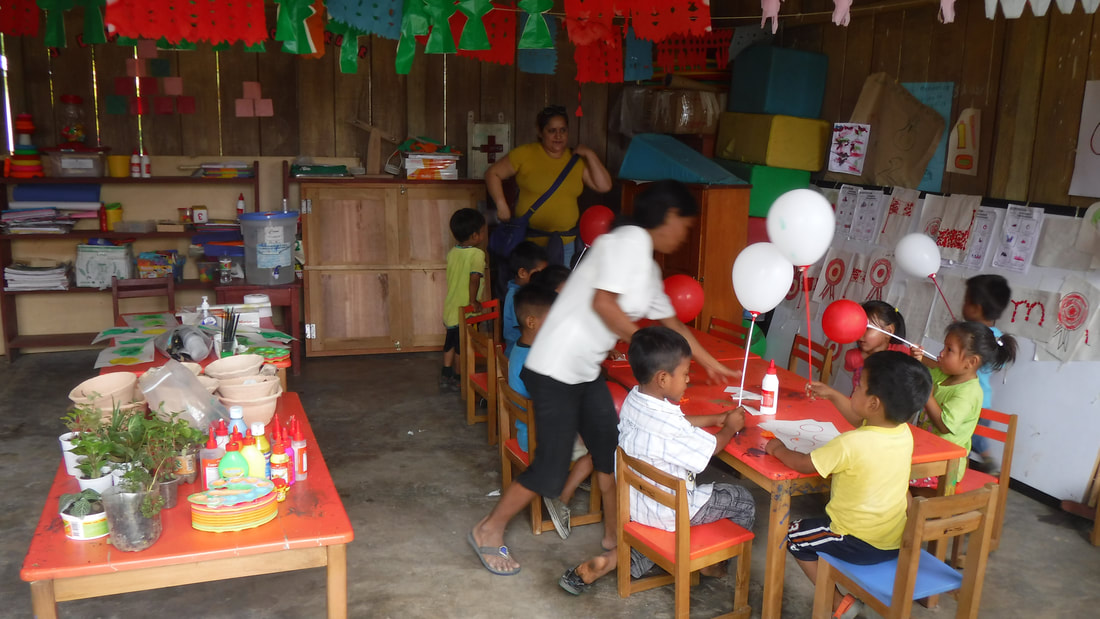
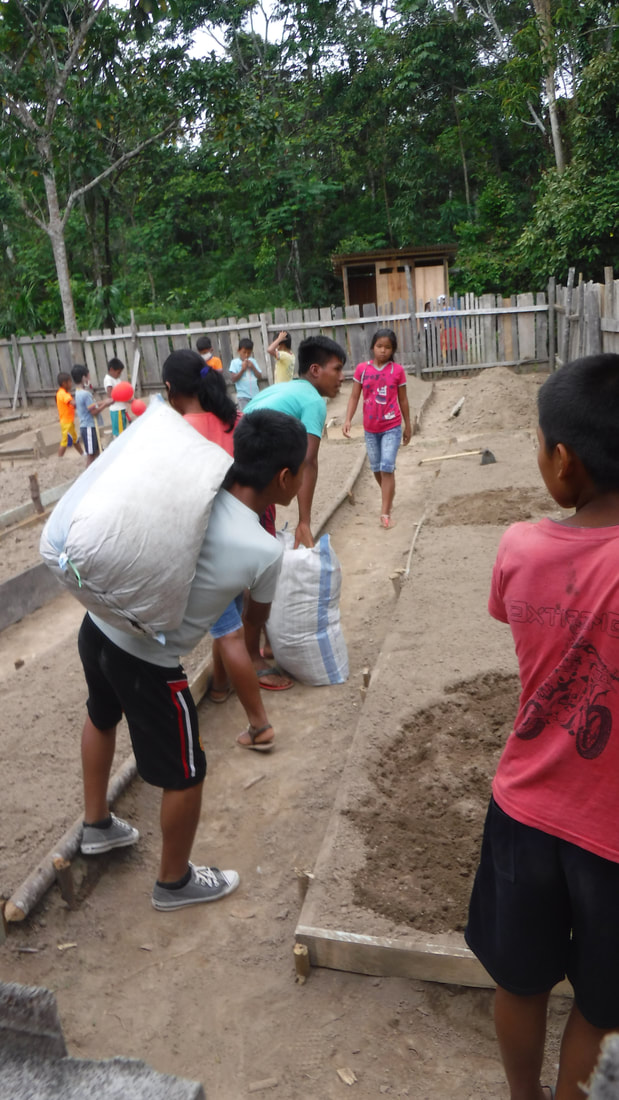
Objective: Students will be globally aware of different ways of living around the world. Students will learn about one specific tribe in the Amazon. Students will know the name of the tribe, how they live, what they eat, where they live, and what language they speak.
TEKS: Social Studies: learn about another culture, learn about natives, geography
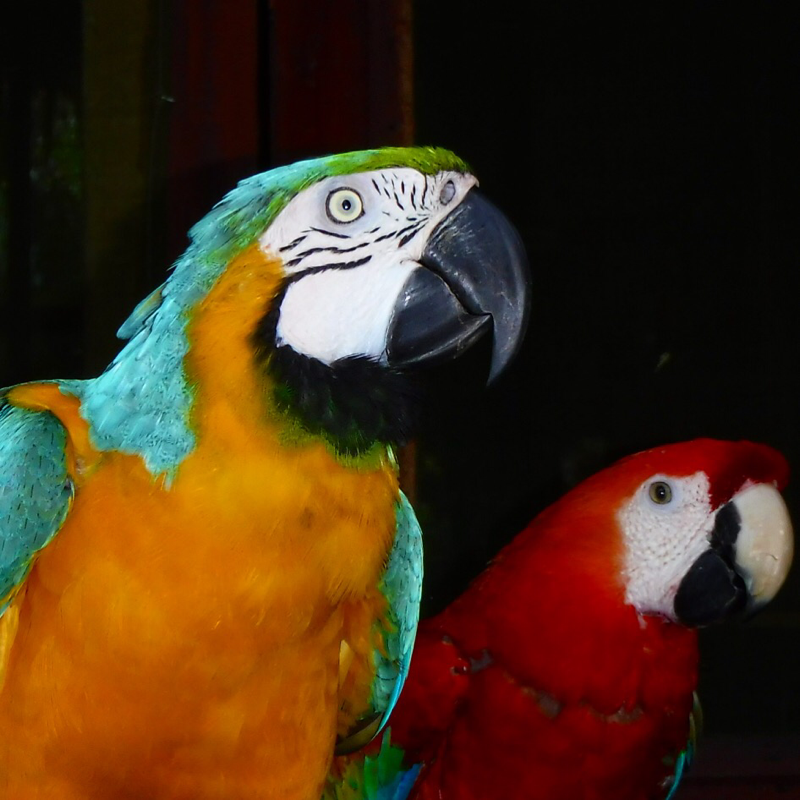
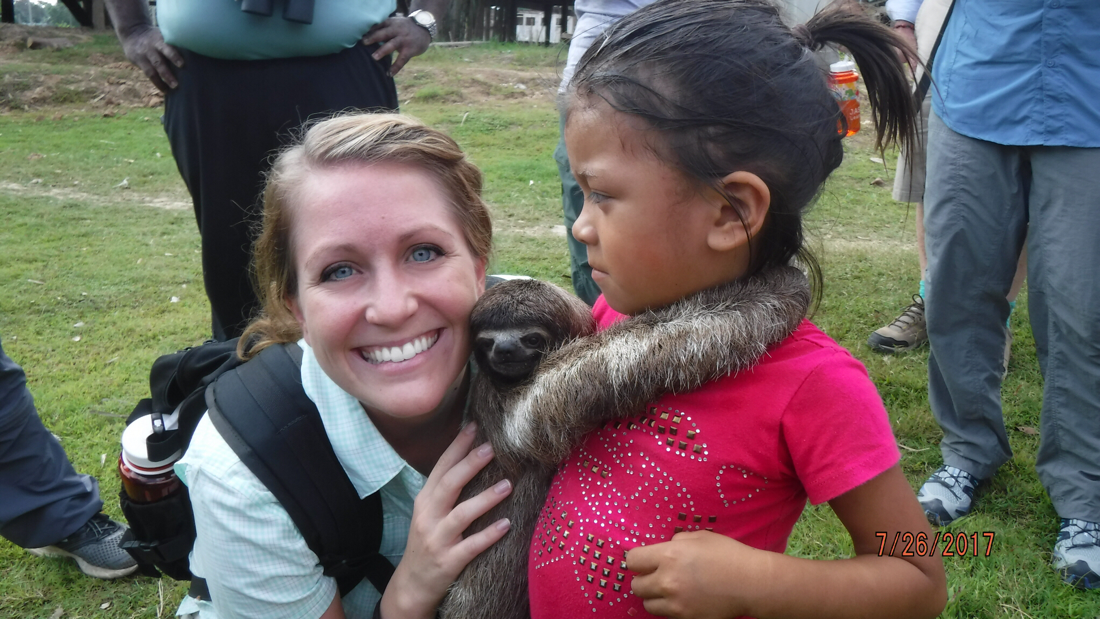
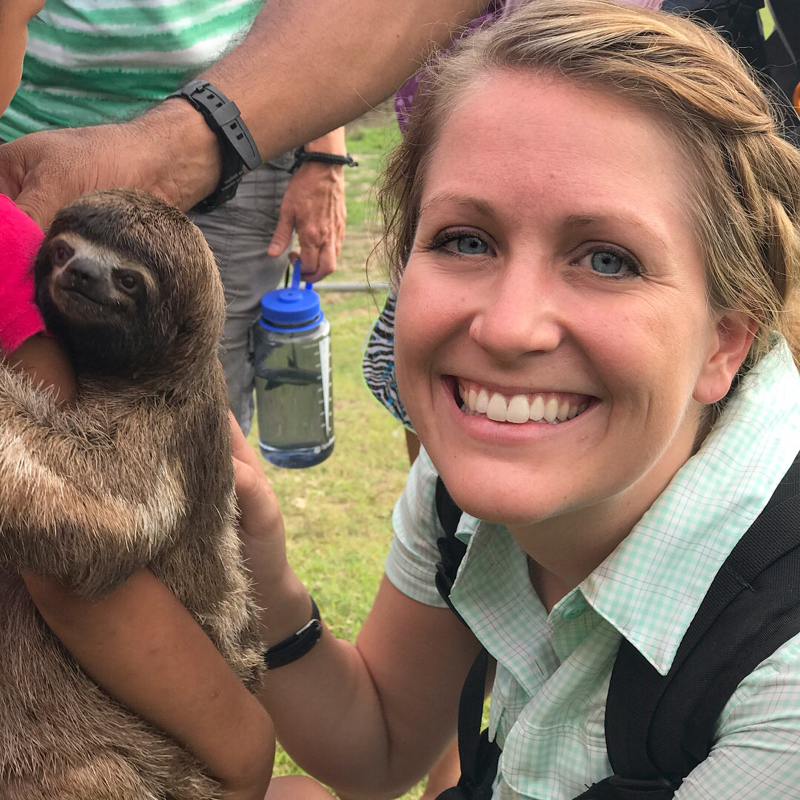
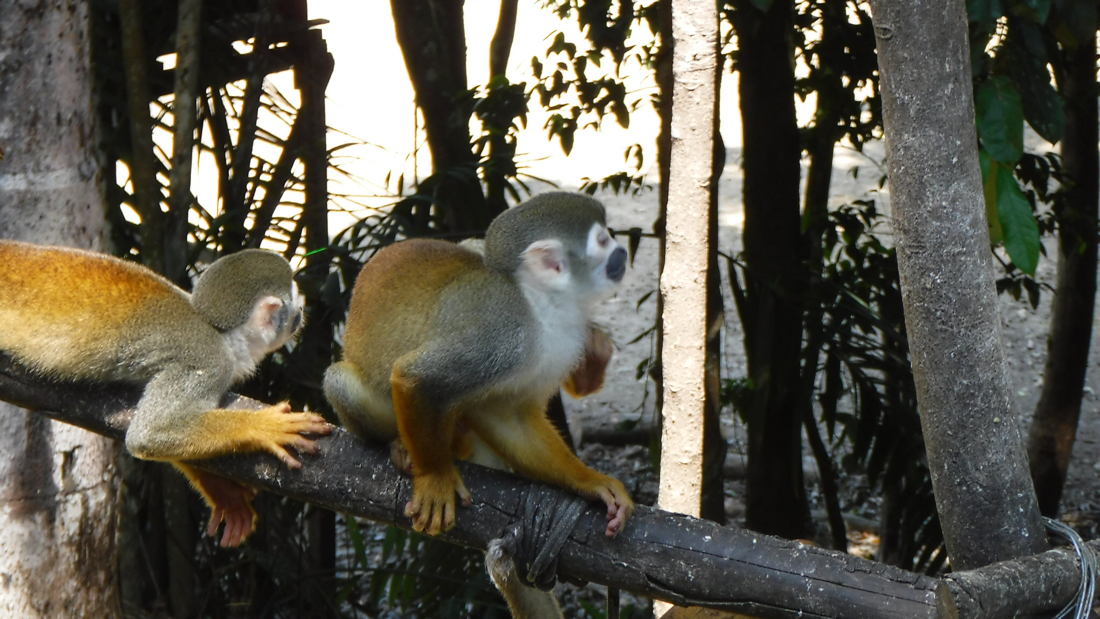
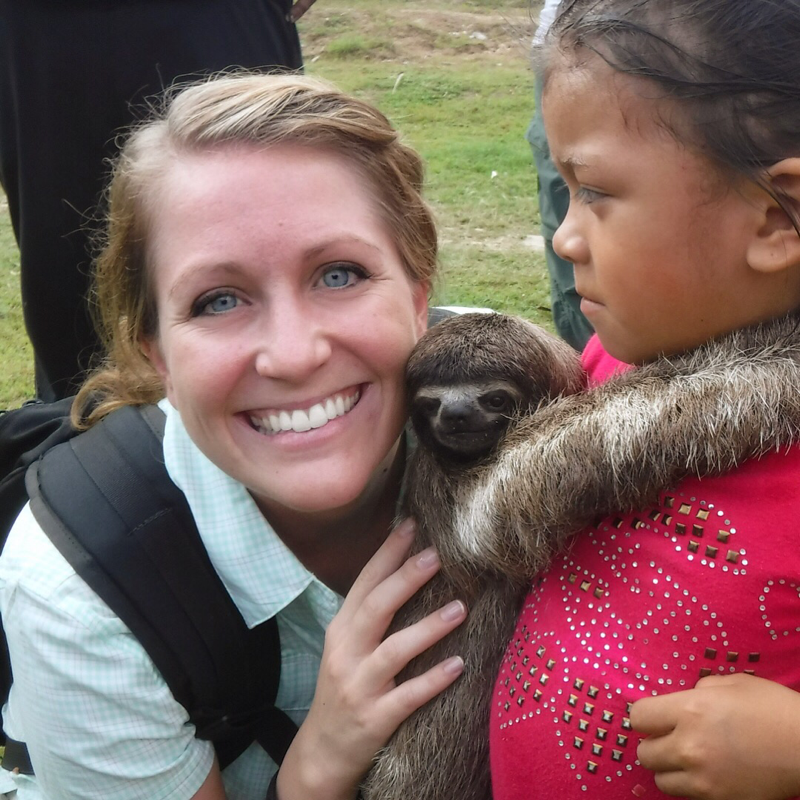
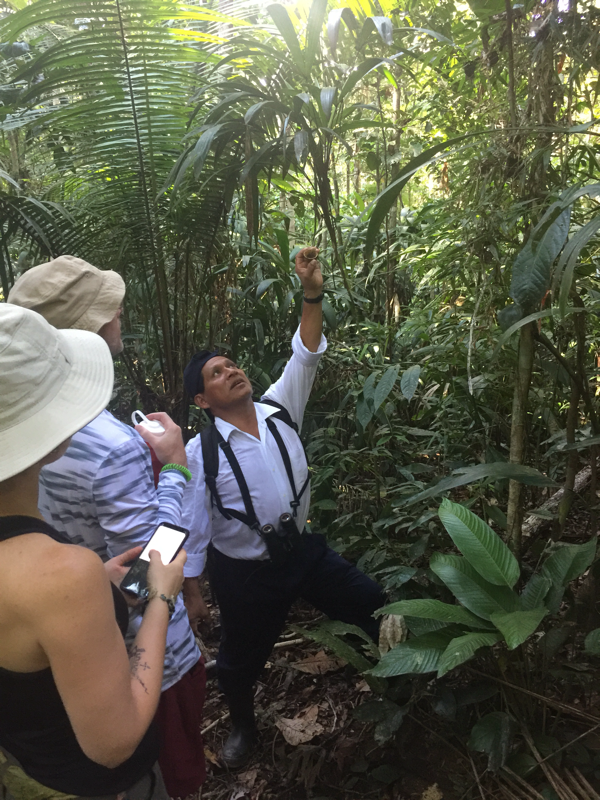
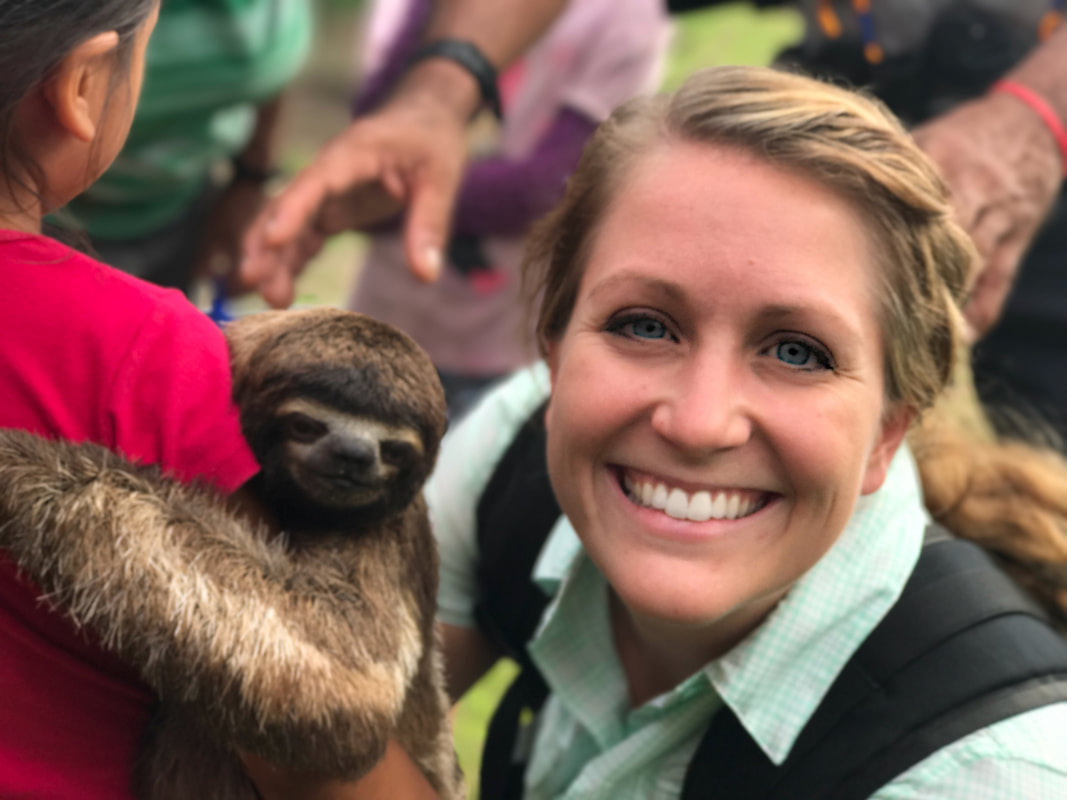
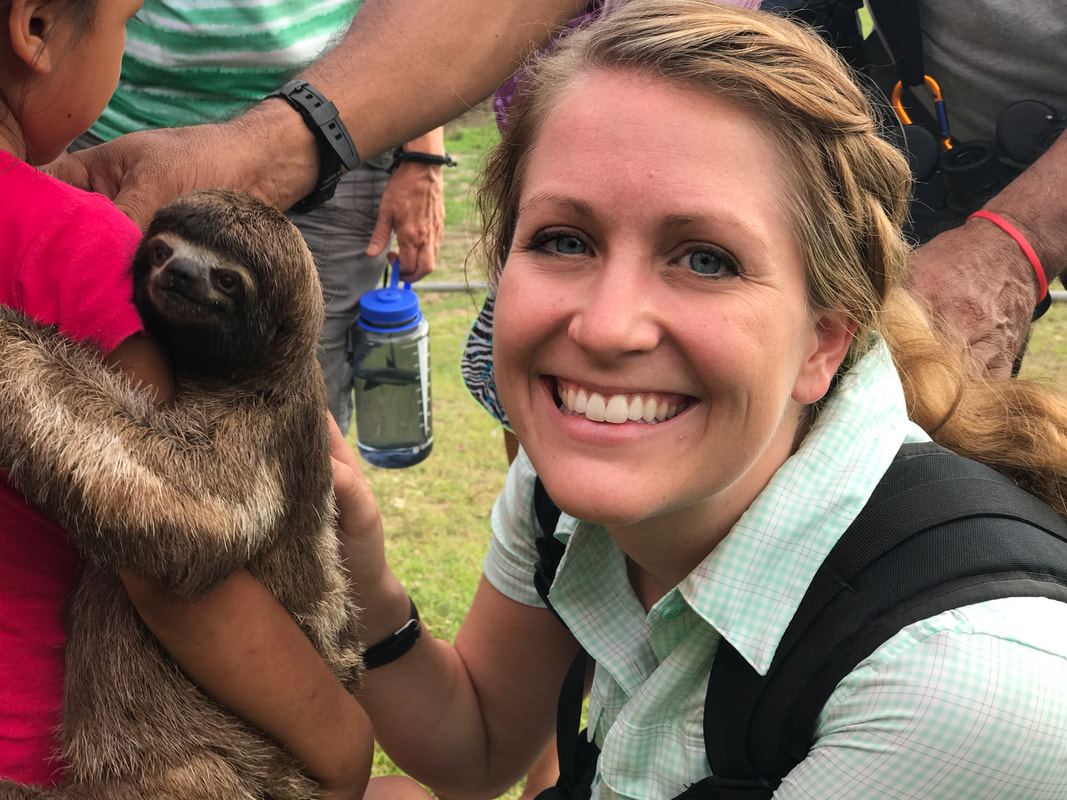
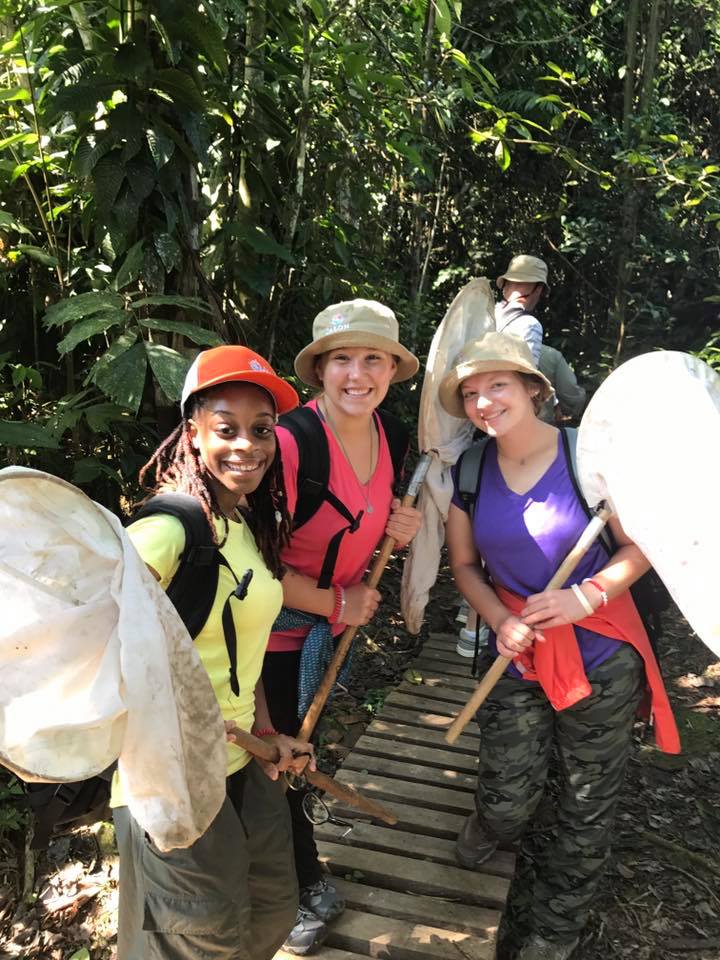
Hook: Show students pictures and videos of the Yagua tribe Mrs. Cotten worked with. Show parts of the documentary on tribes in the Amazon. Read a picture book about tribes in the Amazon as a class.
Lesson Plan: Students will work in groups to research a specific tribe. After students collect research, students will make a powerpoint or google slides presentation on the tribe they studied.
TEKS: Social Studies: learn about another culture, learn about natives, geography
Hook: Show students pictures and videos of the Yagua tribe Mrs. Cotten worked with. Show parts of the documentary on tribes in the Amazon. Read a picture book about tribes in the Amazon as a class.
Lesson Plan: Students will work in groups to research a specific tribe. After students collect research, students will make a powerpoint or google slides presentation on the tribe they studied.


6. Global Warming
2 Week Lesson includes:
1. How Fossil Fuels are formed
2. Carbon Dioxide/Oxygen Cycle
3. Ozone Layer
4. Alternative Energy Sources
5. Design Wind Turbine
6. Build a model of a generator (extra credit if it works!)
7. Model of how alternative energy sources use generators
8. Model of Carbon Dioxide Oxygen Cycle
9. Write public officials, pleading for the funding and further use of alternative energy sources
10. Make a plan with your parents - to conserve energy, use less fossil fuels, ride your bike, public transportation, etc...
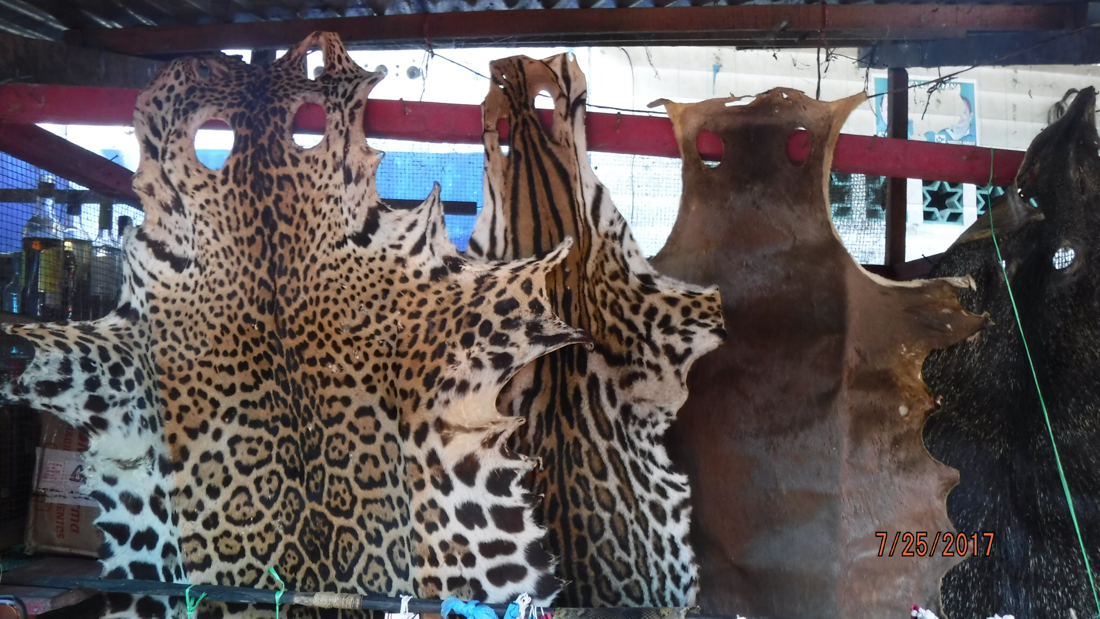
7. Logging and Deforestation
Lesson Plans coming soon.
Dr. Meg Lowman- rainforests are in trouble!
Dr. Meg Lowman- rainforests are in trouble!
8. why save the rainforest?
Lesson Plans coming soon.
9. Conservation: What can we do to help?
10. Study Ecotourism and Humanitarian Tourism; plan an eco-friendly expedition
Lesson Plans coming soon.
What is ecotourism? USA Today
What is ecotourism? USA Today
11. Make a brochure for Conservation organizations
Research Adopt-a-School or another type of non-profit organization that helps educate, aid and conserve the people, plants and animals of the Amazon.
Lesson Plans coming soon.
Adopt-A-School
CONOPAC Water Program
Adopt-A-School
CONOPAC Water Program
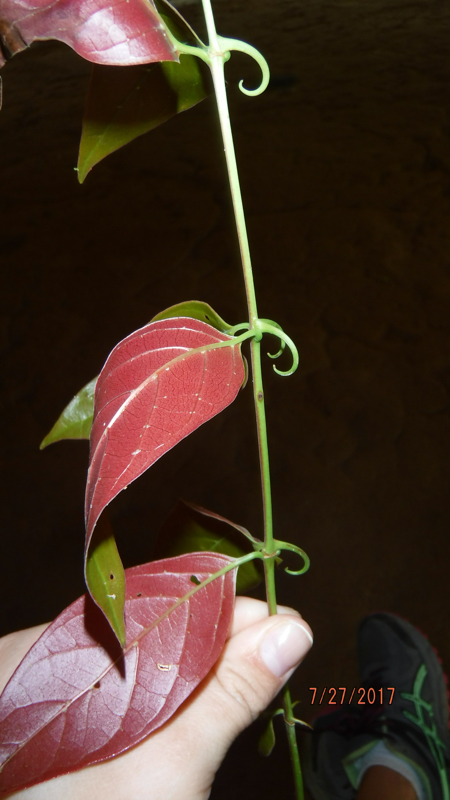
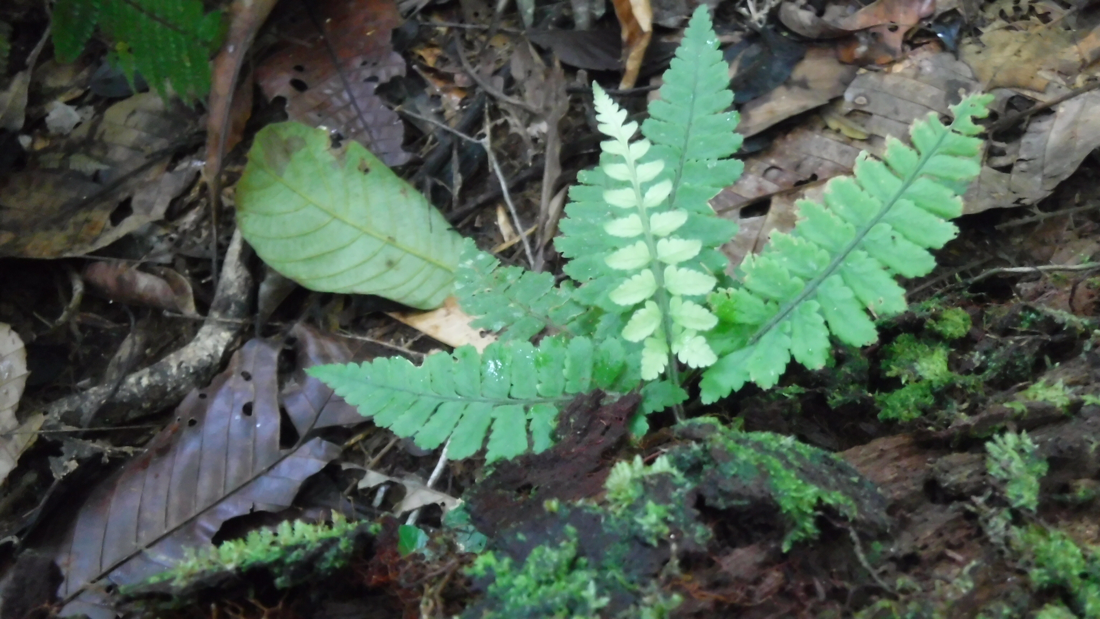
12. How long to leaves live? year long study
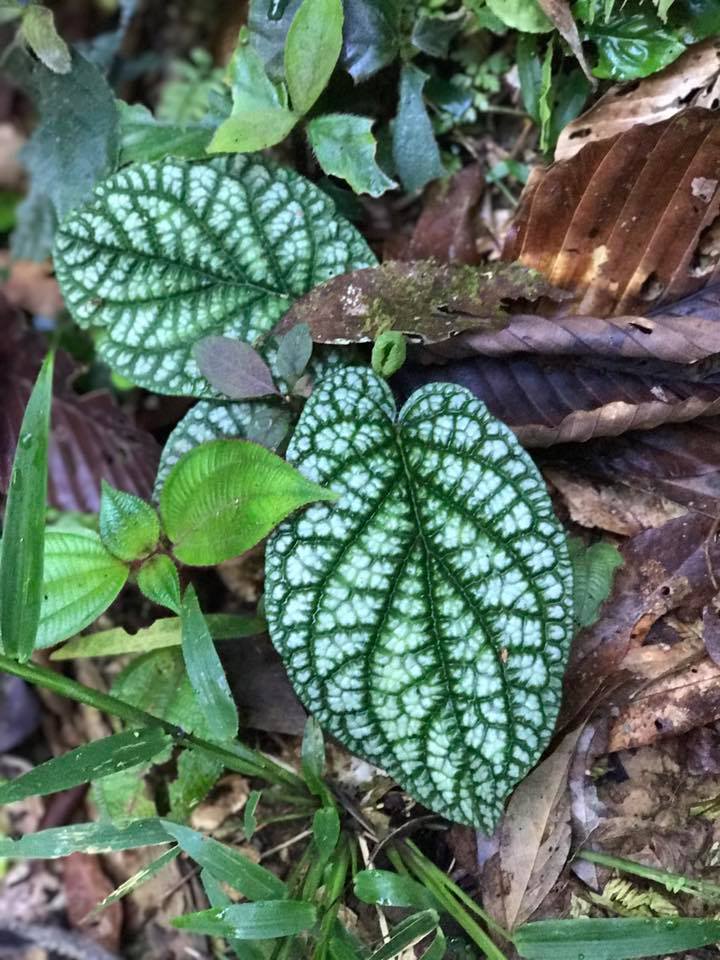
Objective: Students will learn how different plants have different life spans, and structural and chemical adaptations to defend from predation, weather and the elements.
TEKS: adaptations, photosynthesis, water cycle, weather, herbivores, life cycles of plants
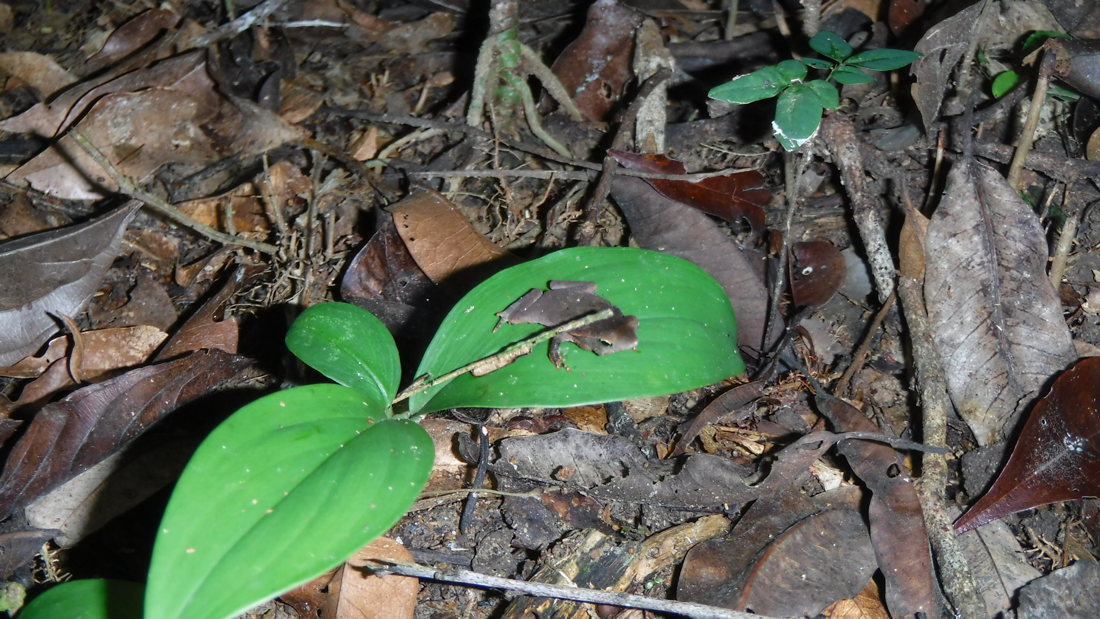
Hook: Take students outside to find their favorite leaves.
Lesson Plan: Students will trace their most favorite leaves on the playground or at a nearby creek or park. They shouldn't collect these leaves, but just trace them, if possible. Each of their traced leaves, they should number on their graph paper, and also number on the leaf itself with a permanent marker. Tell them they will be watching these leaves for the whole year! They will love this! Then, whenever the kids need a brain break, the class can take a hike outside to observe their leaves. Are they still there? Are they still alive? Once their leaf has died or disappeared, they need to mark the date. Students should study their plant species to see the average life span of that type of leaf and if their leaf is within that suggested time. Tell the students that some leaves can live 20 years! Their leaf may live throughout this whole time! Other leaves may only last a few days or weeks. Students must research what could be causes of this, and the life cycle of their specific species.
TEKS: adaptations, photosynthesis, water cycle, weather, herbivores, life cycles of plants
Hook: Take students outside to find their favorite leaves.
Lesson Plan: Students will trace their most favorite leaves on the playground or at a nearby creek or park. They shouldn't collect these leaves, but just trace them, if possible. Each of their traced leaves, they should number on their graph paper, and also number on the leaf itself with a permanent marker. Tell them they will be watching these leaves for the whole year! They will love this! Then, whenever the kids need a brain break, the class can take a hike outside to observe their leaves. Are they still there? Are they still alive? Once their leaf has died or disappeared, they need to mark the date. Students should study their plant species to see the average life span of that type of leaf and if their leaf is within that suggested time. Tell the students that some leaves can live 20 years! Their leaf may live throughout this whole time! Other leaves may only last a few days or weeks. Students must research what could be causes of this, and the life cycle of their specific species.


13. Leaf Survey: How many perfect leaves exist?
A look into relationship between insects and plants
Objective: Students survey plants on the playground and identify the percentage of perfect, untouched leaves.
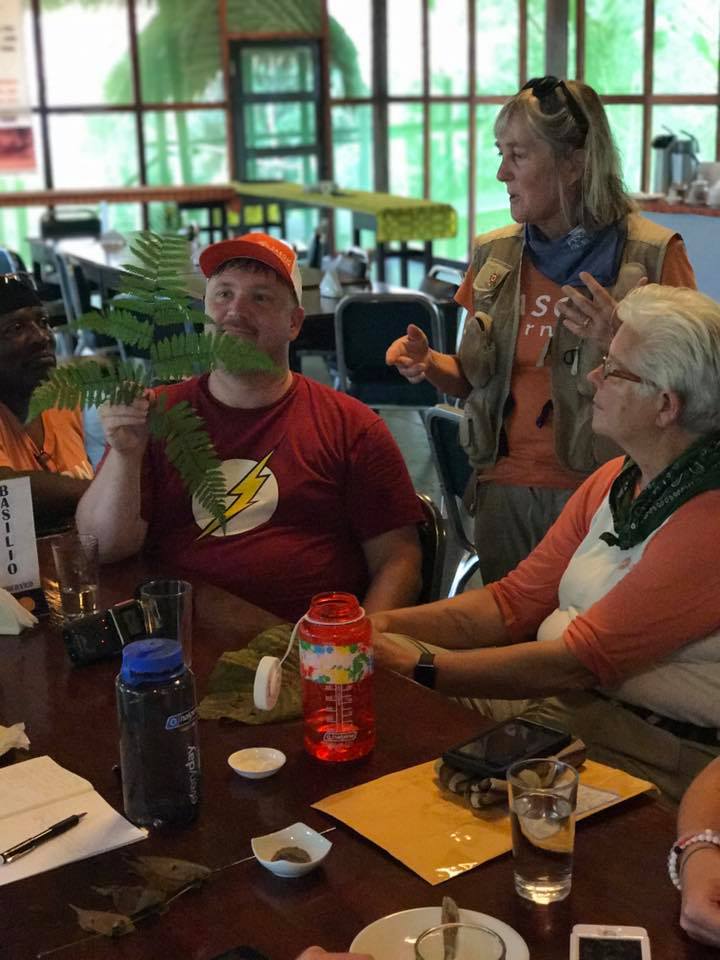
TEKS: ecology, photosynthesis, adaptations of plants and animals for survival
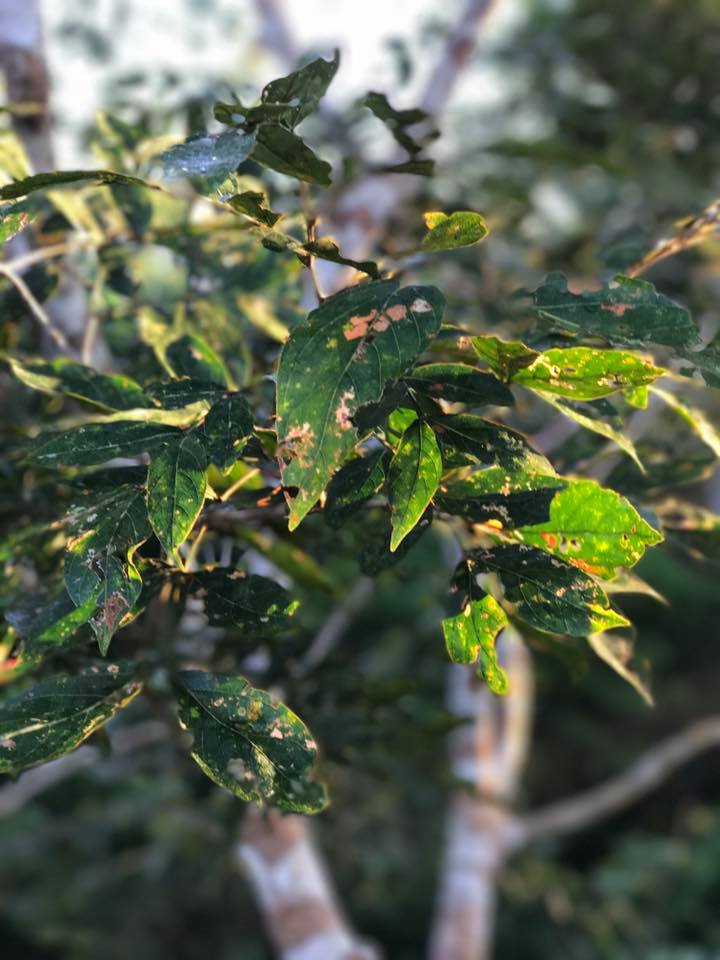
Hook: Teacher will place different leaves on the tables. The leaves will have a variety of markings (bite marks, holes, torn parts, laid insect eggs, mining). Students will observe the markings and hypothesize the cause of these markings. Then the teacher will educate the students on what caused this.
Lesson Plan: Teacher will explain how to conduct the survey: Students will take 20 steps, then count the first 10 leaves they spot, and keep track of the number of leaves that have no evidence of insect bit marks or mining. Then the students take 20 more steps and count another 10 leaves, and so on until they have counted 100 leaves. They will use math to conclude the number of perfect leaves out of total leaves and then add those amounts with the students of the whole class. Then the students will convert the fraction into a percent. This can be done throughout the course of the day, or for the whole year. Students could also compare different parts of the playground and conclude if there is more insect activity up high or down low, or in different parts of the outdoor play area.
TEKS: ecology, photosynthesis, adaptations of plants and animals for survival
Hook: Teacher will place different leaves on the tables. The leaves will have a variety of markings (bite marks, holes, torn parts, laid insect eggs, mining). Students will observe the markings and hypothesize the cause of these markings. Then the teacher will educate the students on what caused this.
Lesson Plan: Teacher will explain how to conduct the survey: Students will take 20 steps, then count the first 10 leaves they spot, and keep track of the number of leaves that have no evidence of insect bit marks or mining. Then the students take 20 more steps and count another 10 leaves, and so on until they have counted 100 leaves. They will use math to conclude the number of perfect leaves out of total leaves and then add those amounts with the students of the whole class. Then the students will convert the fraction into a percent. This can be done throughout the course of the day, or for the whole year. Students could also compare different parts of the playground and conclude if there is more insect activity up high or down low, or in different parts of the outdoor play area.

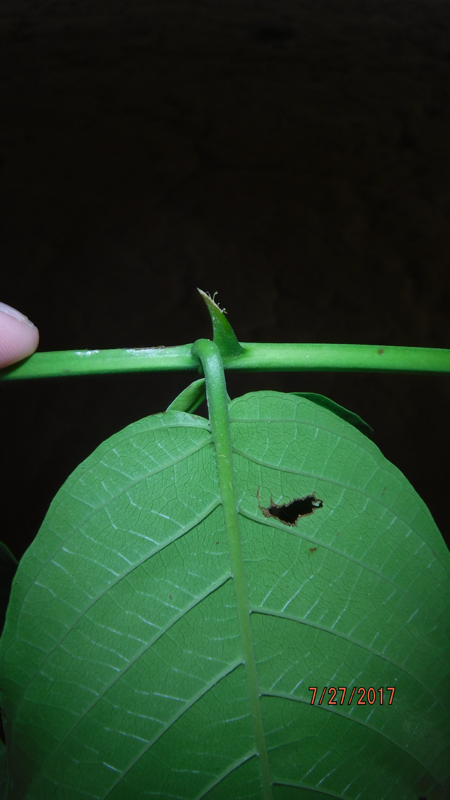
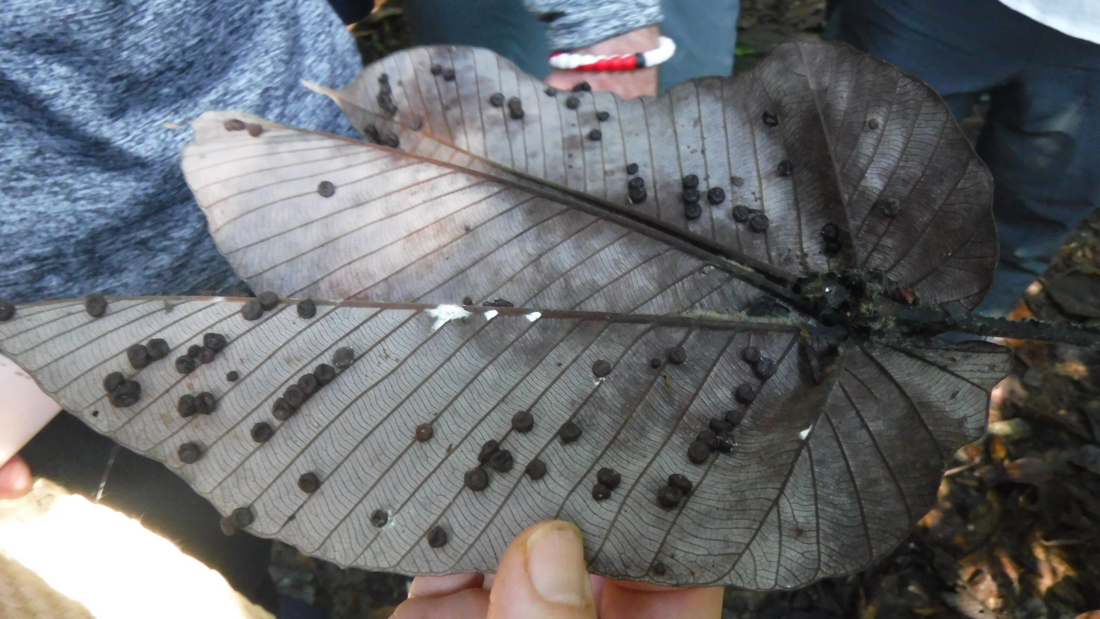
14. Herbivory and Mining: What percentage of leaves are affected by insects.
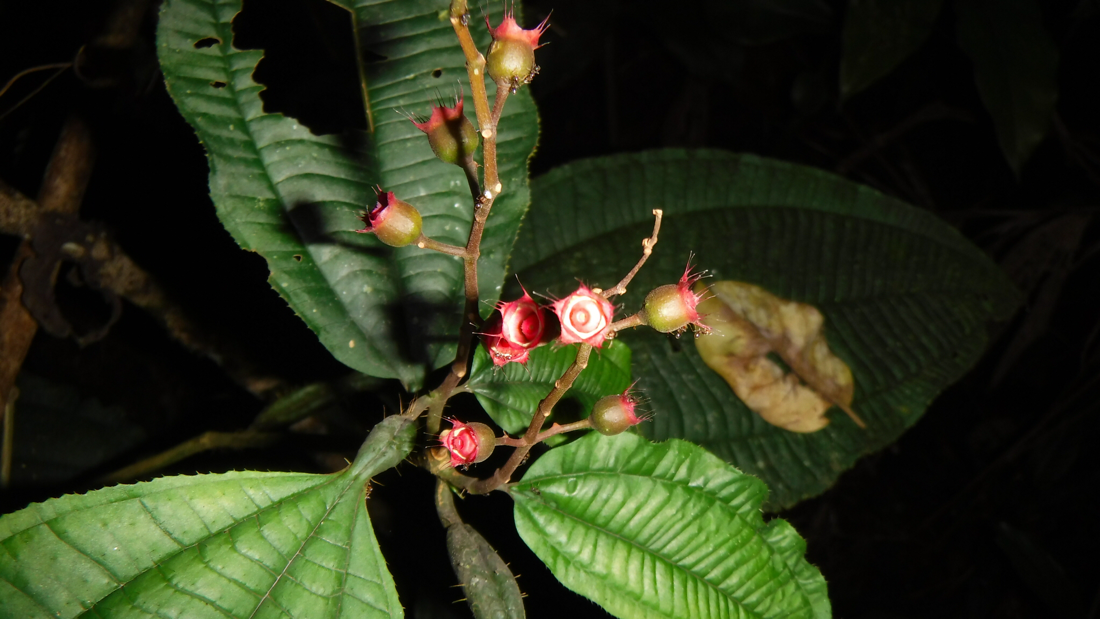
Background information: Herbivory is the eating of live plants You notice there is a lot of herbivory when you see a lot of the leaf has been eaten. Check out Canopy Meg's explanation of herbivory: https://www.youtube.com/watch?v=_MzqXWZjH3E
According to Wikipedia:
Herbivory: the eating of plants, especially ones still living
Mining: A leaf miner is the larva of an insect that lives in and eats the leaf tissue of plants. The vast majority of leaf-mining insects are moths (Lepidoptera), sawflies (Symphyta, a type of wasp) and flies (Diptera), though some beetles also exhibit this behavior.
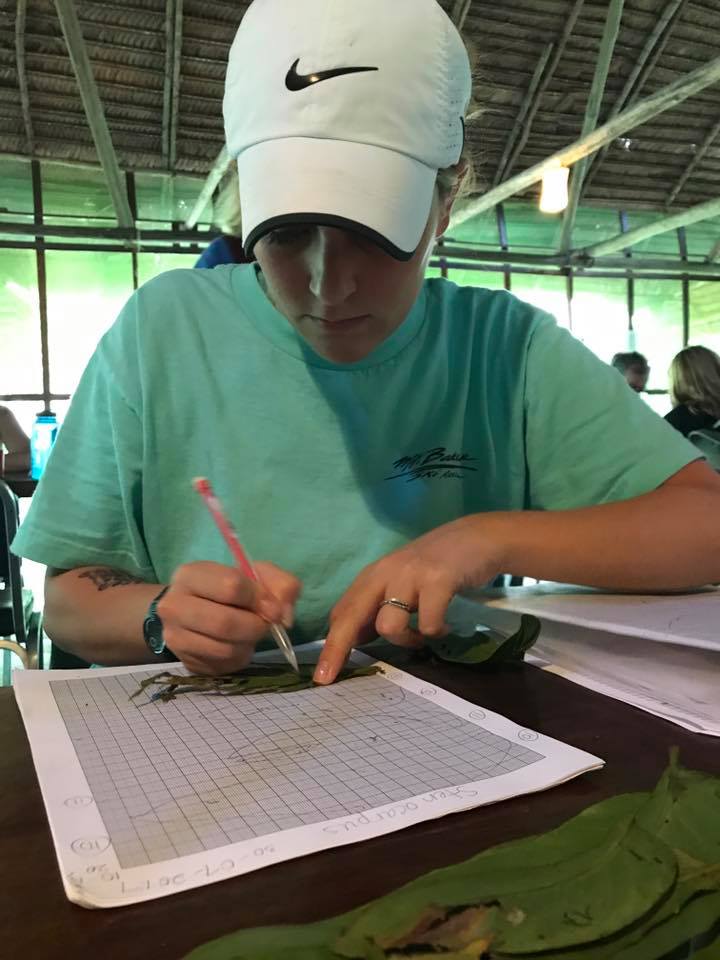
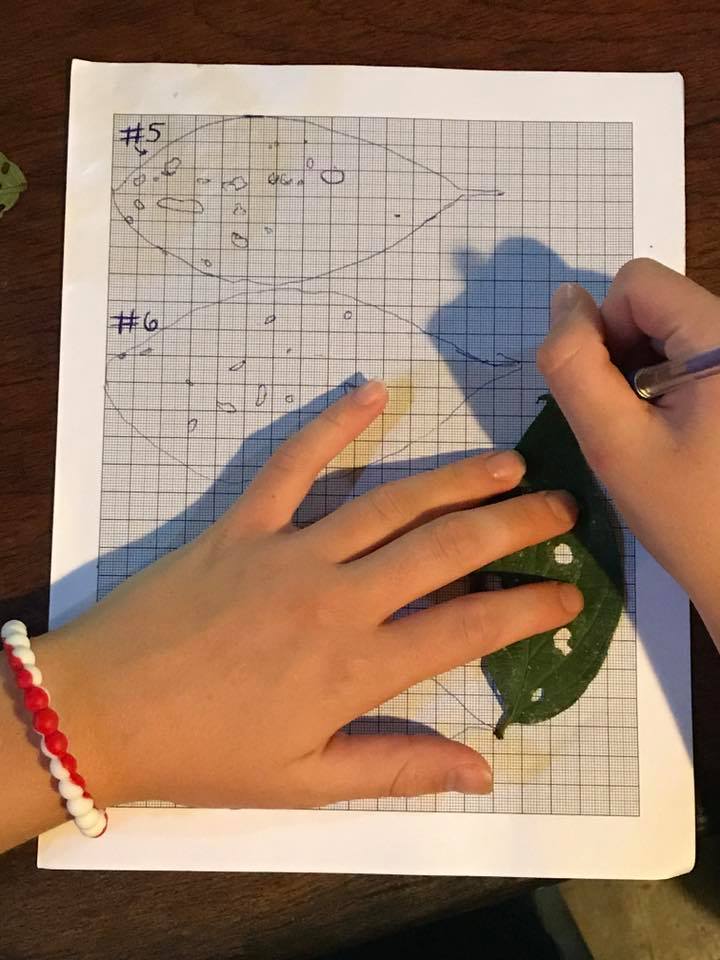
Objective: Students will know the definition and be able to identify herbivory and mining in plant leaves. Students will use graph paper and math skills to draw evidence of herbivory, calcuate the area of the leaf, and the percentage of herbivory in different plant species.
TEKS: Math: length x width = area of a rectangle; displaced volume, fractions and percents, using a calculator, division, multiplication, using a ruler, graph paper; Science: conduct a survey/sample, ecology, adaptations of leaves (defended or undefended species? How is it defended if so?)
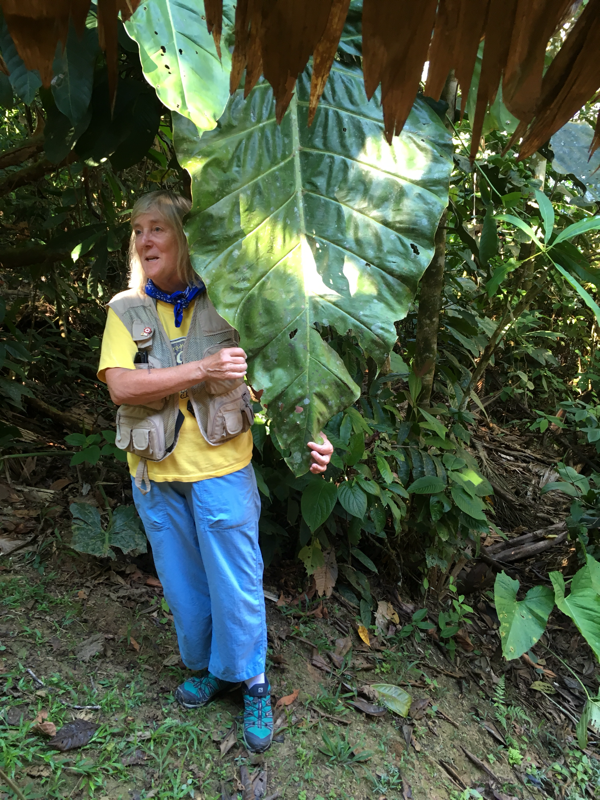
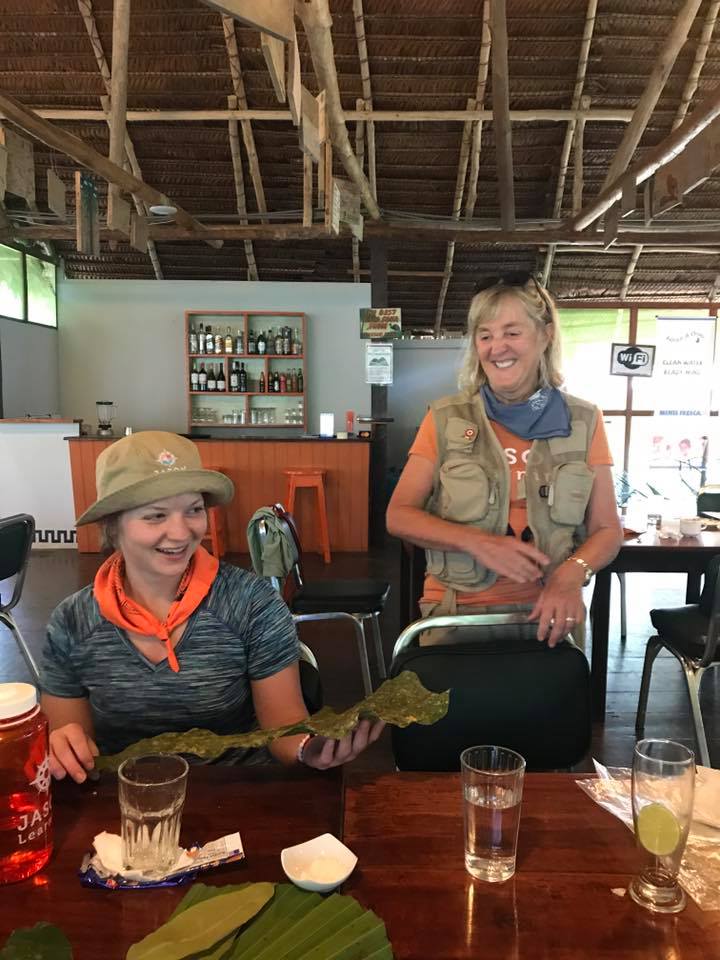
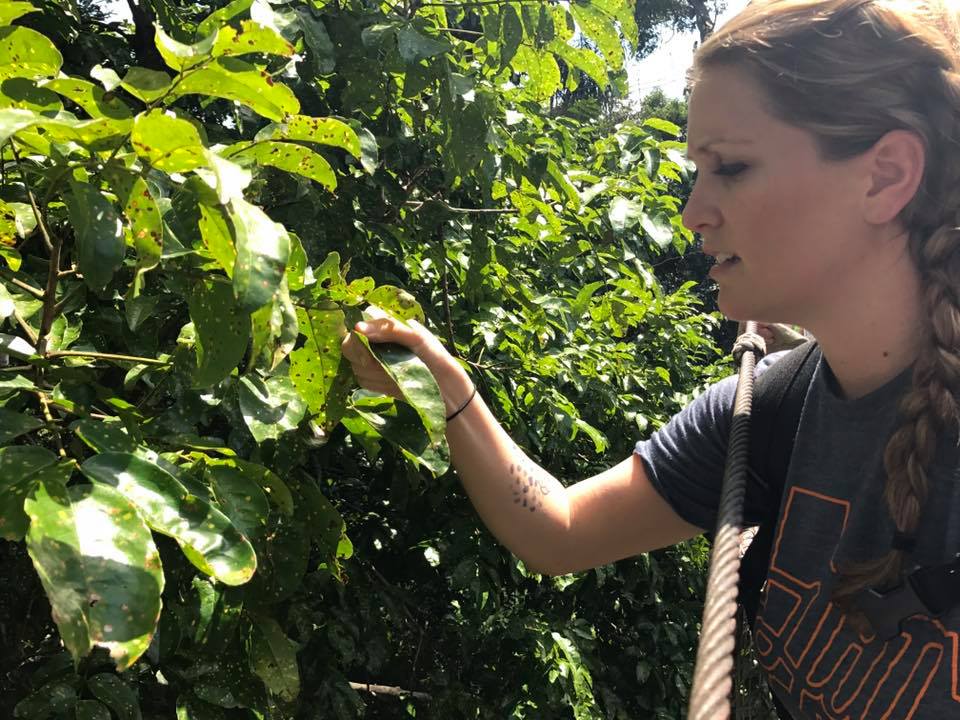
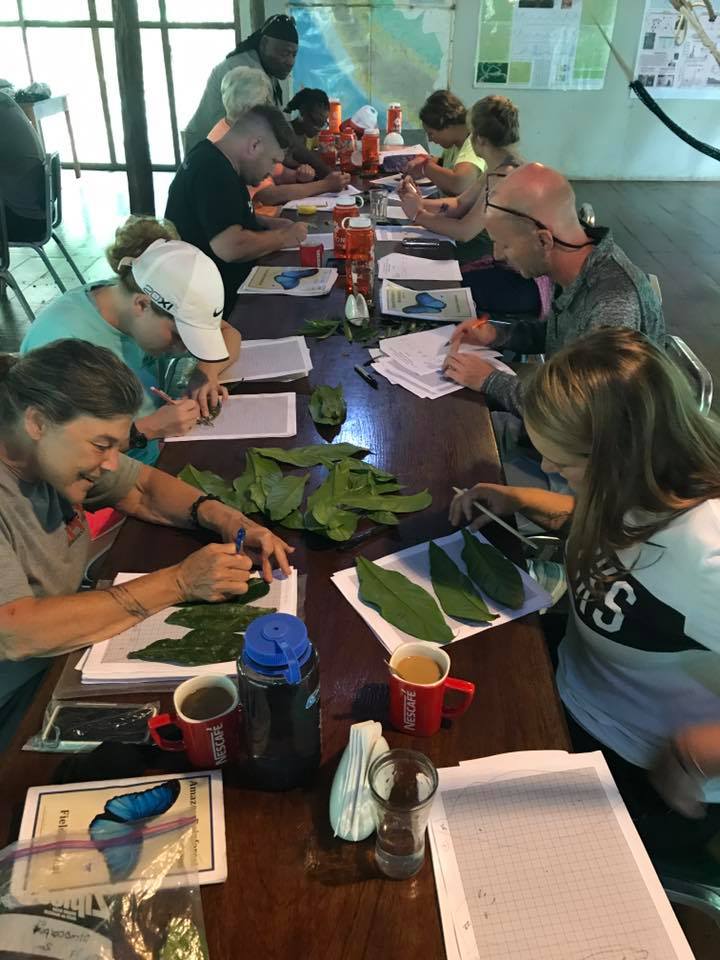
Hook: Teacher places different types of leaves on the table and students have to explain the difference. They need to identify their structural adaptations, and observe the physical properties of the leaf. Then show pictures of Mrs. Cotten conducting this survey and completing this work for a real scientist: They get to be real scientists too!
Lesson Plan: Teacher should collect 10 leaves of each different type of species ahead of time. Students work in teams to complete the work. Each group receives 10 leaf samples, and must first trace each leaf on graph paper, including any marks or holes. Then the students must calculate the area, herbivory and mining amounts and percentages. After they have completed the first 10 leaves, they can go outside to collect 10 more leaves, of the same species. Then the students will compare their results. After realizing that some specifies are less eaten while others are more, students hypothesize what defense the less eaten plants have. Then students research their type of plant and discover the defenses.
According to Wikipedia:
Herbivory: the eating of plants, especially ones still living
Mining: A leaf miner is the larva of an insect that lives in and eats the leaf tissue of plants. The vast majority of leaf-mining insects are moths (Lepidoptera), sawflies (Symphyta, a type of wasp) and flies (Diptera), though some beetles also exhibit this behavior.
Objective: Students will know the definition and be able to identify herbivory and mining in plant leaves. Students will use graph paper and math skills to draw evidence of herbivory, calcuate the area of the leaf, and the percentage of herbivory in different plant species.
TEKS: Math: length x width = area of a rectangle; displaced volume, fractions and percents, using a calculator, division, multiplication, using a ruler, graph paper; Science: conduct a survey/sample, ecology, adaptations of leaves (defended or undefended species? How is it defended if so?)
Hook: Teacher places different types of leaves on the table and students have to explain the difference. They need to identify their structural adaptations, and observe the physical properties of the leaf. Then show pictures of Mrs. Cotten conducting this survey and completing this work for a real scientist: They get to be real scientists too!
Lesson Plan: Teacher should collect 10 leaves of each different type of species ahead of time. Students work in teams to complete the work. Each group receives 10 leaf samples, and must first trace each leaf on graph paper, including any marks or holes. Then the students must calculate the area, herbivory and mining amounts and percentages. After they have completed the first 10 leaves, they can go outside to collect 10 more leaves, of the same species. Then the students will compare their results. After realizing that some specifies are less eaten while others are more, students hypothesize what defense the less eaten plants have. Then students research their type of plant and discover the defenses.

15. What kind of scientist do I want to be when I grow up?
Lesson plans coming soon.
Advice from Meg
Meg's Website
Conservation Careers
Tropical Biologist
For the Love of Science- Ecologist
Life Science Jobs, and other sciences
Glassdoor- Highest Paying in demand jobs LIST
Fastest Growing Green Jobs
List of Jobs in General-.gov
Physician Job Profile
BioMedical Engineer Job Profile
Pharmacist Job Profile
Software Architect Job Profile
Ecologist Job Profile
Oceanographer Job Profile
Market Research Analyst Job Profile
Clinical Research Associate Job Profile
Optomistrist Job Profile
A-Z Job Profiles
CareerGirls.com
Forbes: Highest Paying, in demand jobs
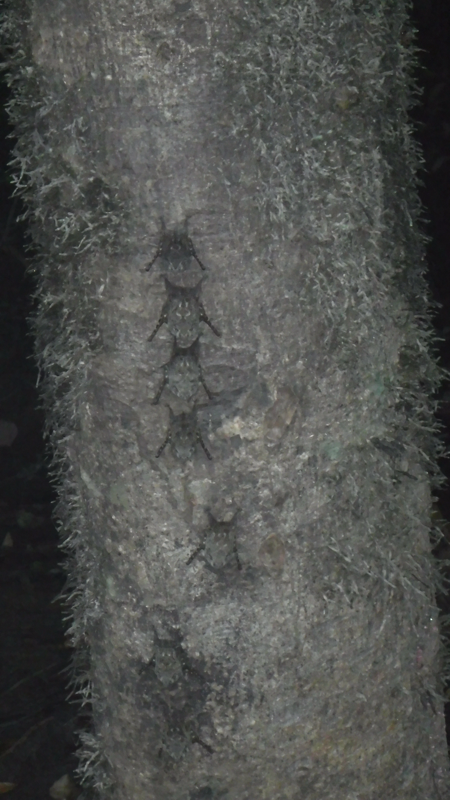
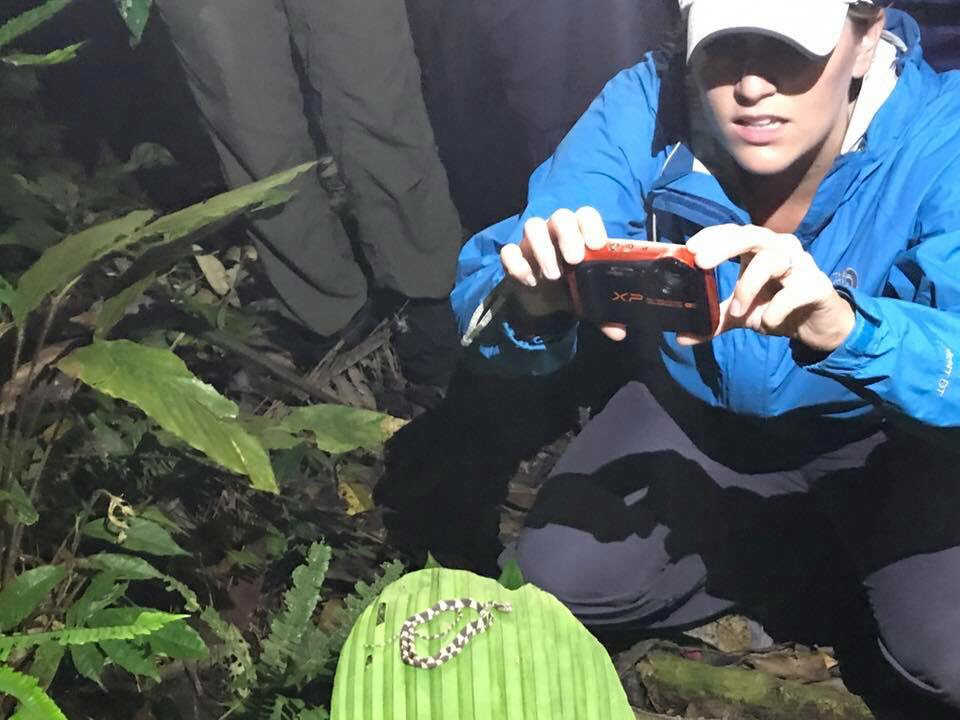
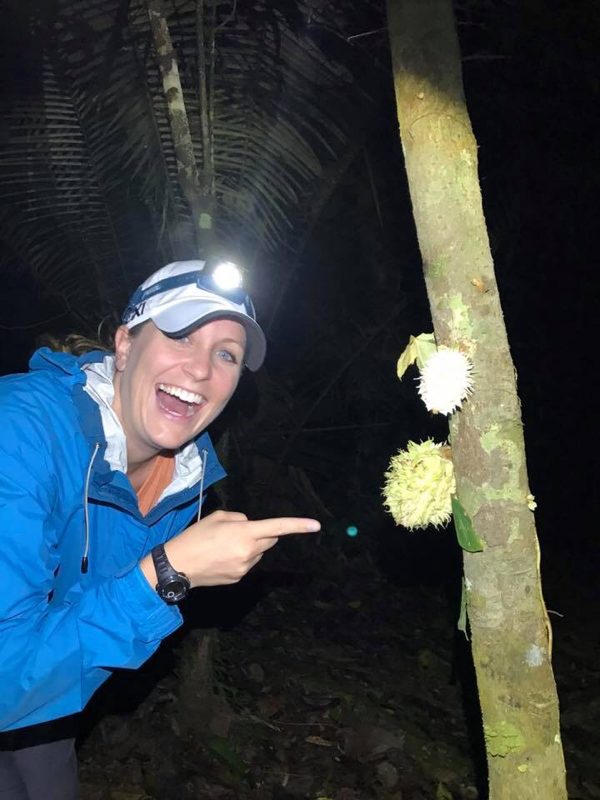
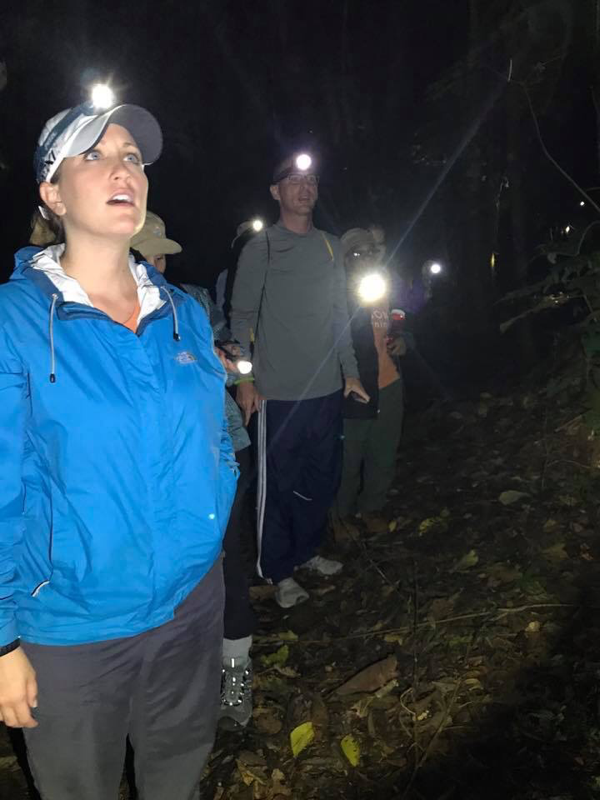
16. Go for a Night Hike at Dillo Quest
Lesson Plans coming soon.


17. Research the Plants and Animals of the AMazon and compare their life cycles and Adaptations to those of Texas
Lesson Plans coming soon.
Need help deciding what plants or animals to research?
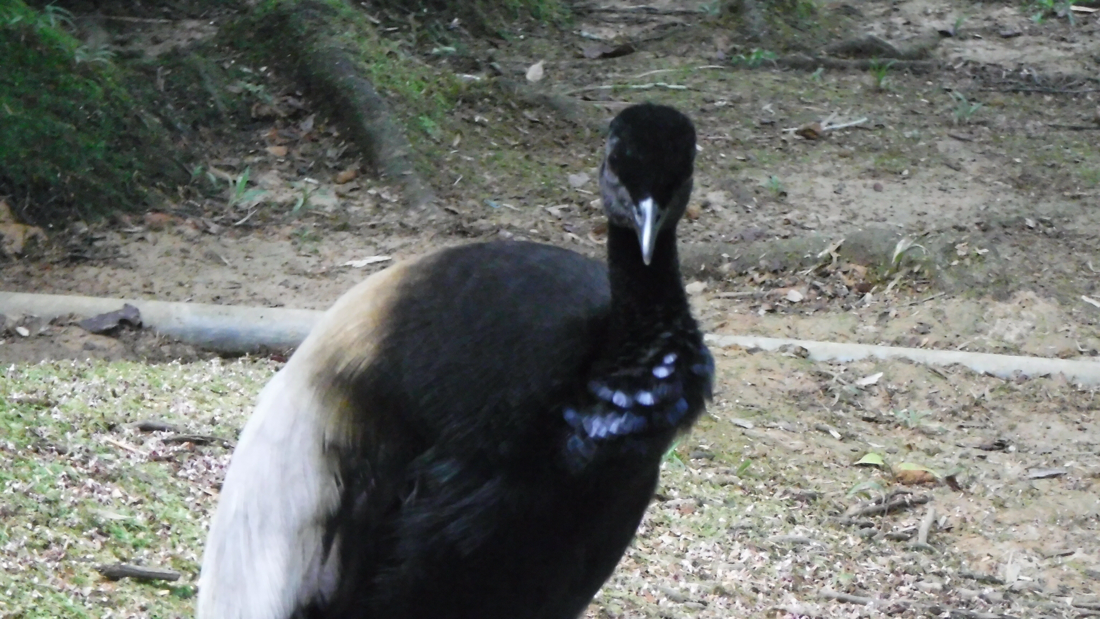
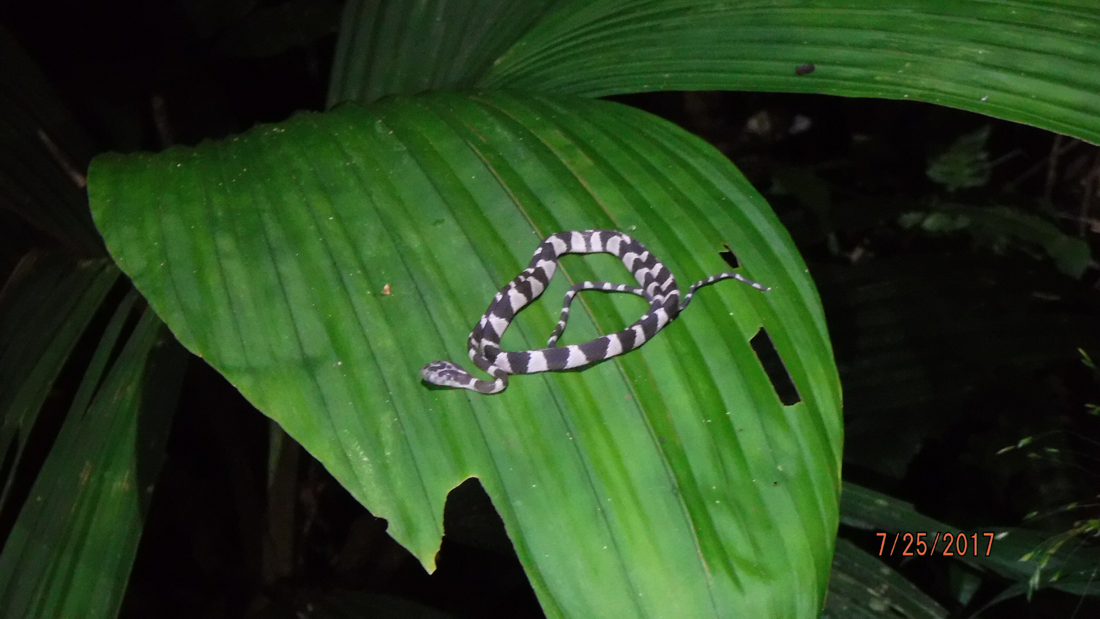
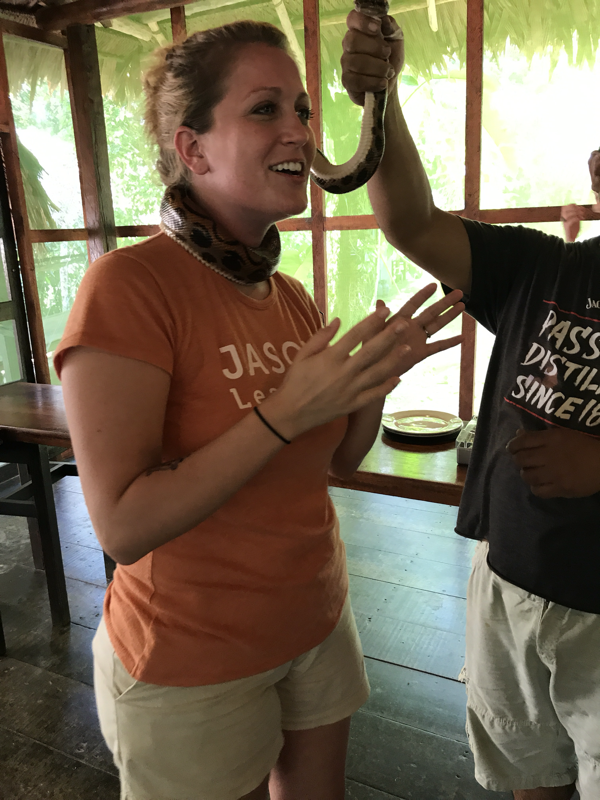
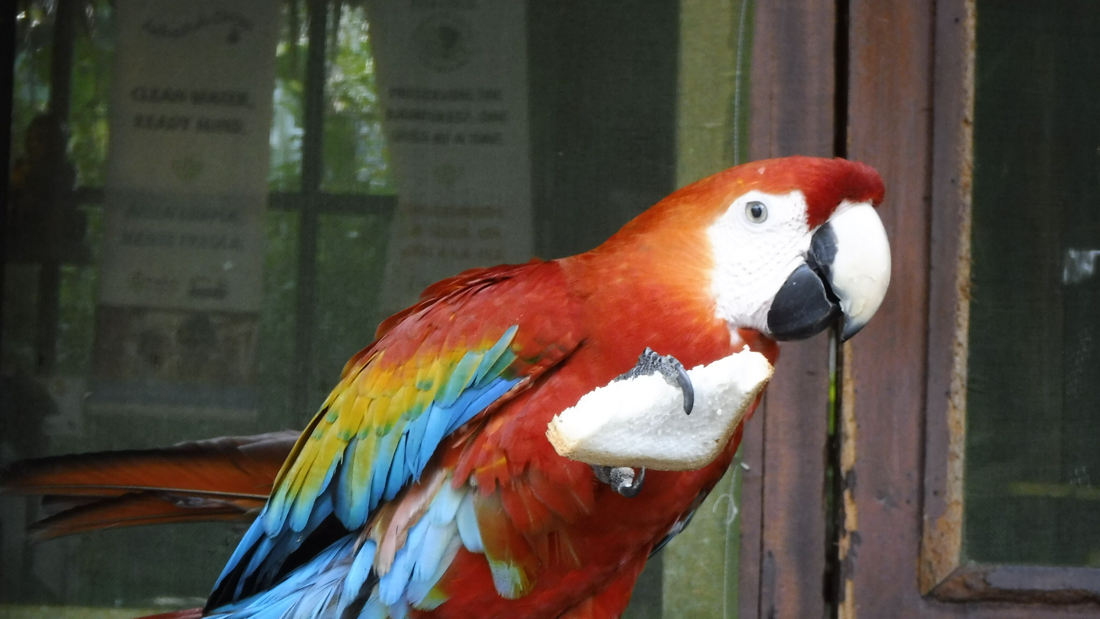
Here is a list of the birds, mammals, insects and plants I saw while in the Peruvian Amazon:
Here is a list of the birds, mammals, insects and plants I saw while in the Peruvian Amazon:
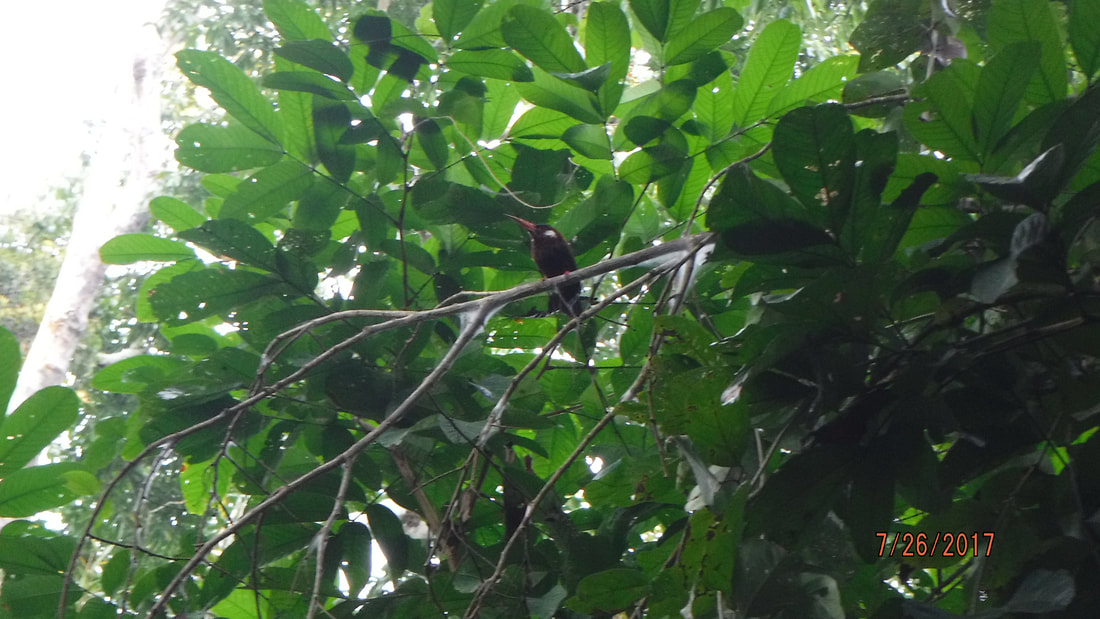
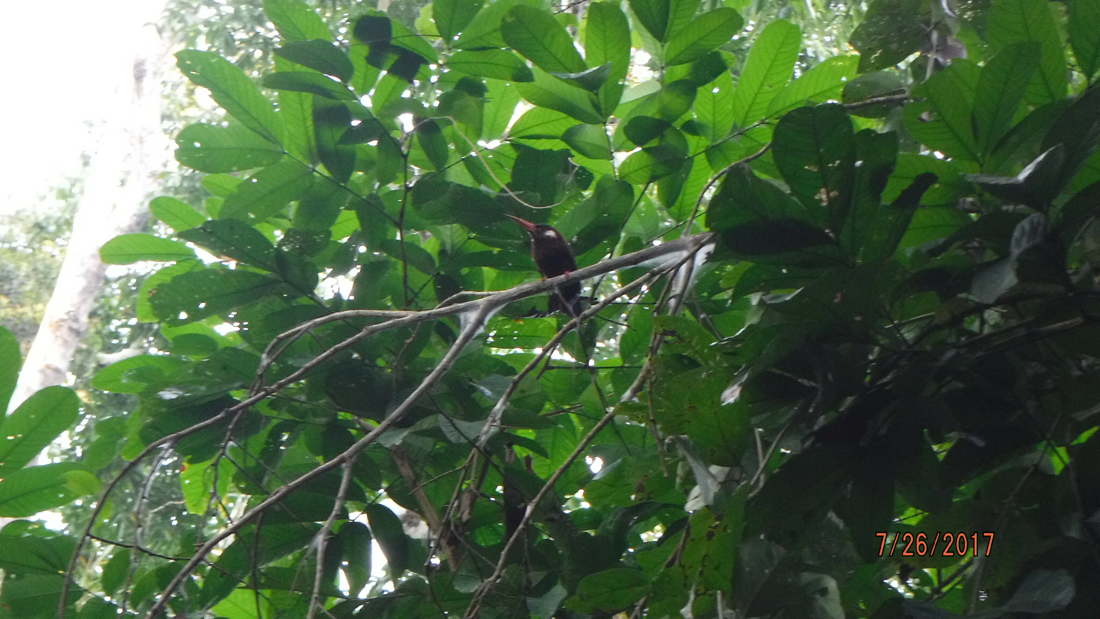
BIRDS- Explorama and ACTS Canopy Walkway
|
Turkey Vulture
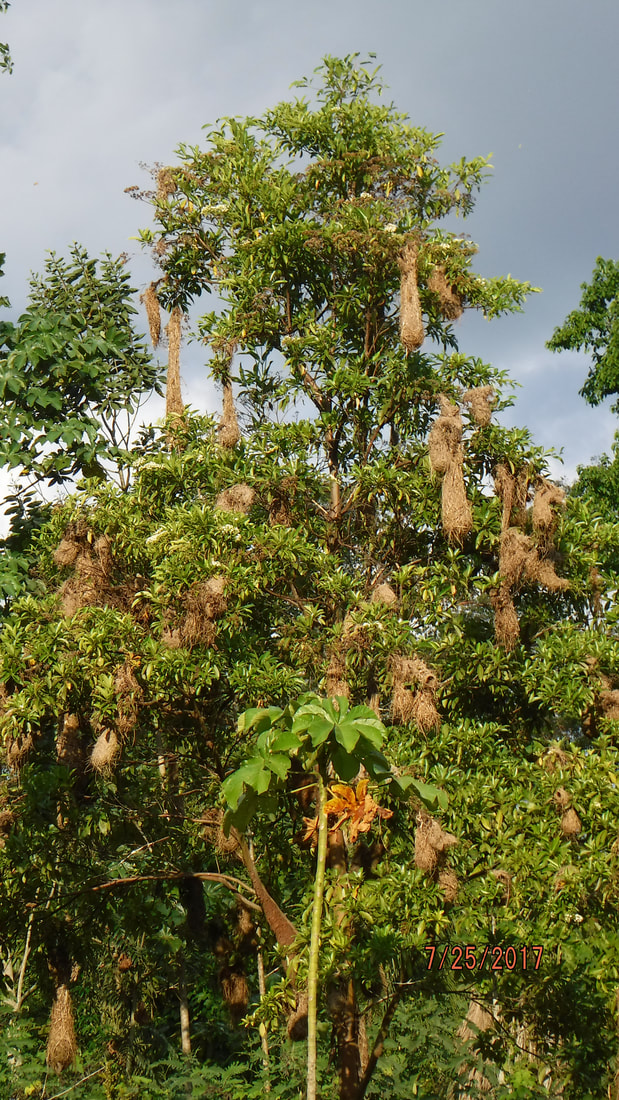
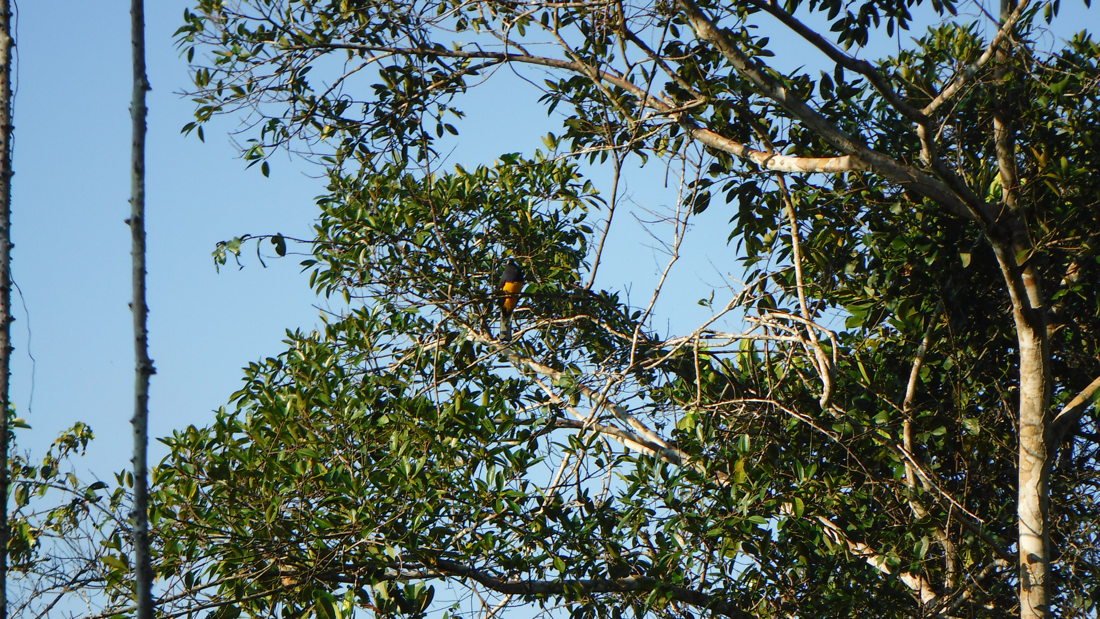
Greater Yellow-headed Vulture Plumbeous Pigeon Squireel Cuckoo Golden-Tailed Sapphire Blue-crowned Trogon Ringed Kingfisher Khite-necked Puffbird Many-banded Aracari White-throated Toucan Paradise Tanager GreenHoneycreeper Jacamar |
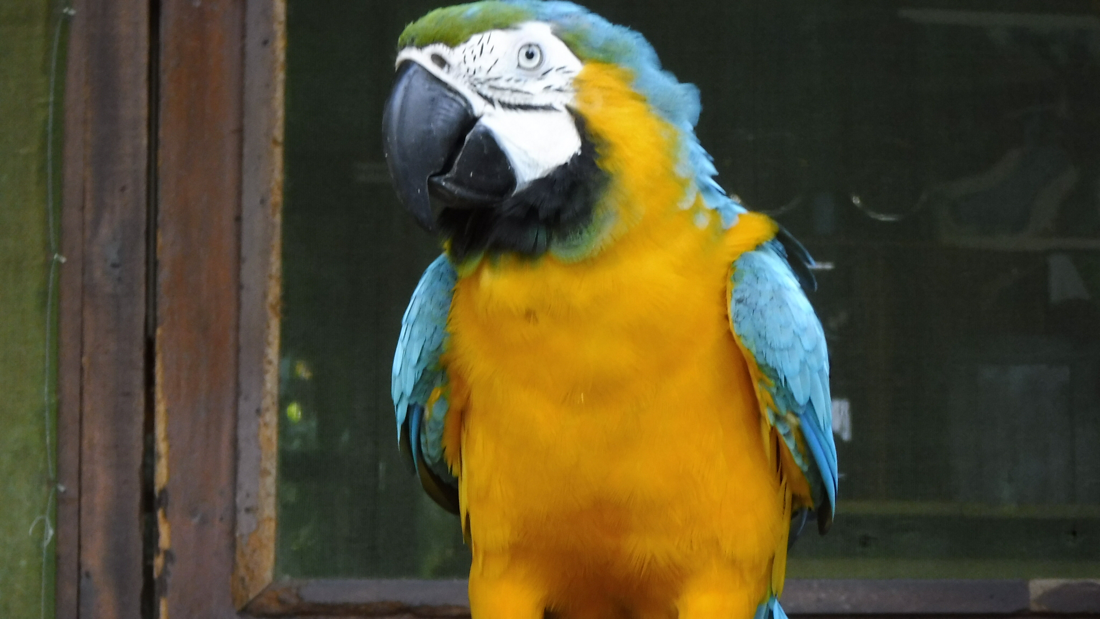
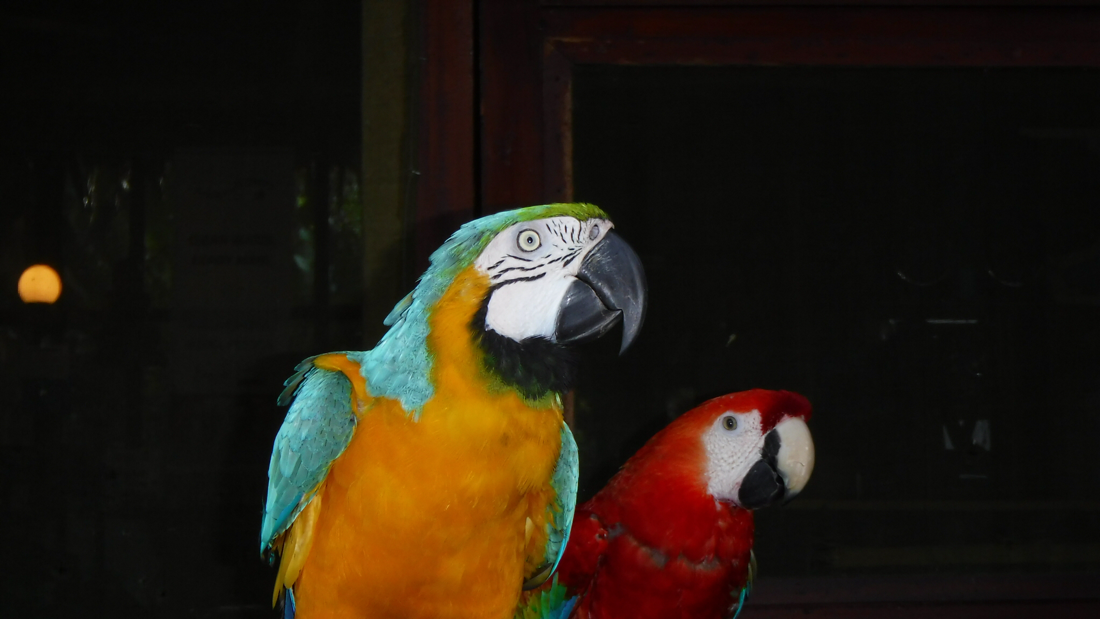
Blue-headed Parrot
Mealy Parrot Plain-throated Antwren Mealy Parrot Plain-Throated Antwren Wedge-billed Woodcreeper Black-banded Woodcreeper Slender-footed Tyannulet Lesser Kriskadee Crowned Slaty Flycatcher Trpoical Kingbird Purple-throated Fruitcrow Orange backed Tropical Yellow rumped Cacique |
BIRDS- Explornapo
|
Speckled Chachalaca
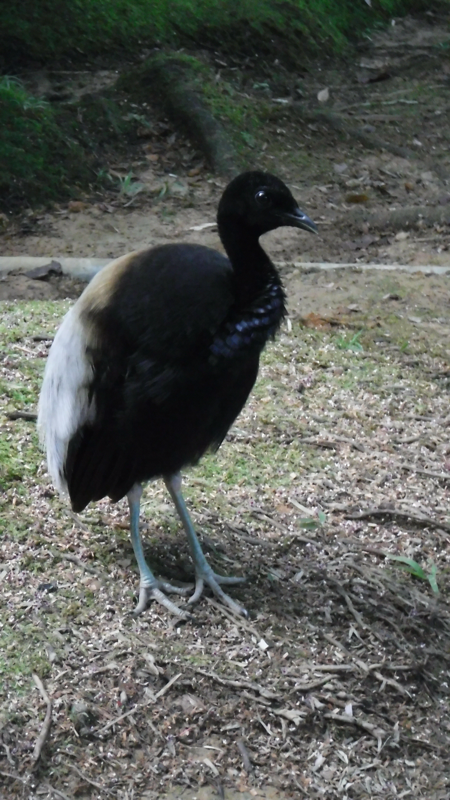
Great Egret Striated Heron Agami Heron Black Vulture Turkey Vulture Yellow Headed Vulture Slate-colored Hawk Gray-fronted Dove Smooth-billed Ani Tropical Screech-Owl Ringed Kingfisher Black-fronted Nunbird Chestnut-eared Aracari Black front nunbird Smooth-billed Ani Short-tailed Swift Fork-tailed Palm Swift White Throated Toucan Chestnut Woodpecker Grey Winged Trumpeter |
Yellow-tufted Woodpecker
Crismon-crested Woodpecker Yellow-headed Caracara Scarlet Macaw Blue-headed Parrot Lesser Kiskadee Tropical Kingbird Amazonian Umbrellabird Blue-gray Tanager Orange-backed Troupical Yellow-rumped Cacique Russet-backed Oropendola Potoo Toui Parakeet Black Caracara Lineated Woodpecker Cobalt-winged Parakeet Masked Crimson Tanager Velvet-fronted Grackle Russet-backed Oropendola Night Hawk |
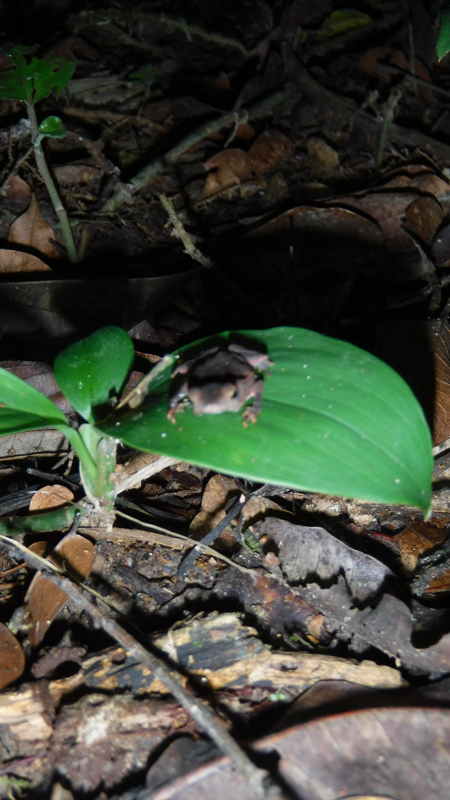
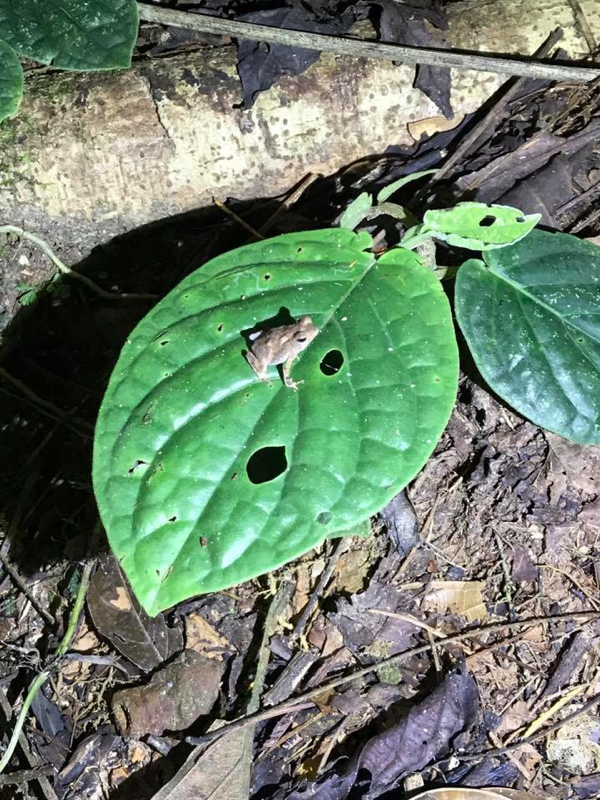
AMPHIBIANS
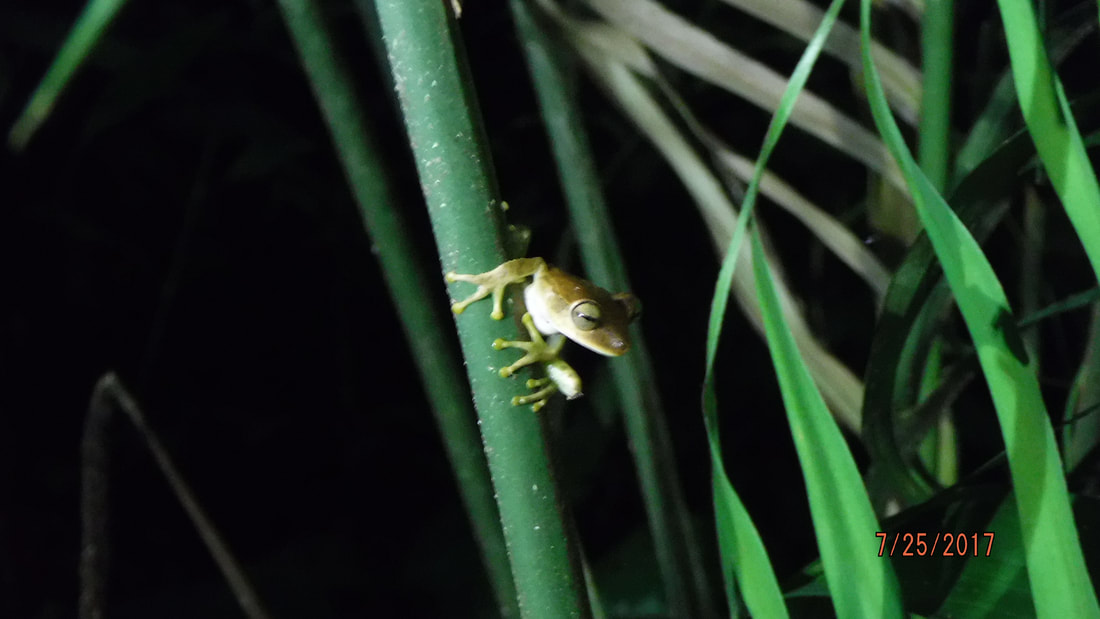
Poison dart frog
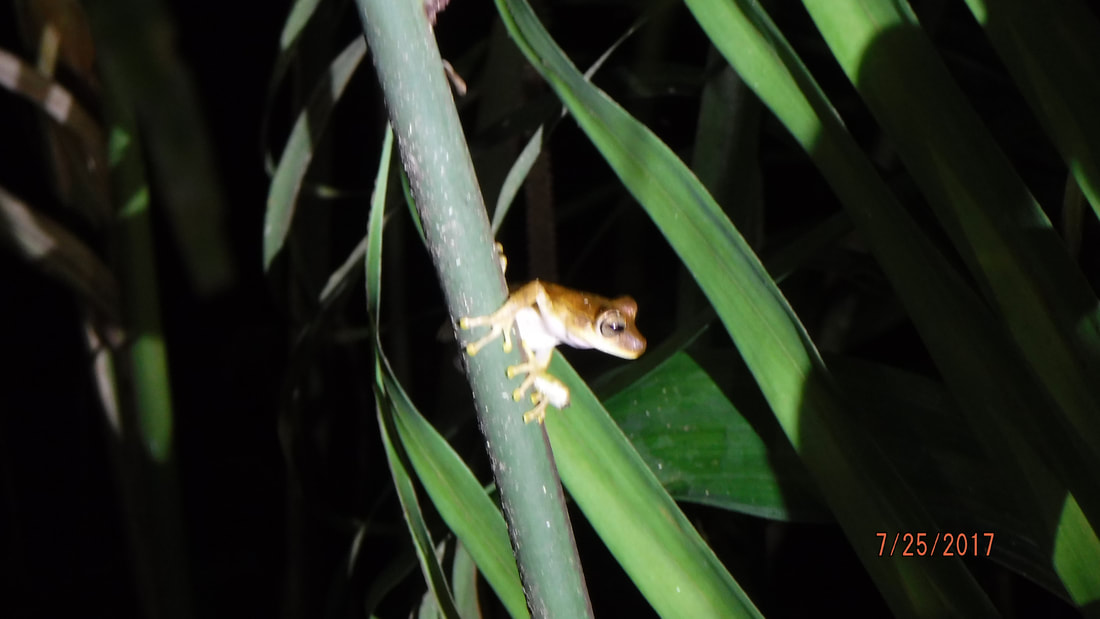
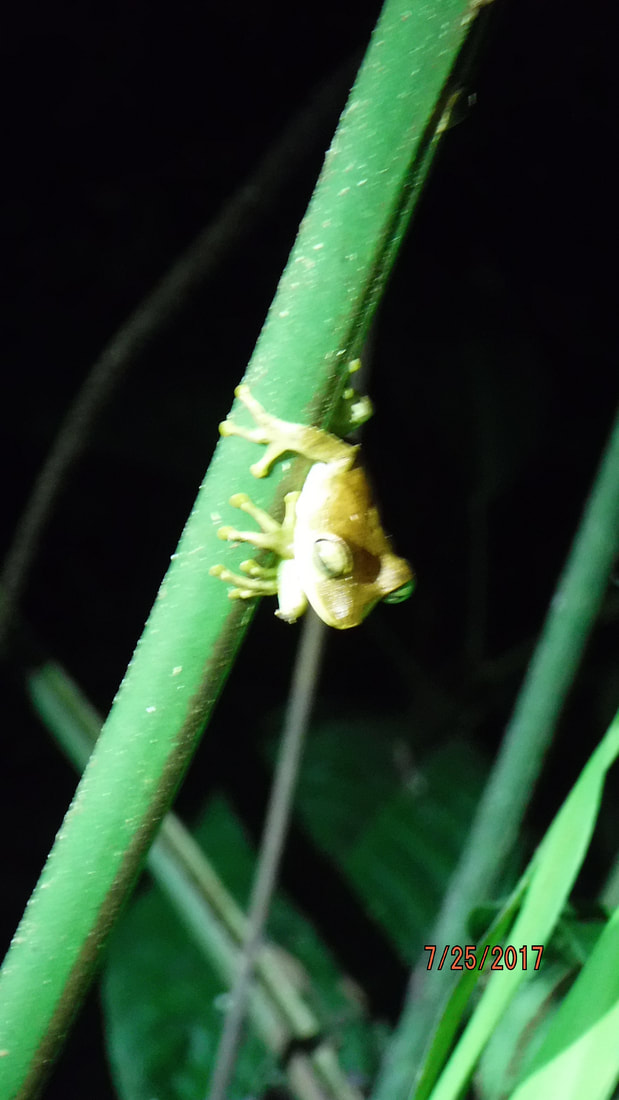
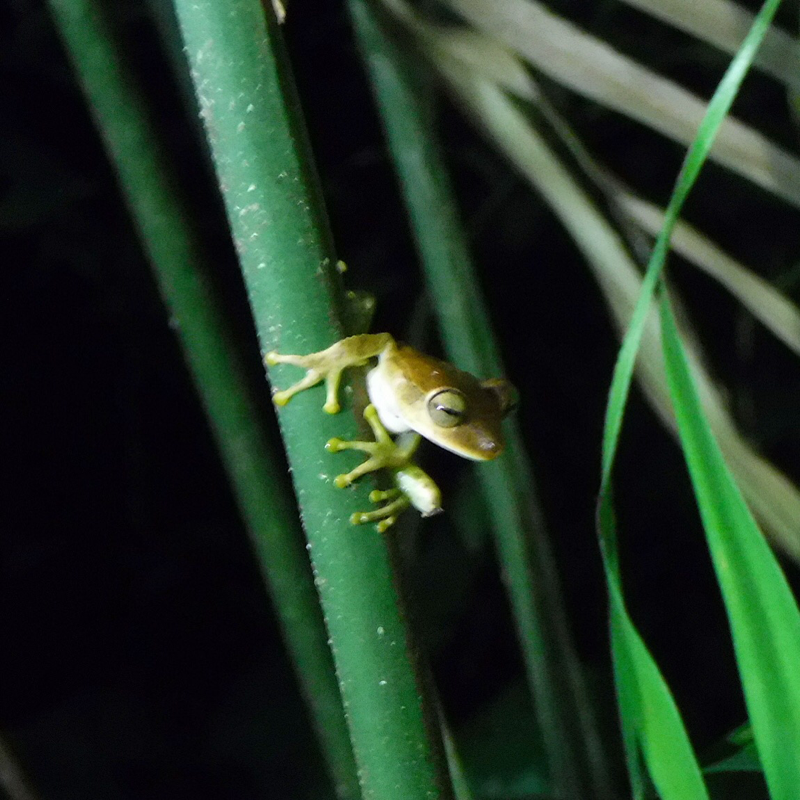
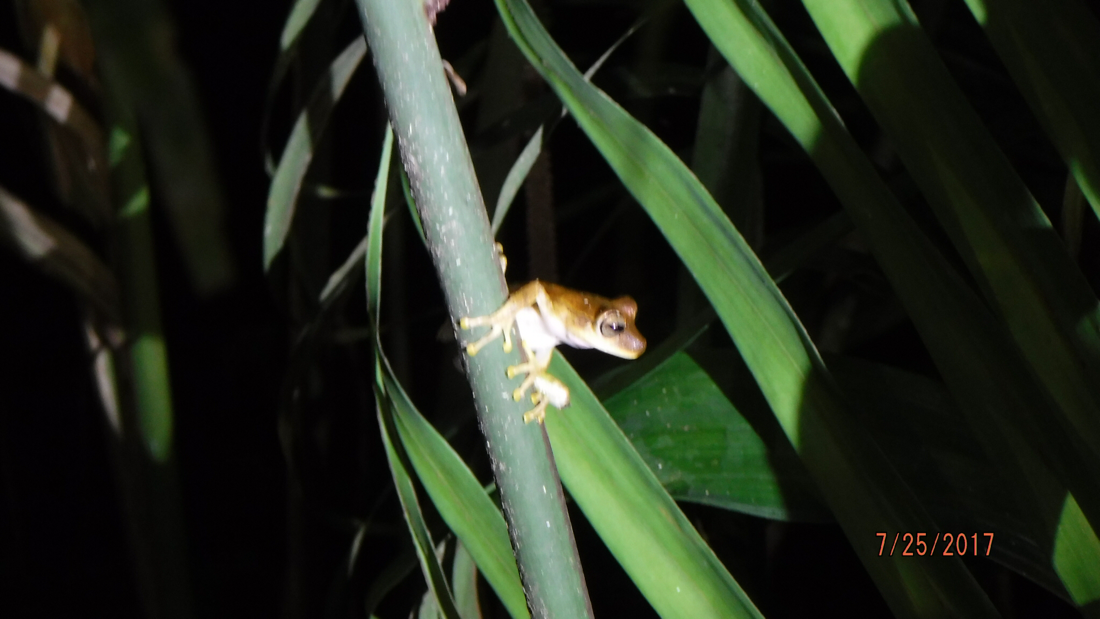
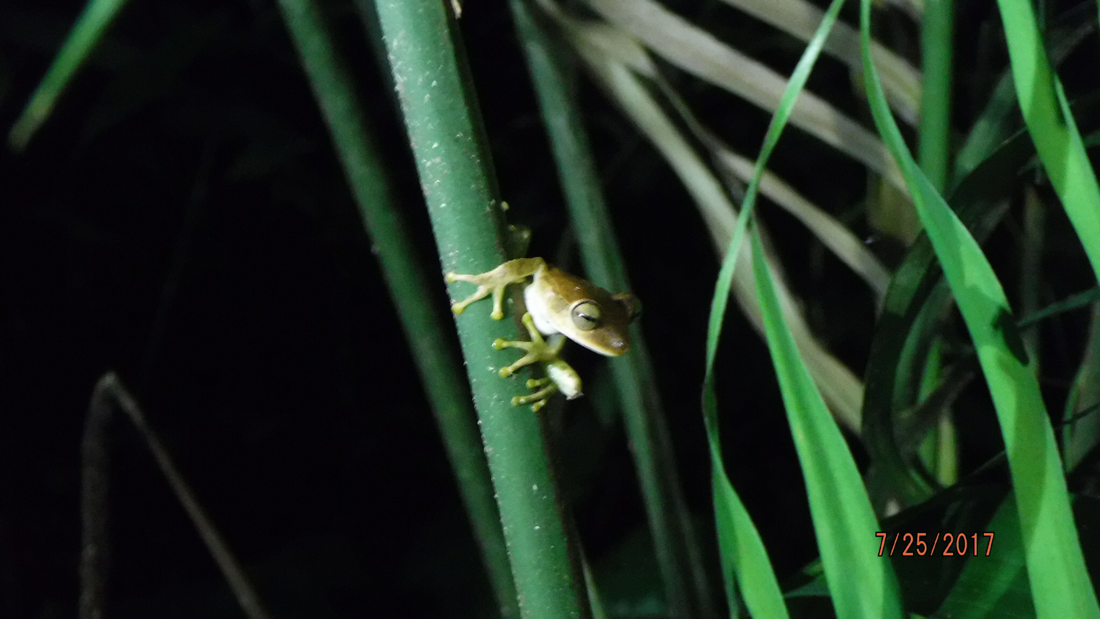
Tree frog
Marine toad
Leaf toad
Mocking laughing frog
Tree frog
Marine toad
Leaf toad
Mocking laughing frog
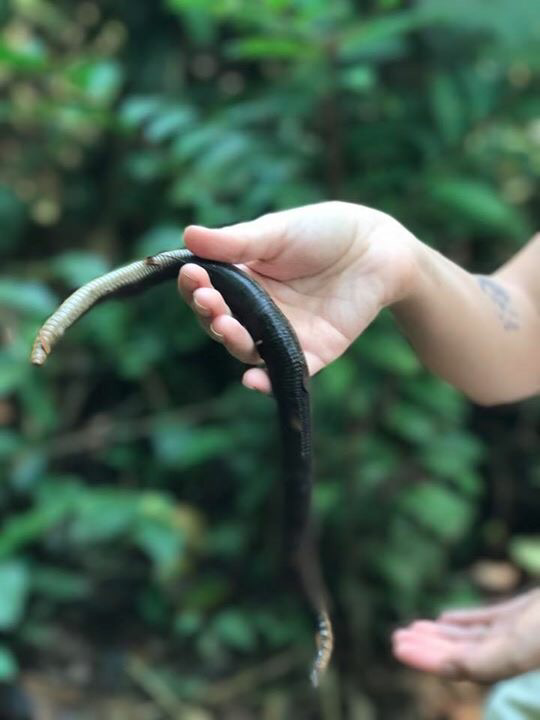
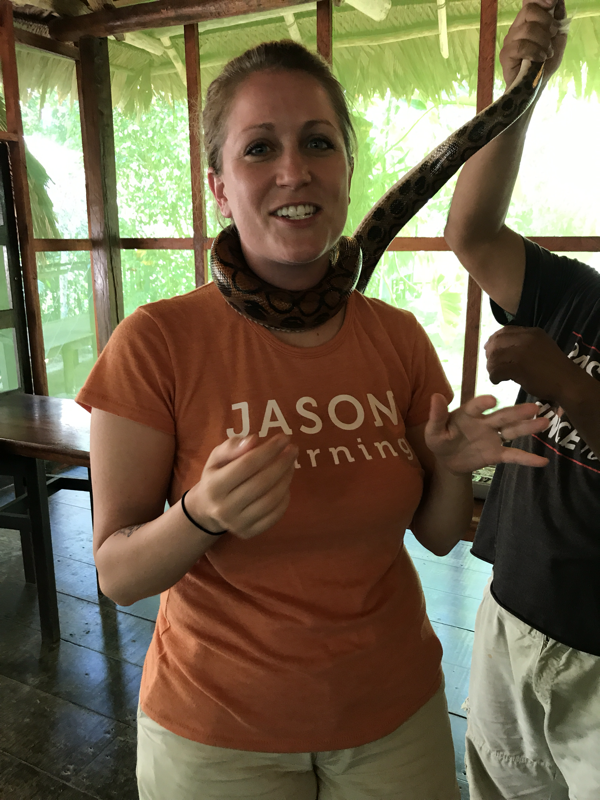
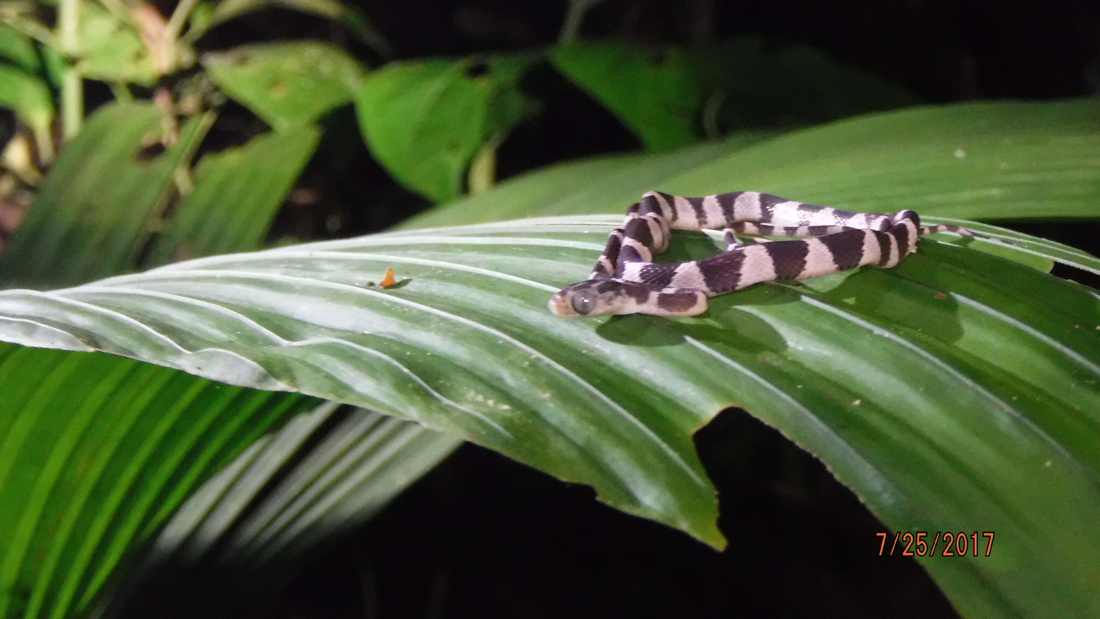
REPTILES
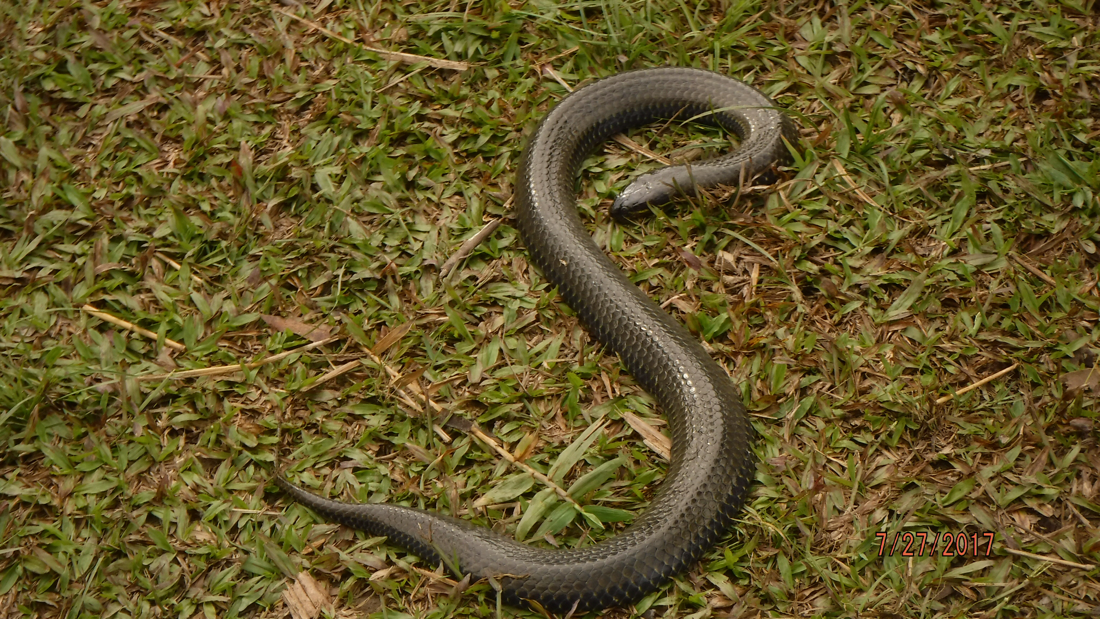
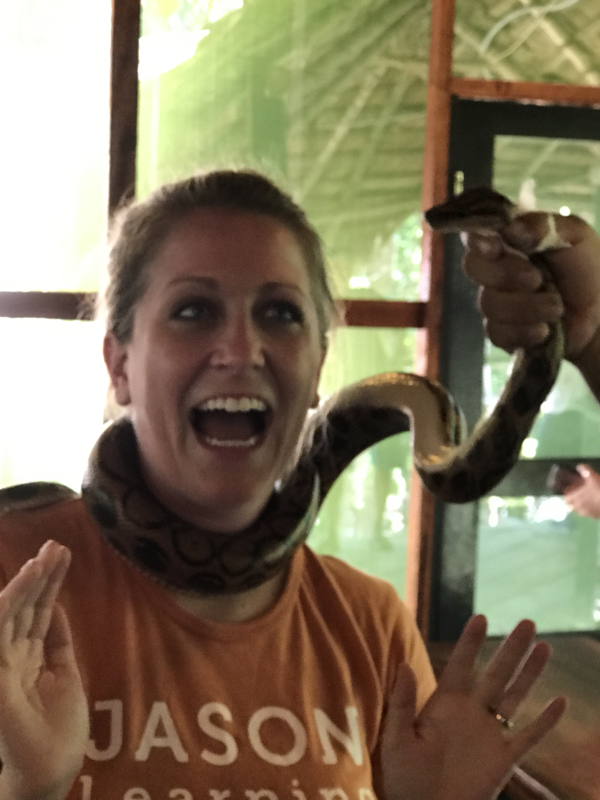
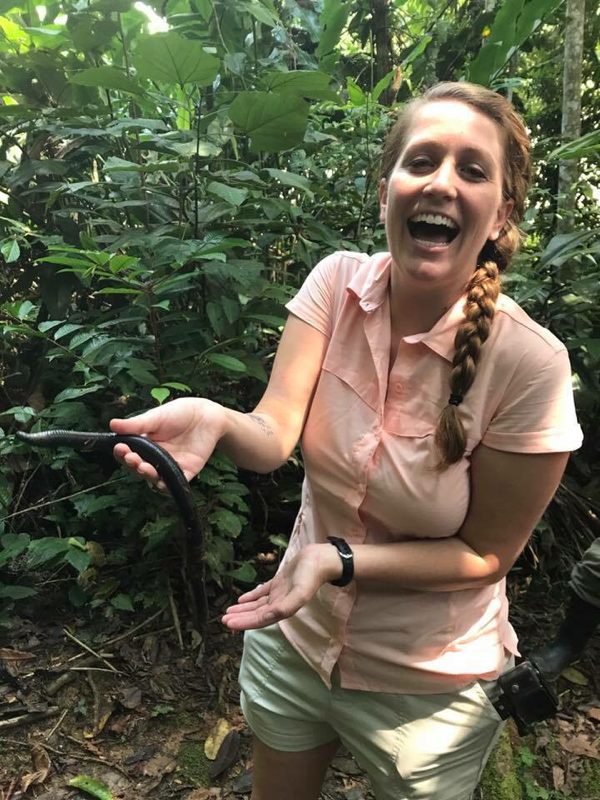
Vine snake
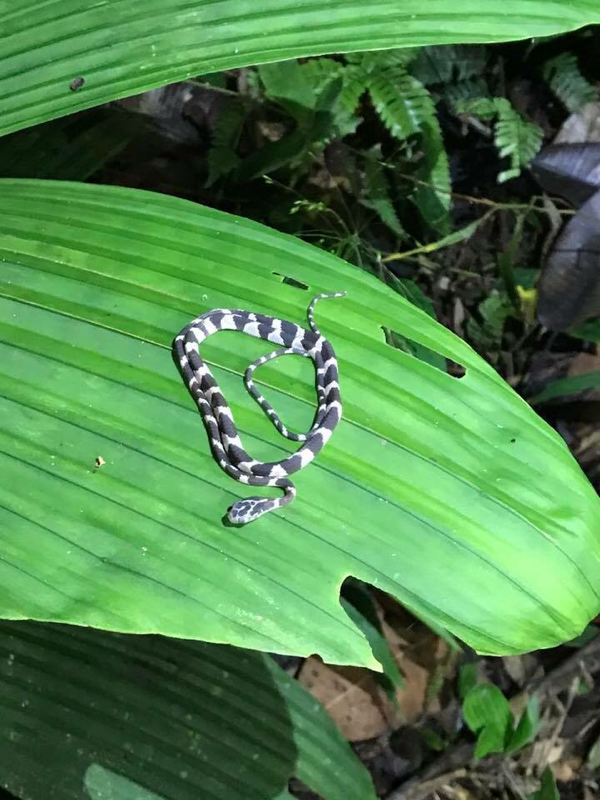
Blunt headed tree snake
Water snake- species unknown
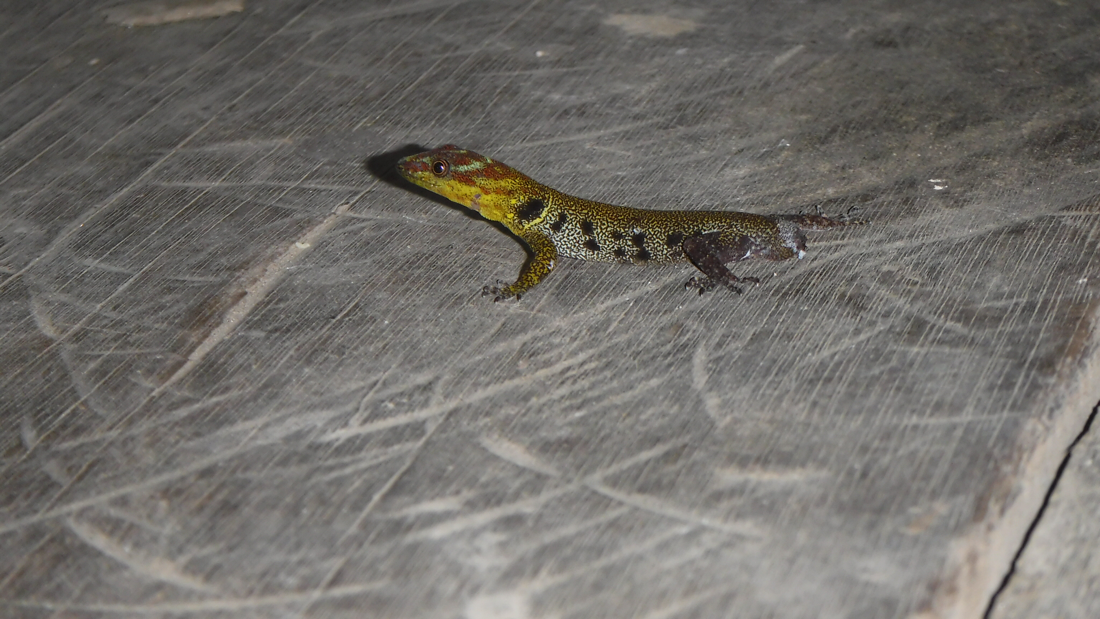
Anole
Caiman (Black)
Cecko
Iquana
Shovel tailed lizard
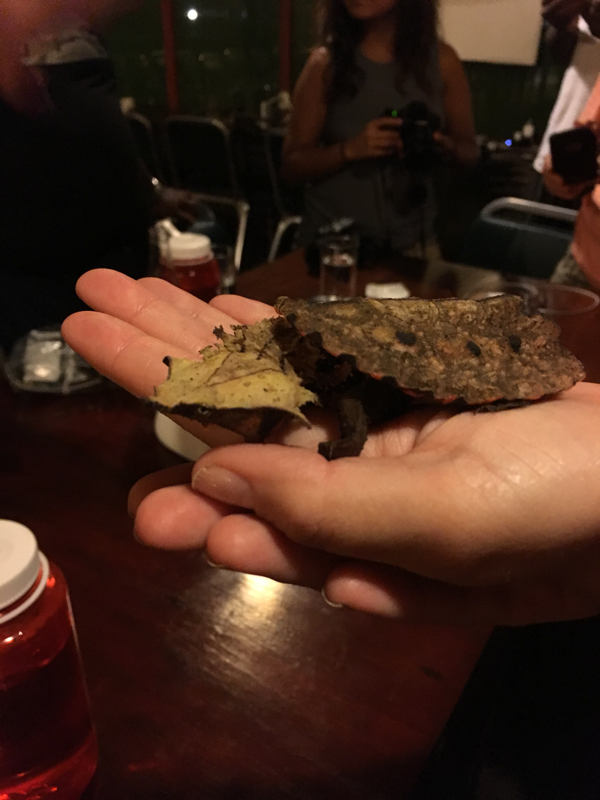
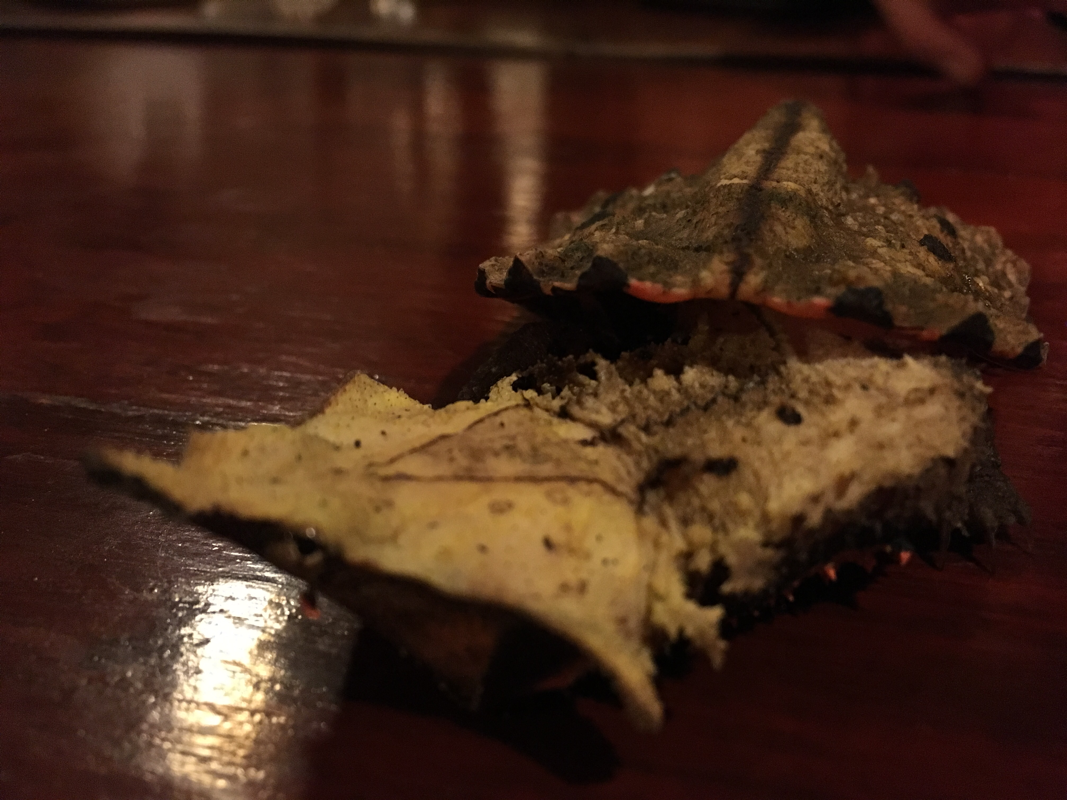
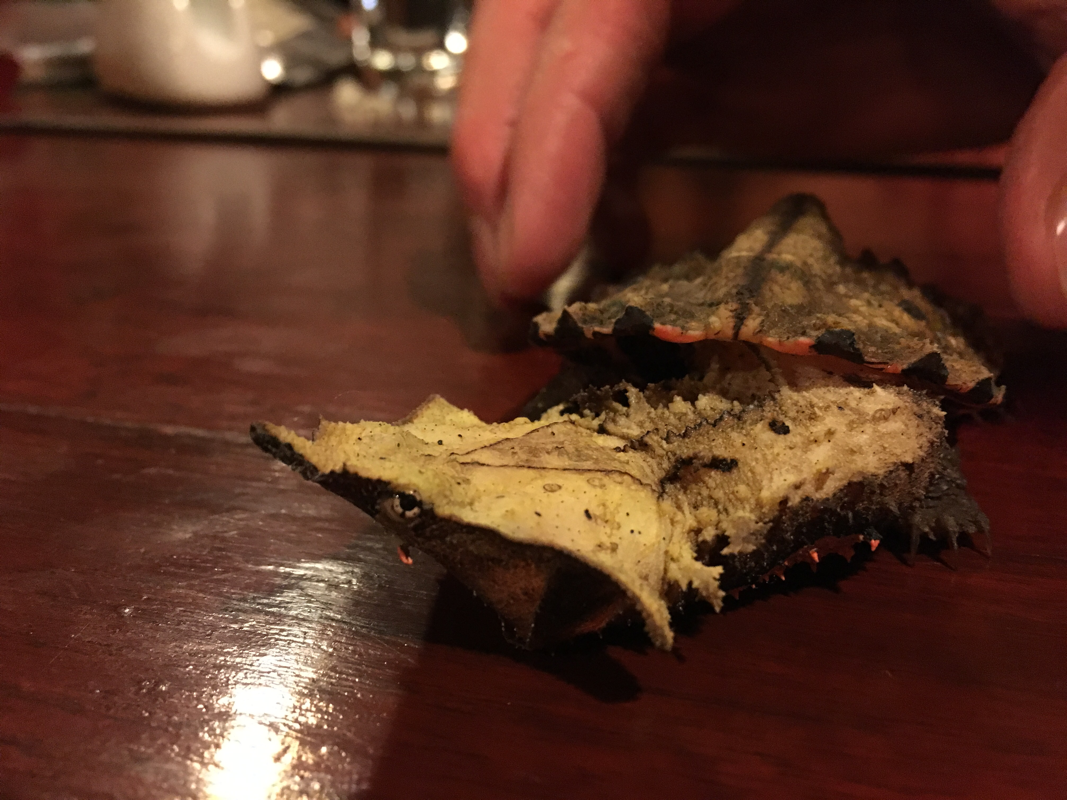
Mata Mata Leaf Turtle
Blunt headed tree snake
Water snake- species unknown
Anole
Caiman (Black)
Cecko
Iquana
Shovel tailed lizard
Mata Mata Leaf Turtle
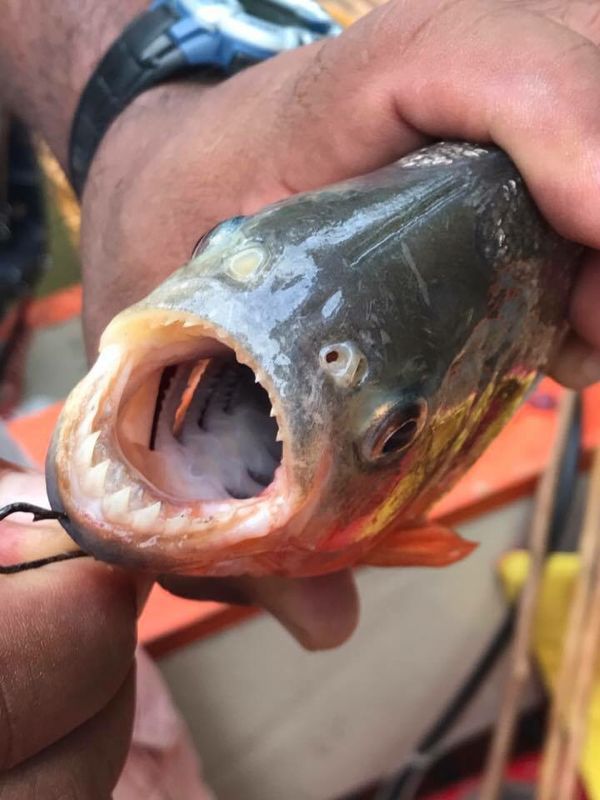
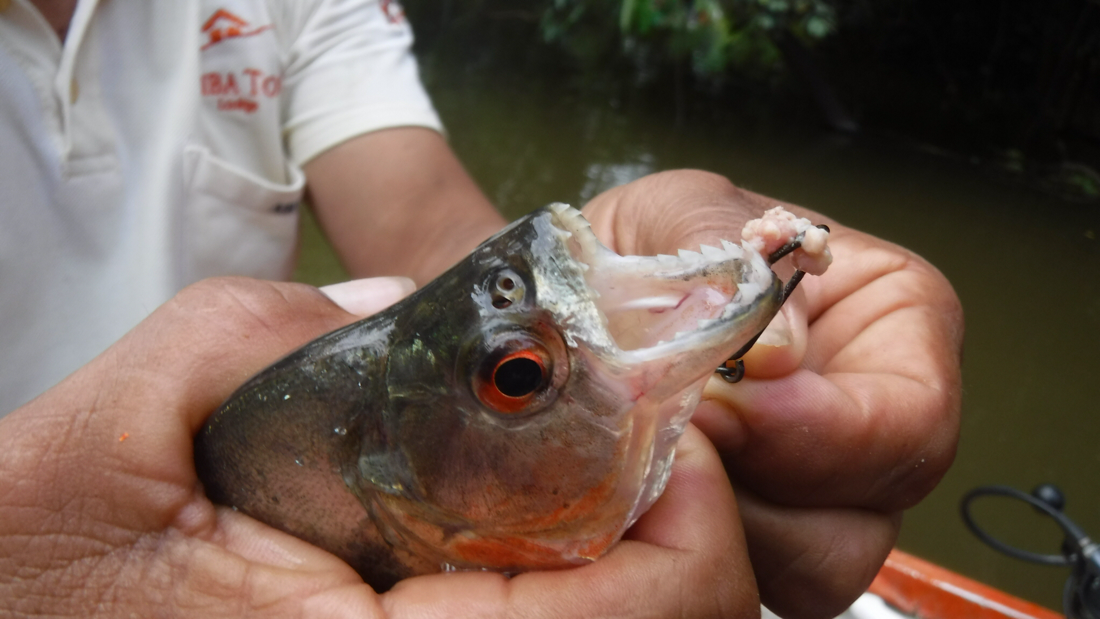
FISH
Catfish (golden)
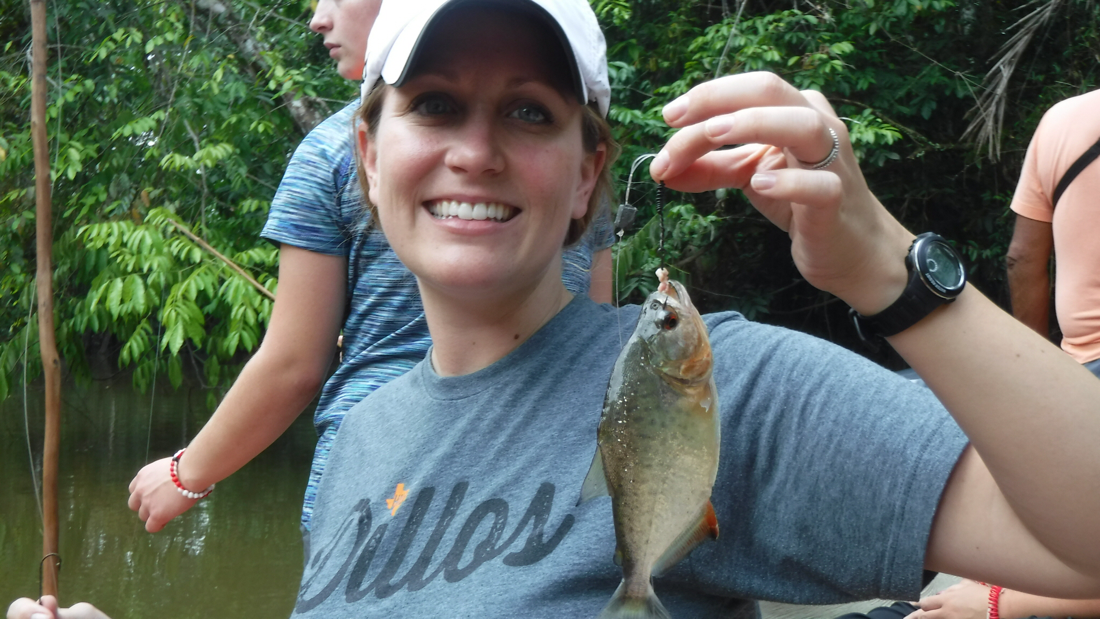
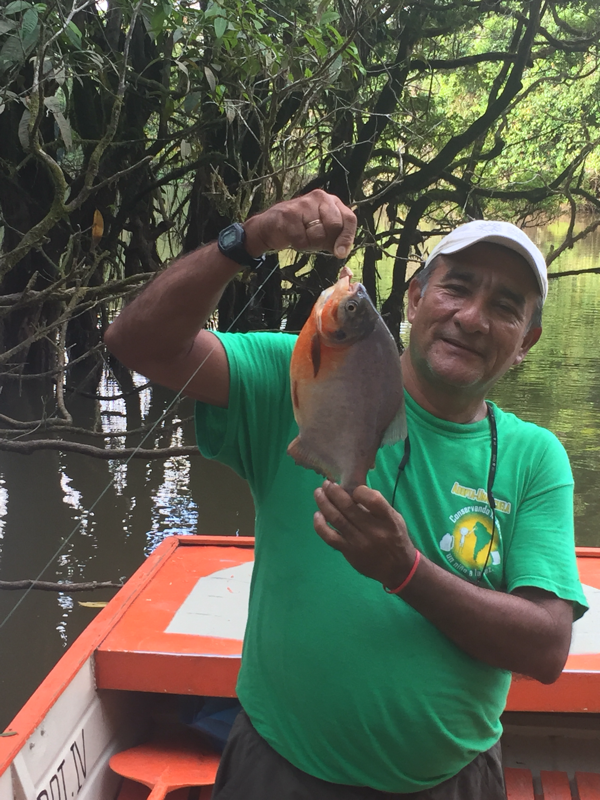
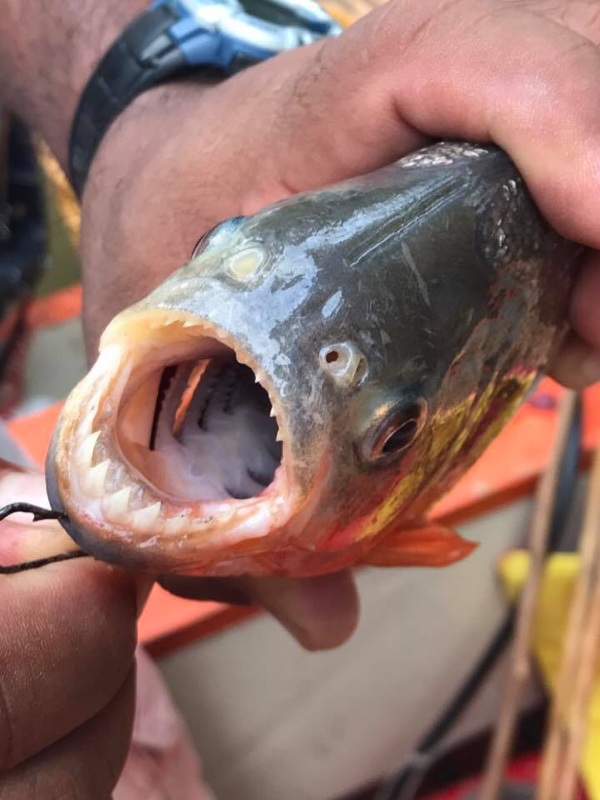
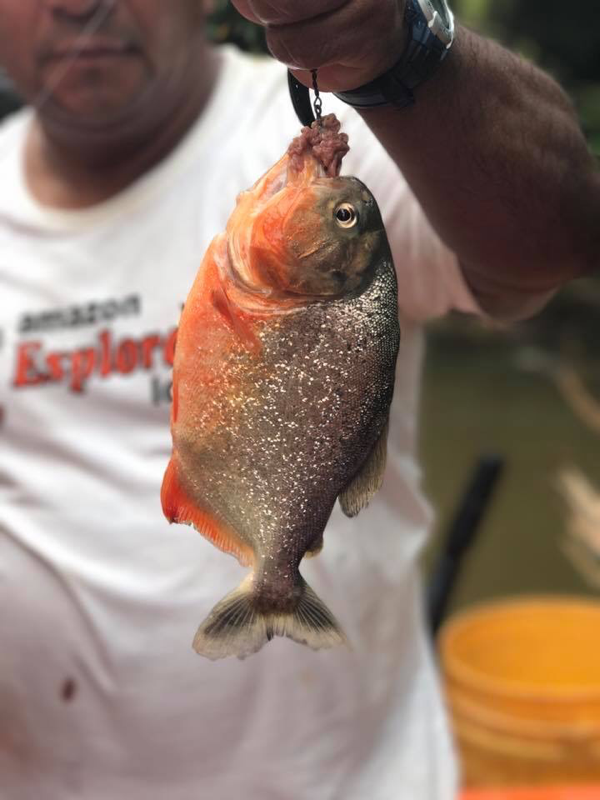
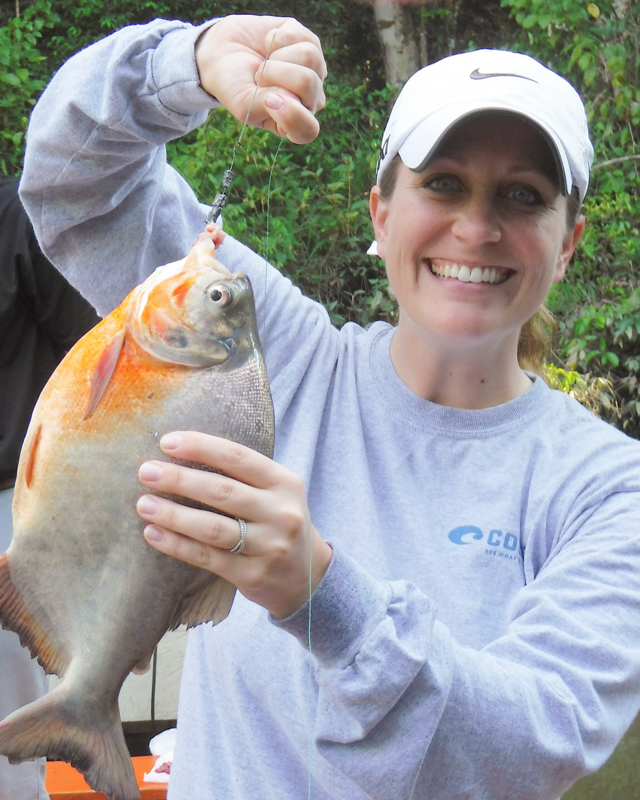
Piranha (red-bellied)
Piranha (white-bellied)
Piraiba Catfish
Silver dollar fish
Sabalo
Moharito
Piranha (red-bellied)
Piranha (white-bellied)
Piraiba Catfish
Silver dollar fish
Sabalo
Moharito
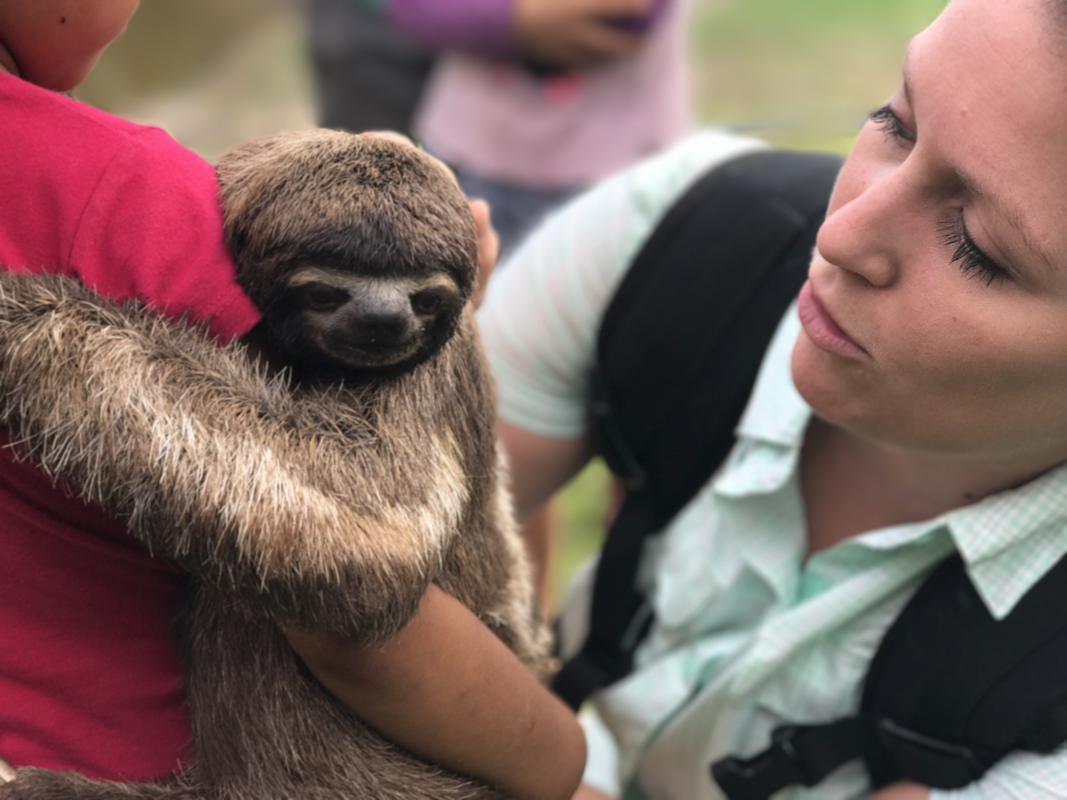
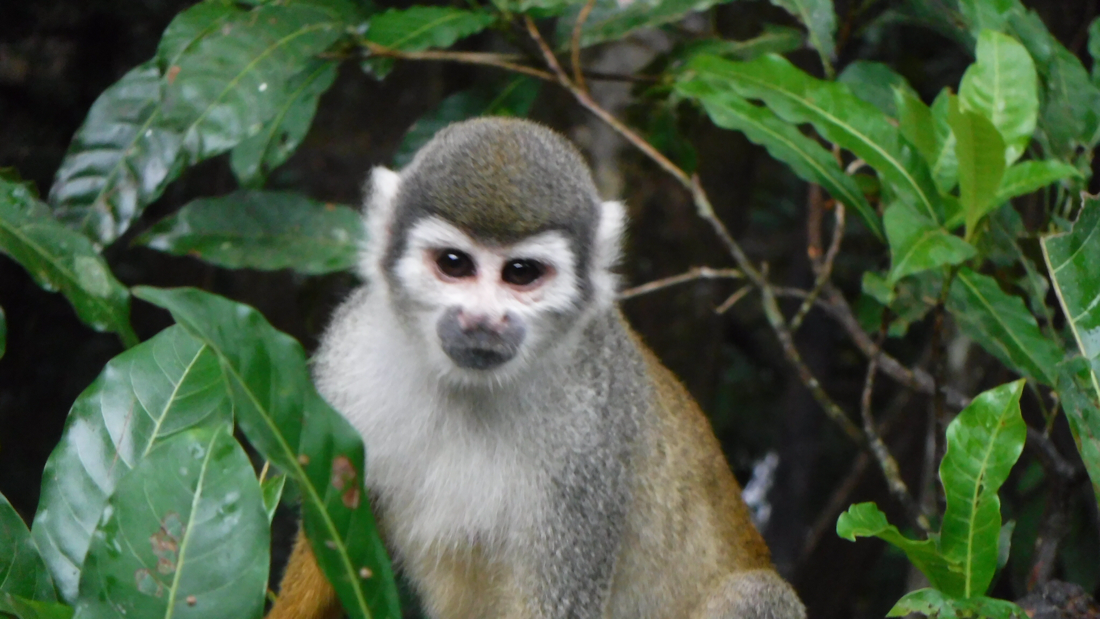
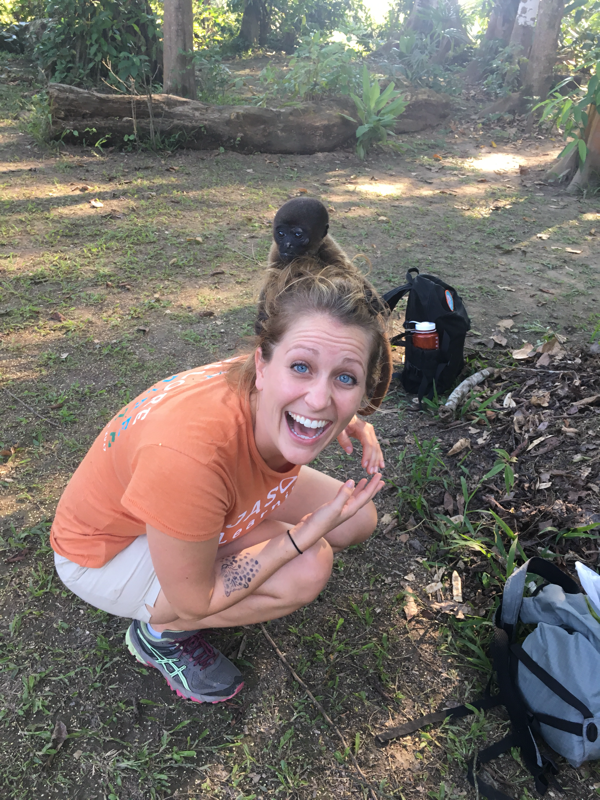
MAMMALS
|
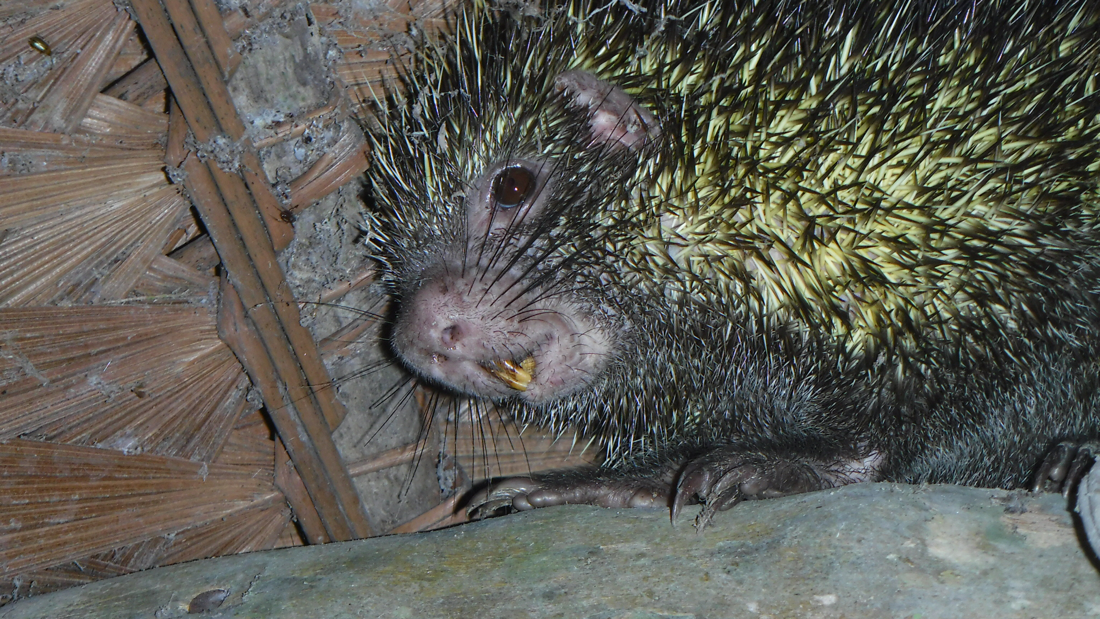
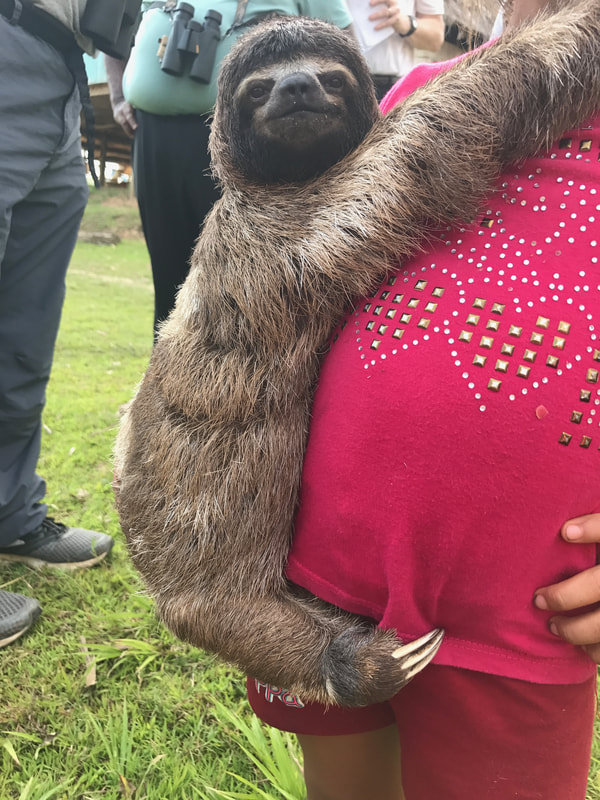
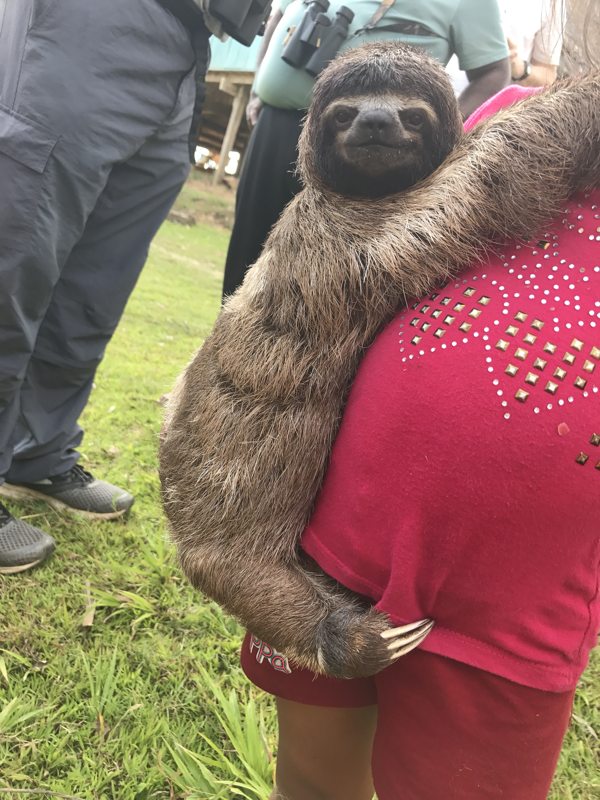
Porcupine
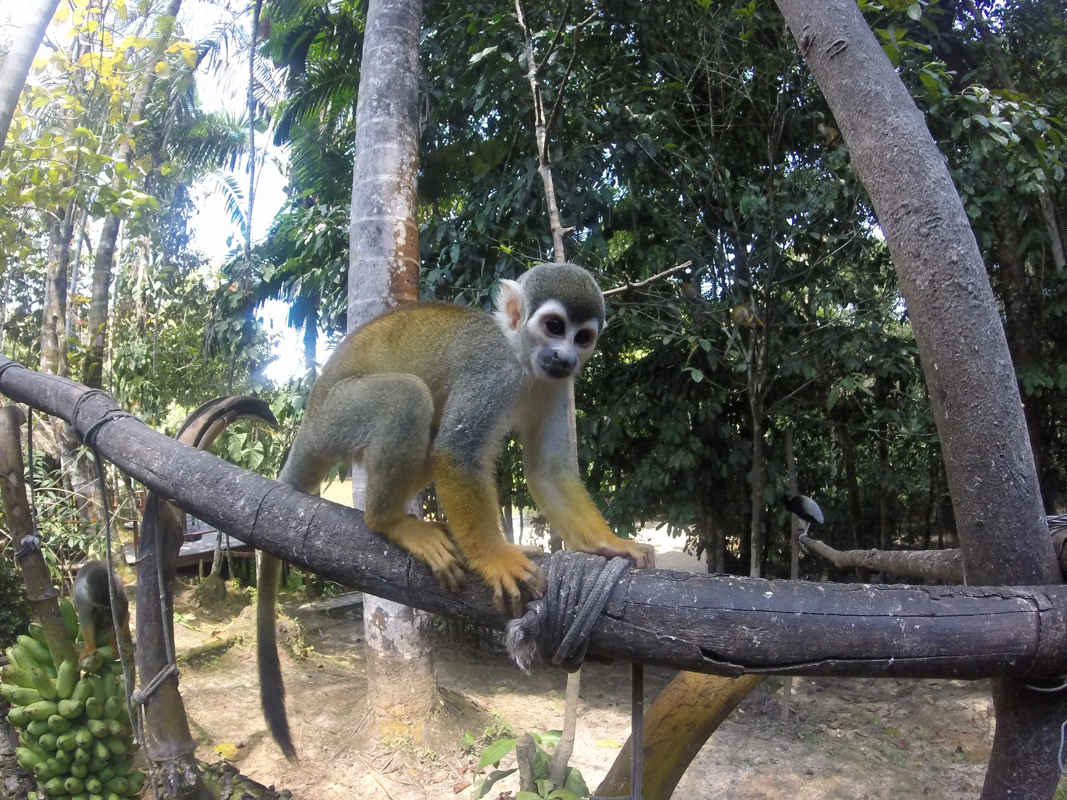
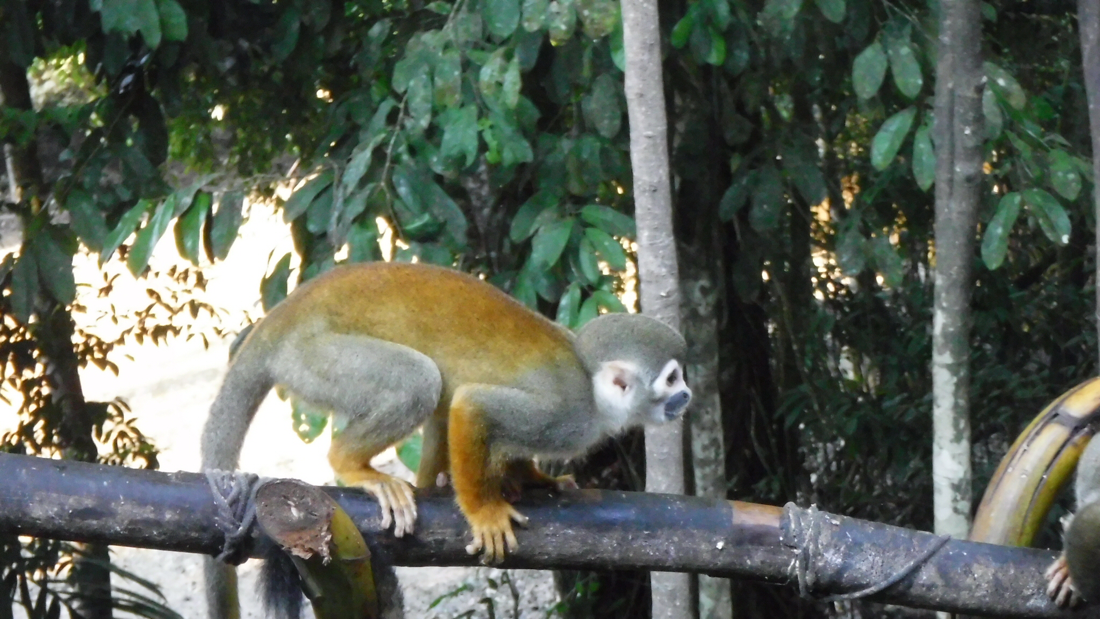
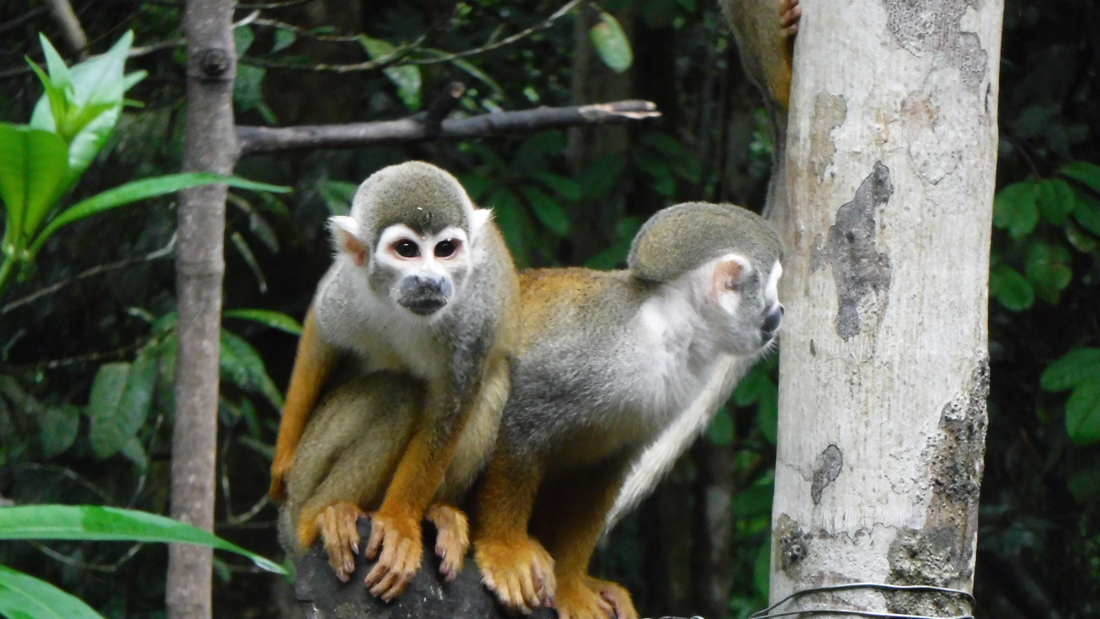
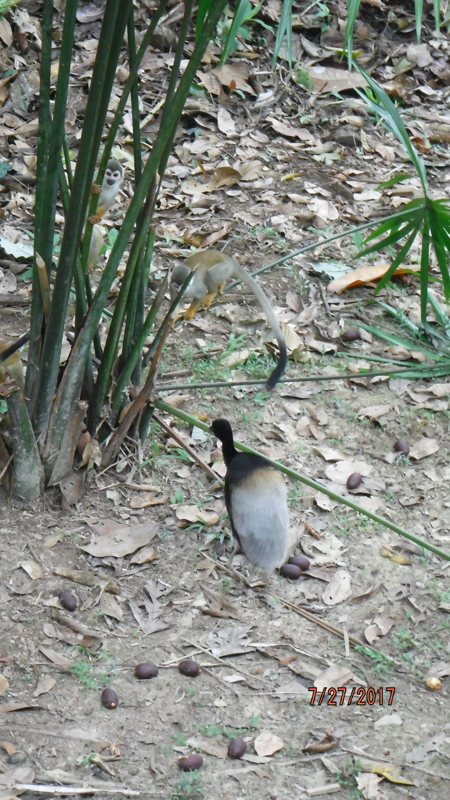
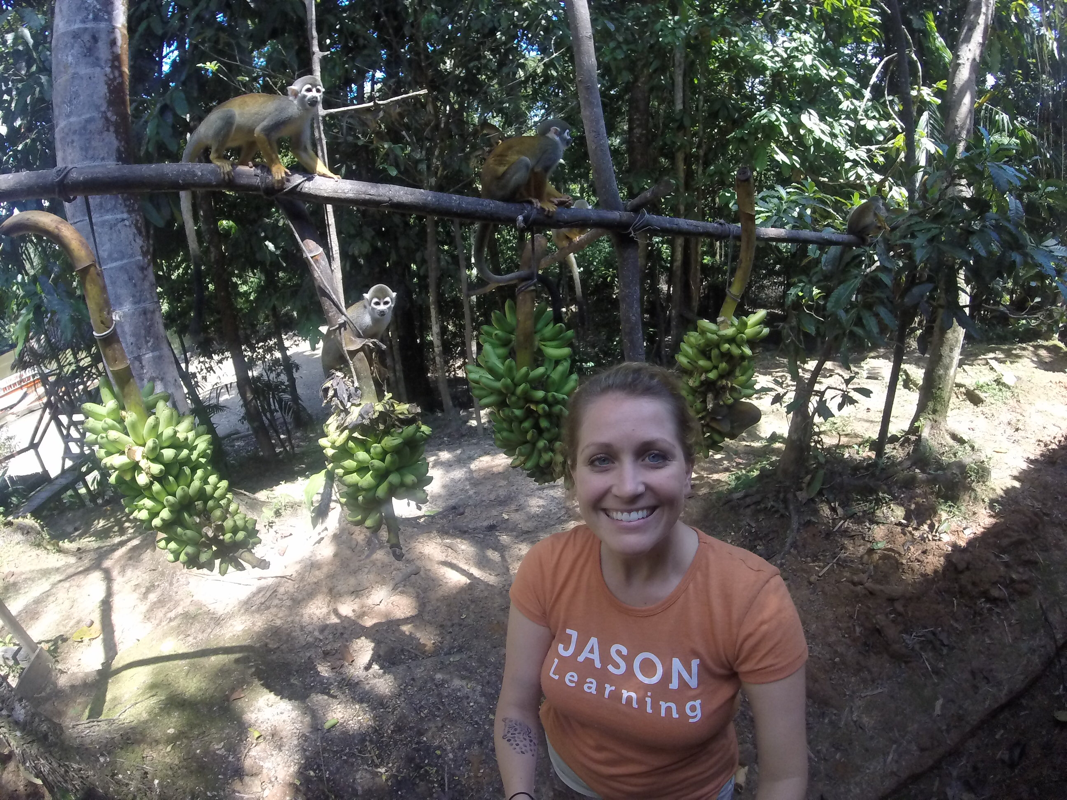
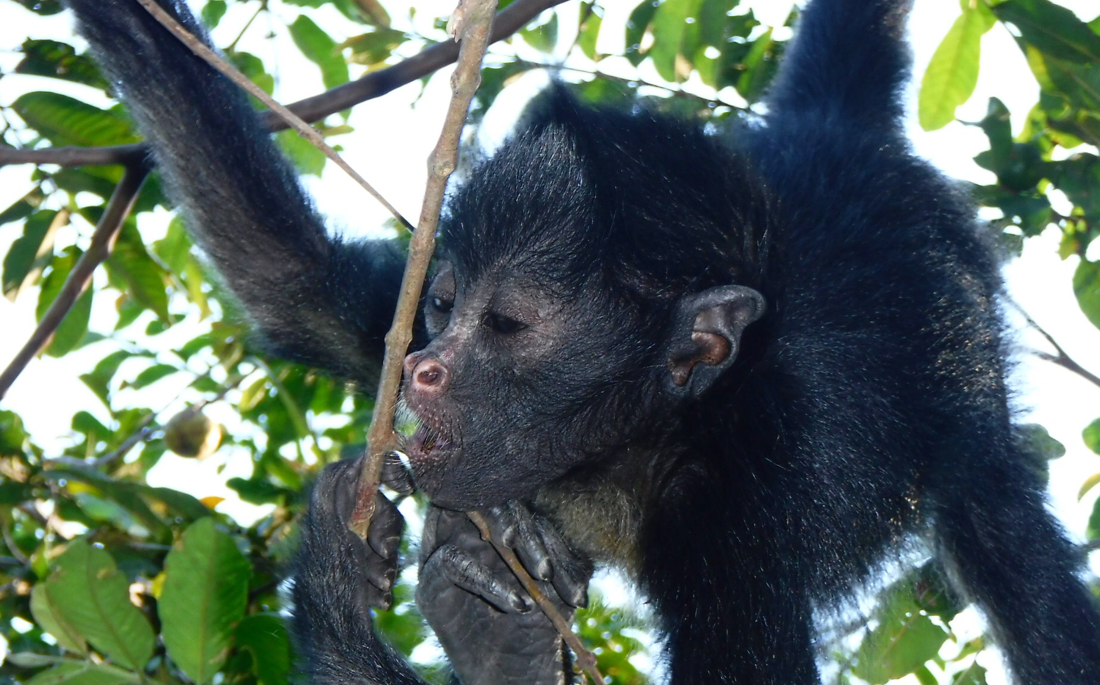
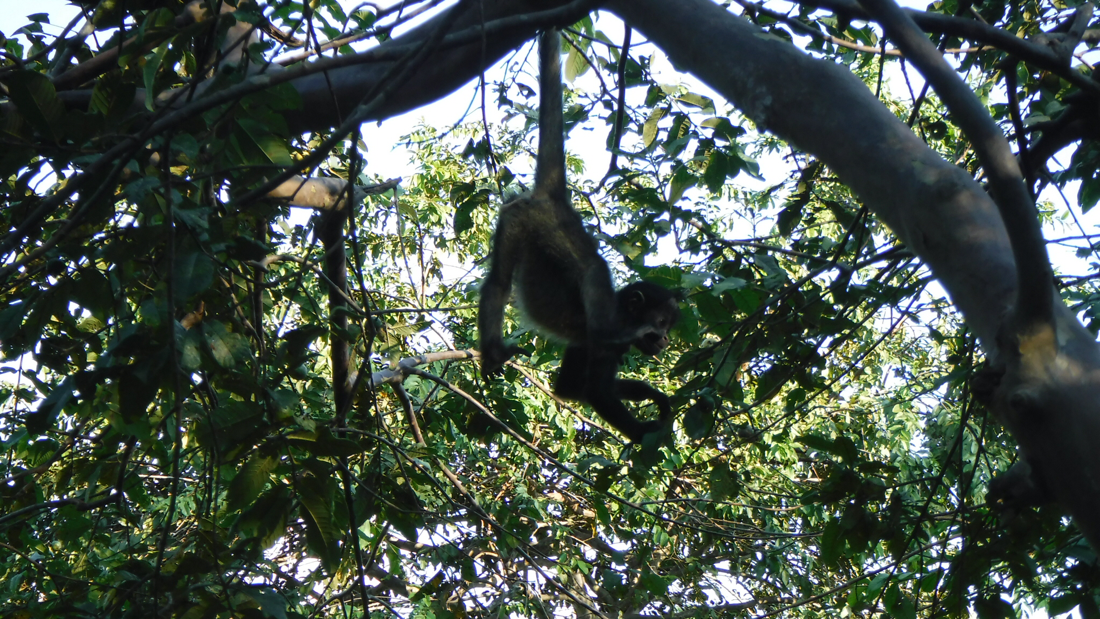
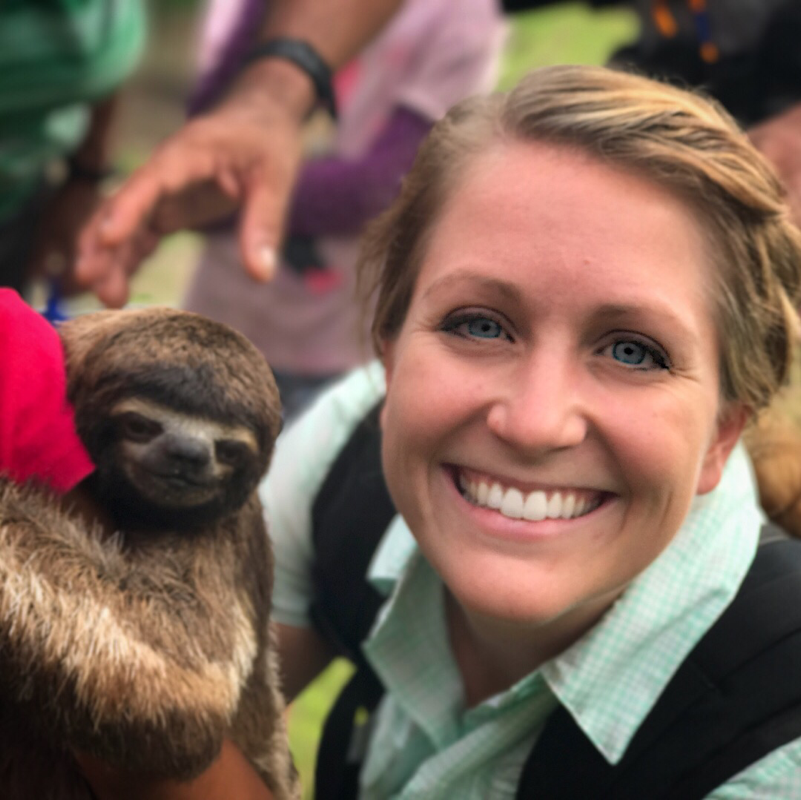
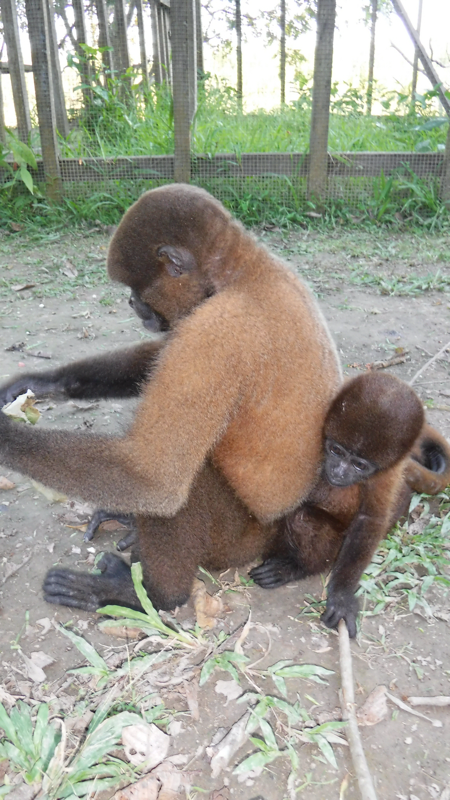
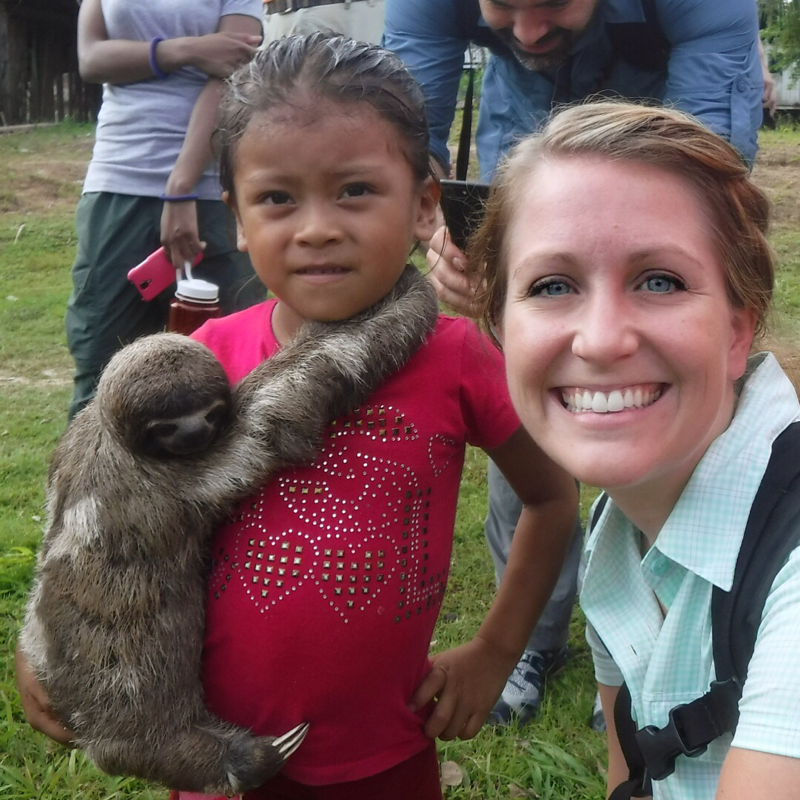
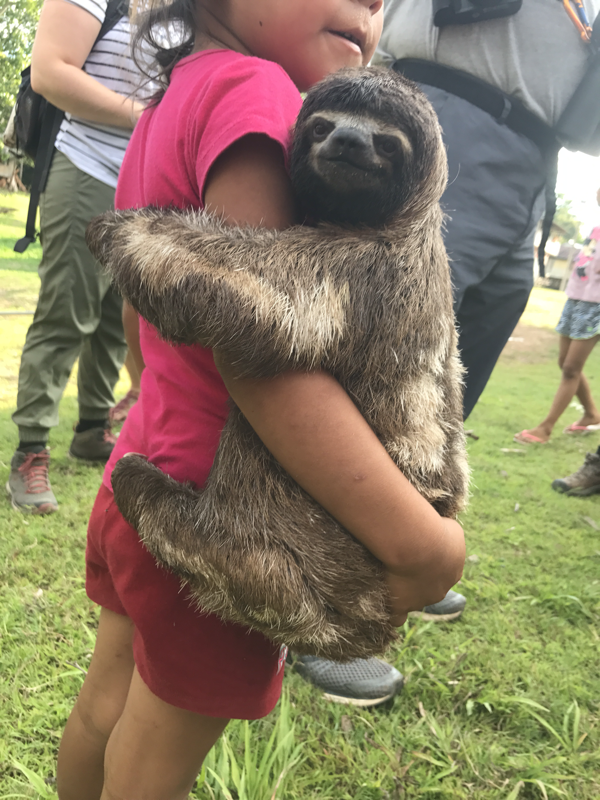
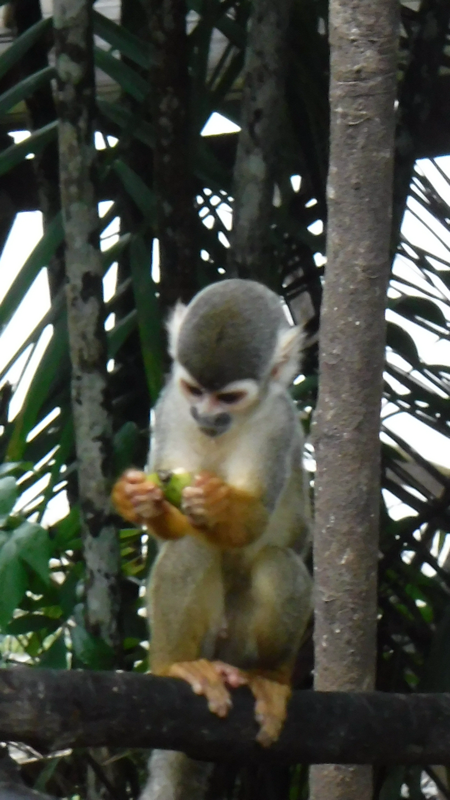
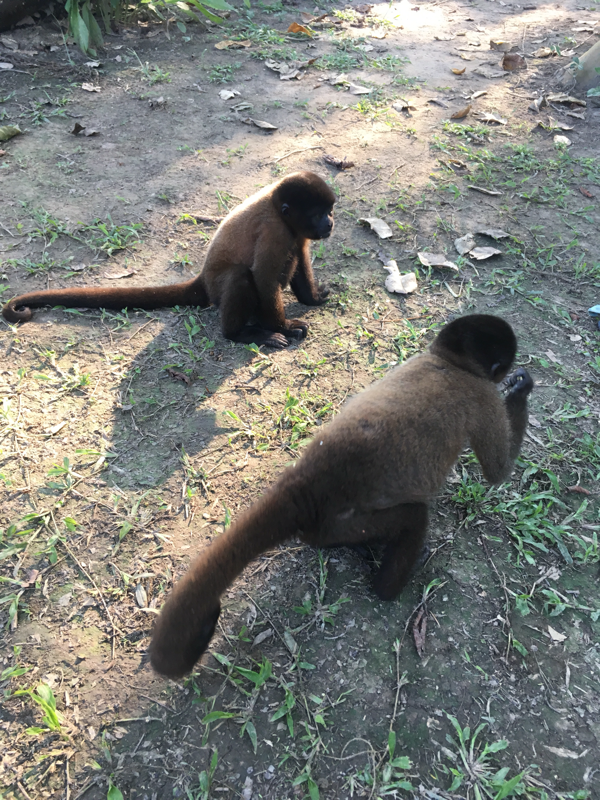
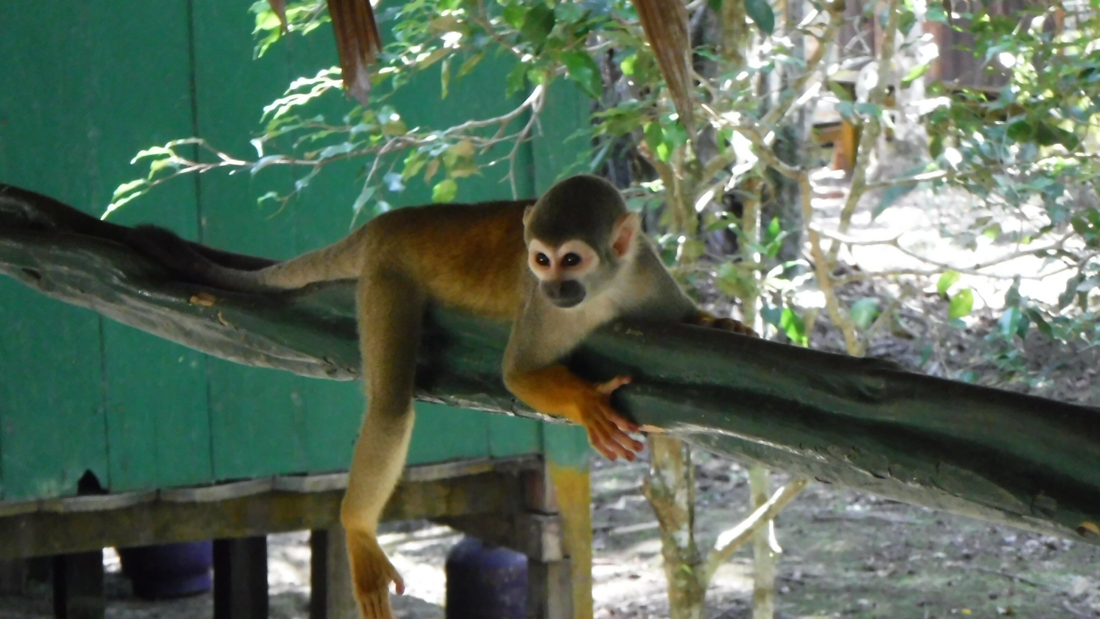
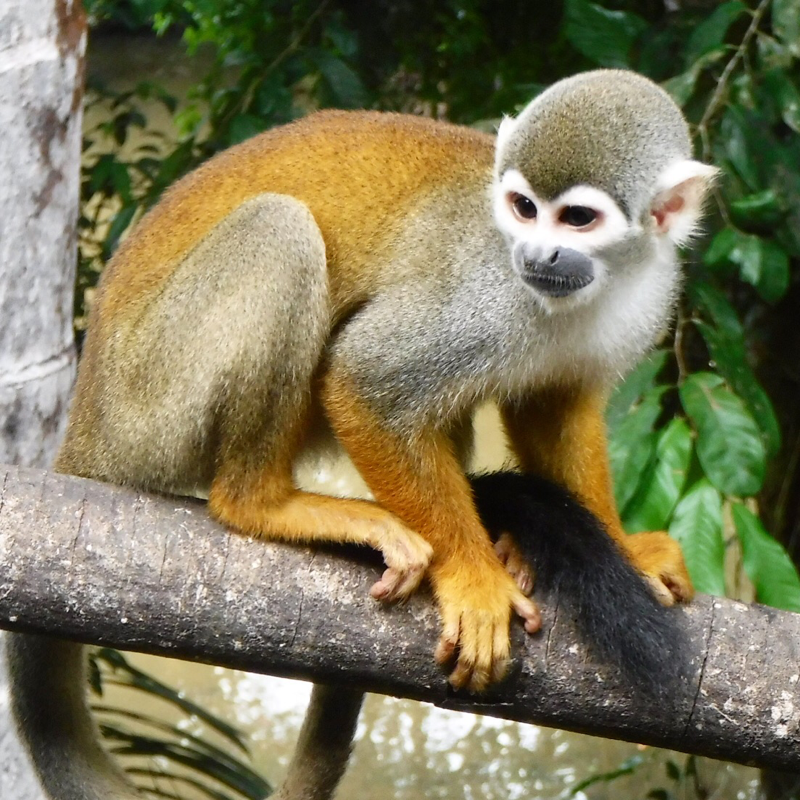
Three-toed sloth Golden Tamerin Howler monkey (red) baby Squirrel monkey Titi monkey Comon Opossum Black mantled Mamarin Saddle back tamarin |
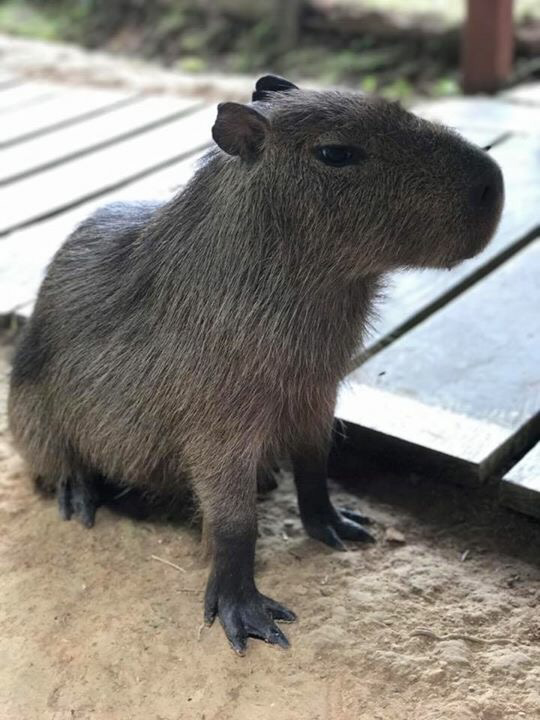
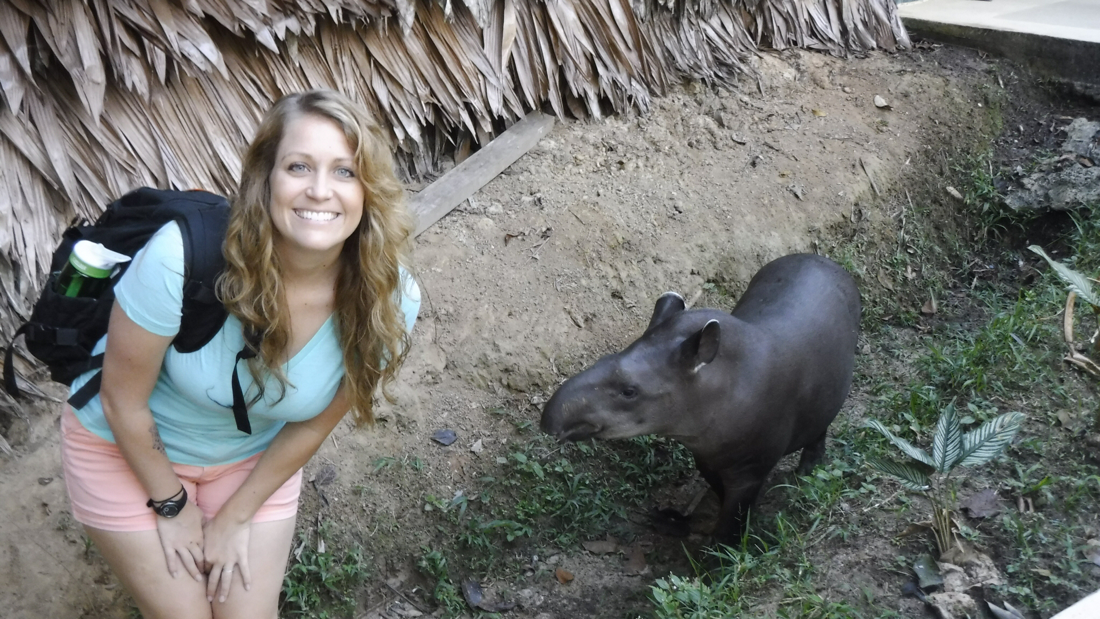
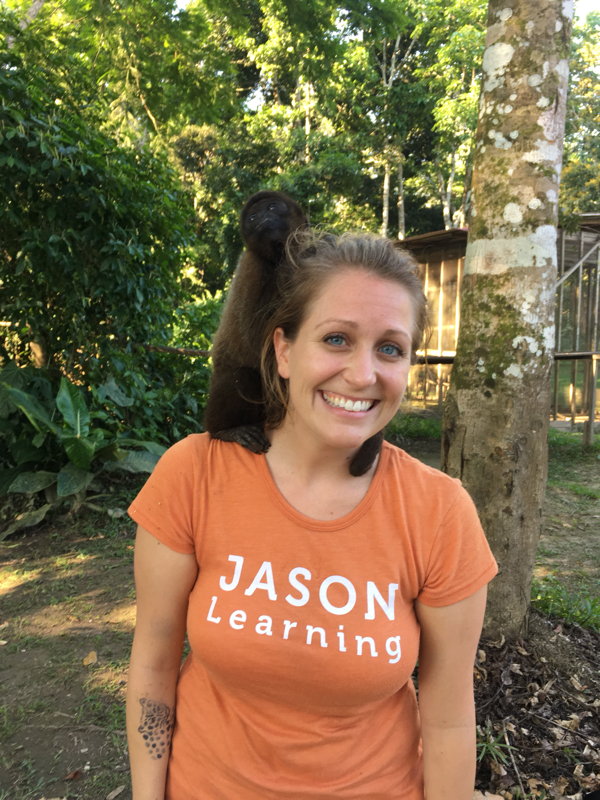
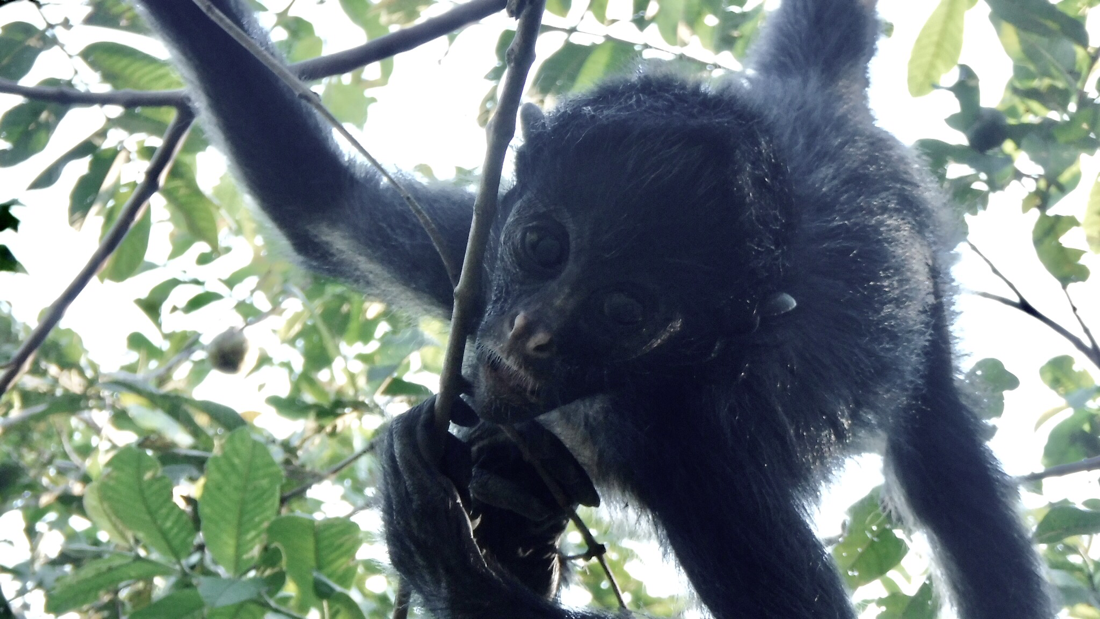
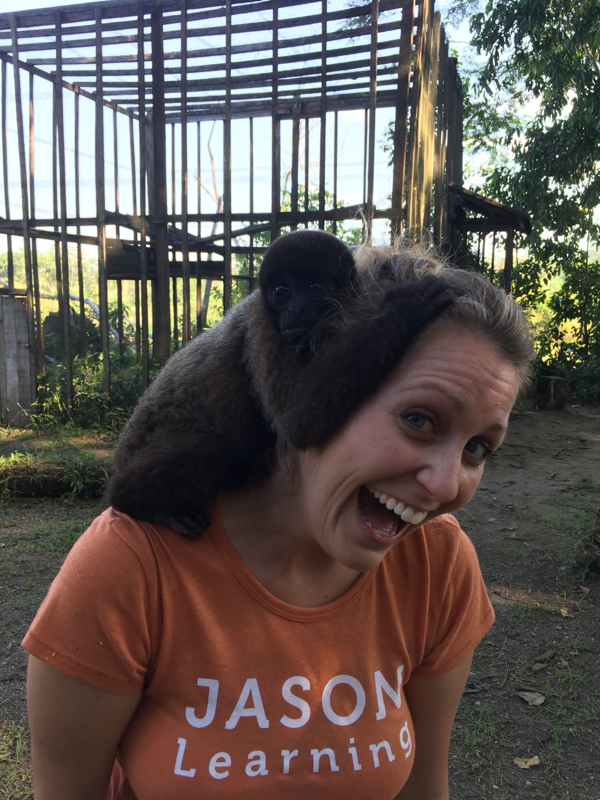
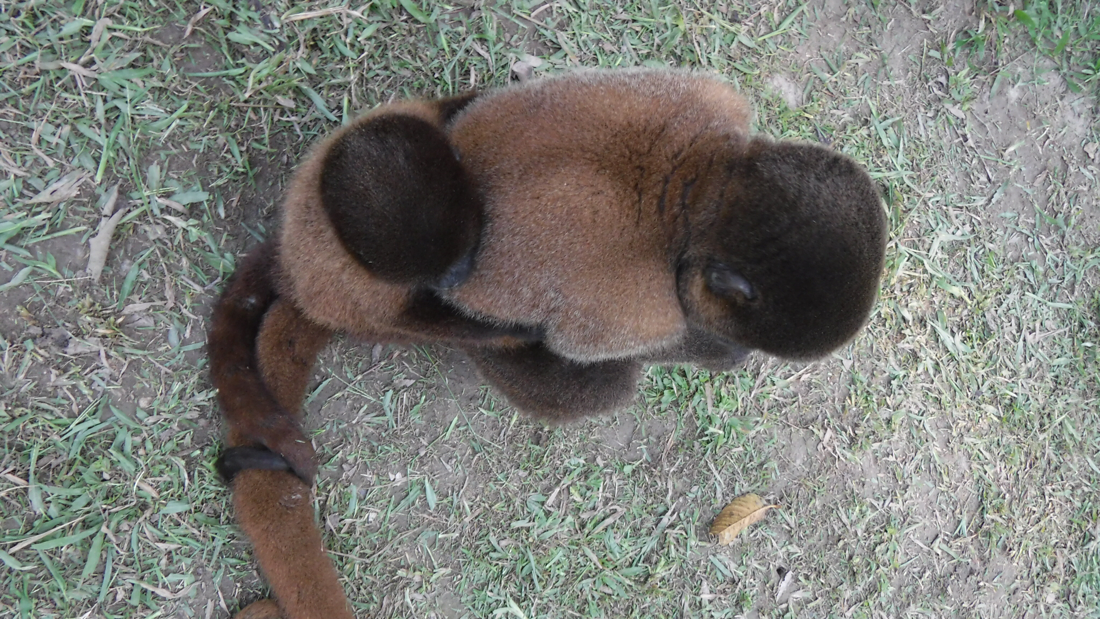
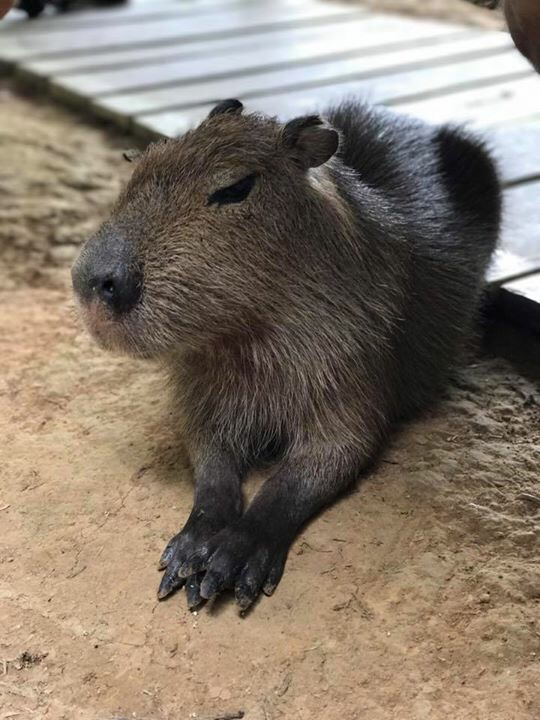
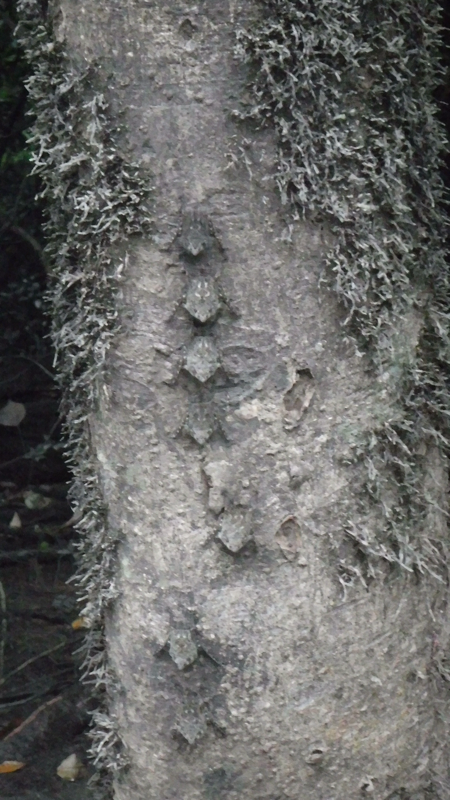
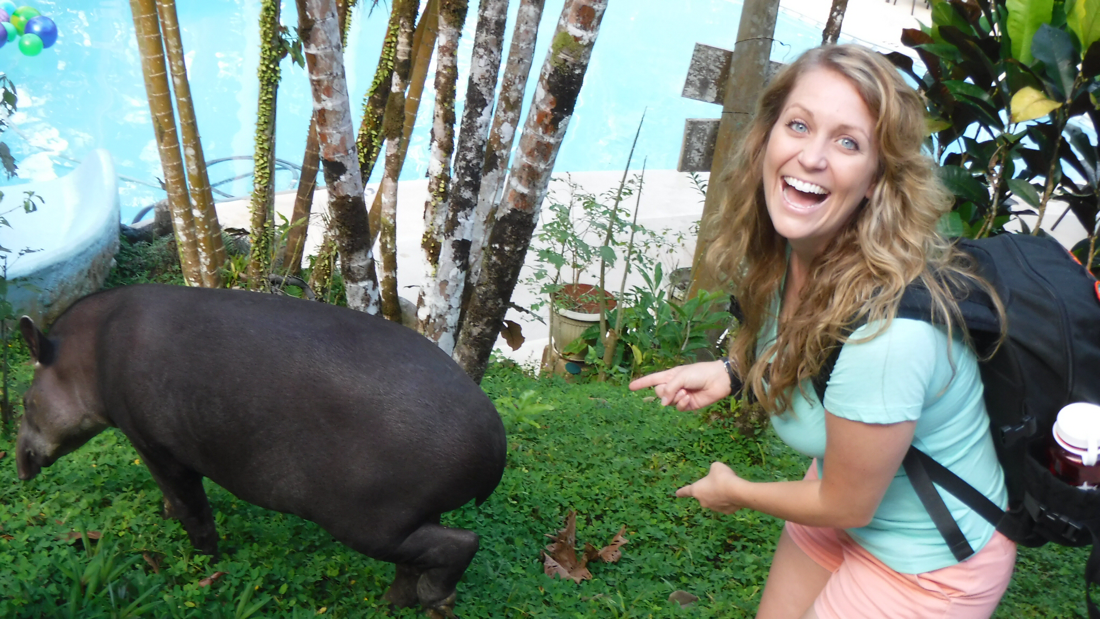
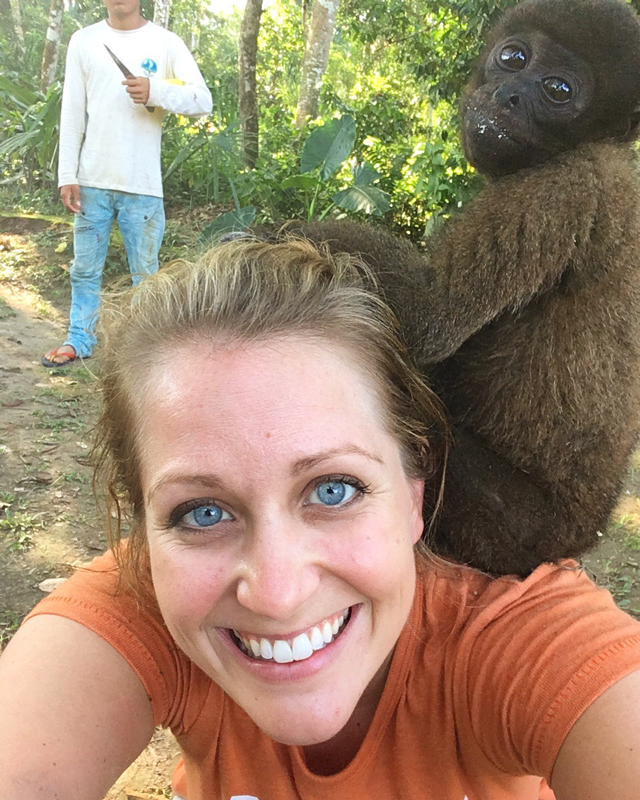
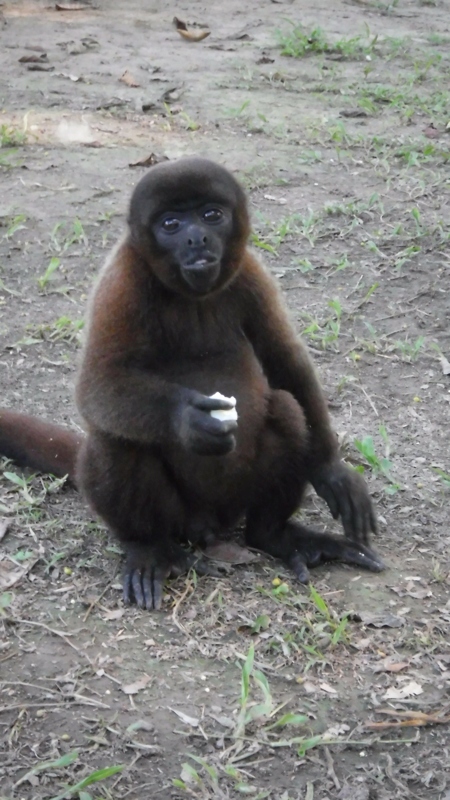
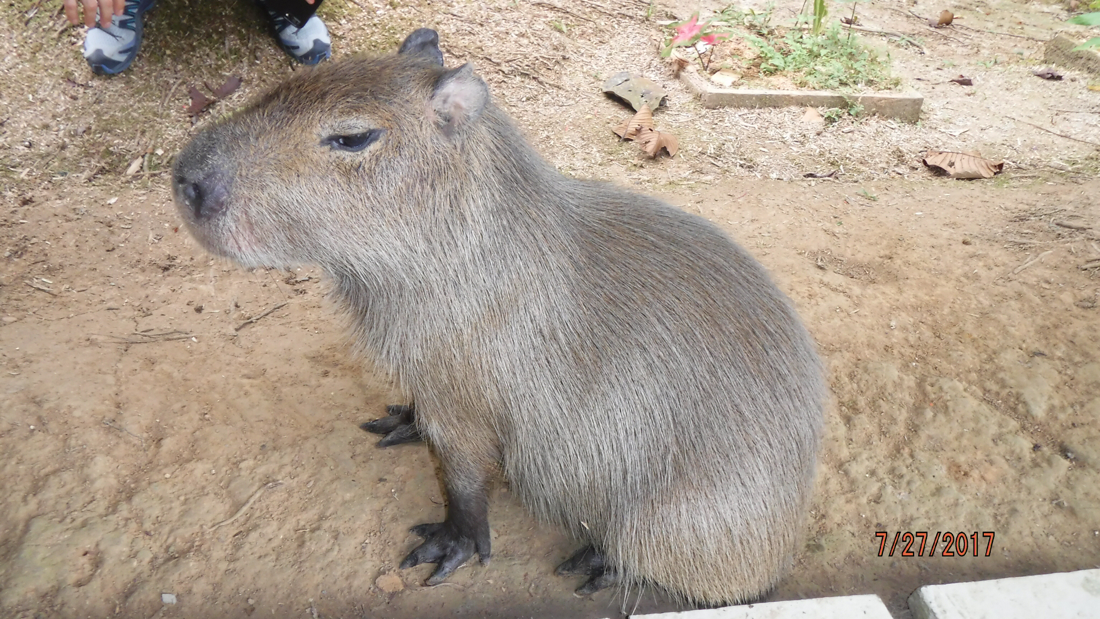
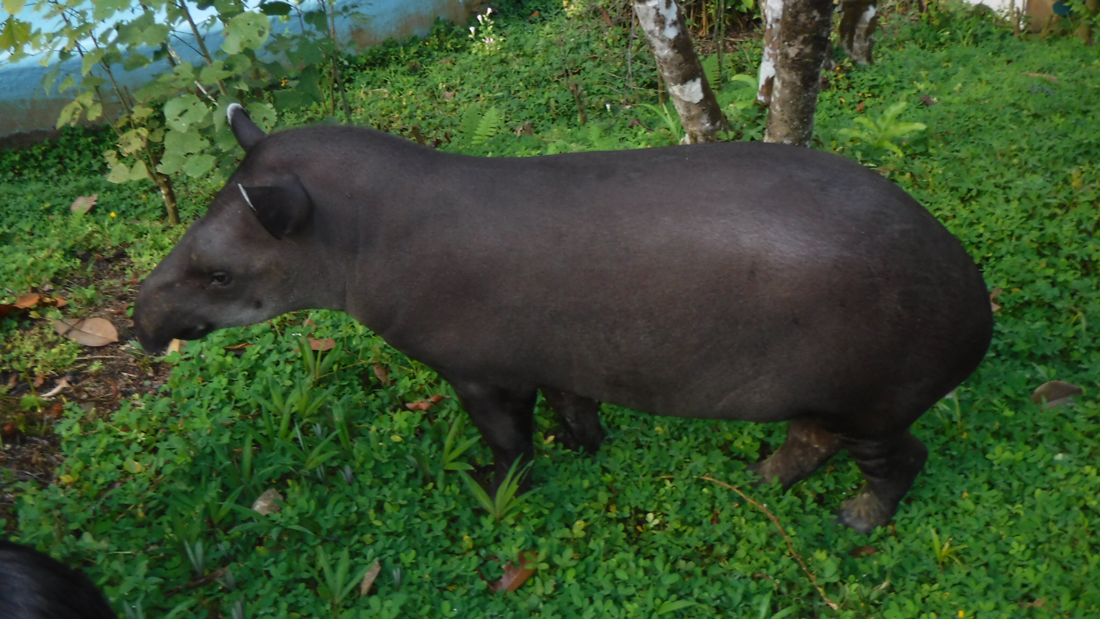
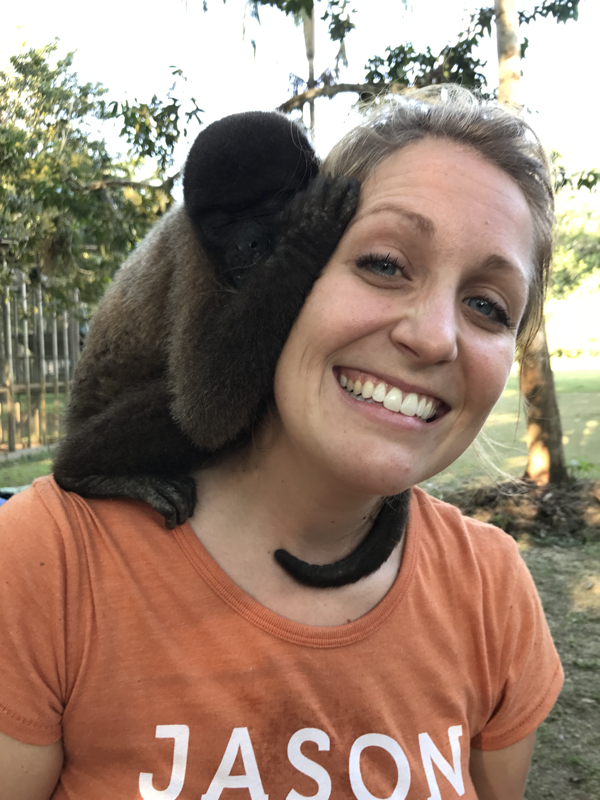
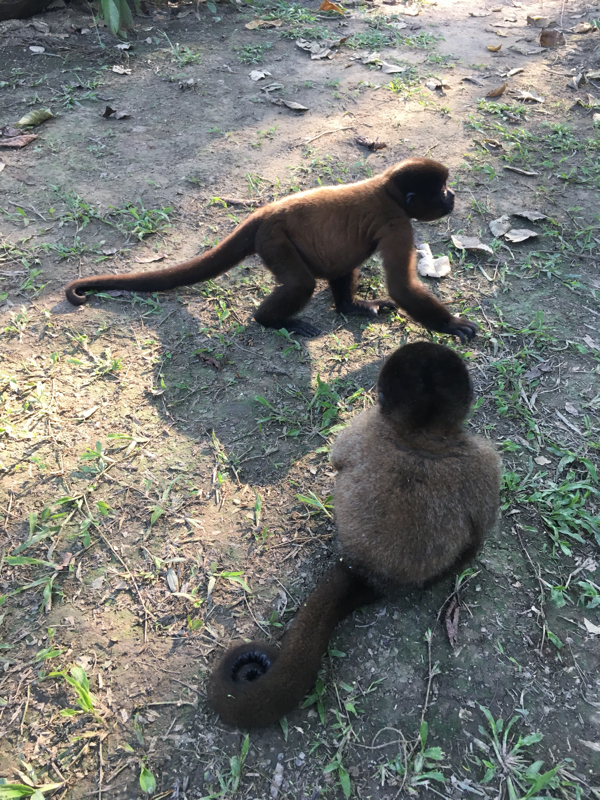
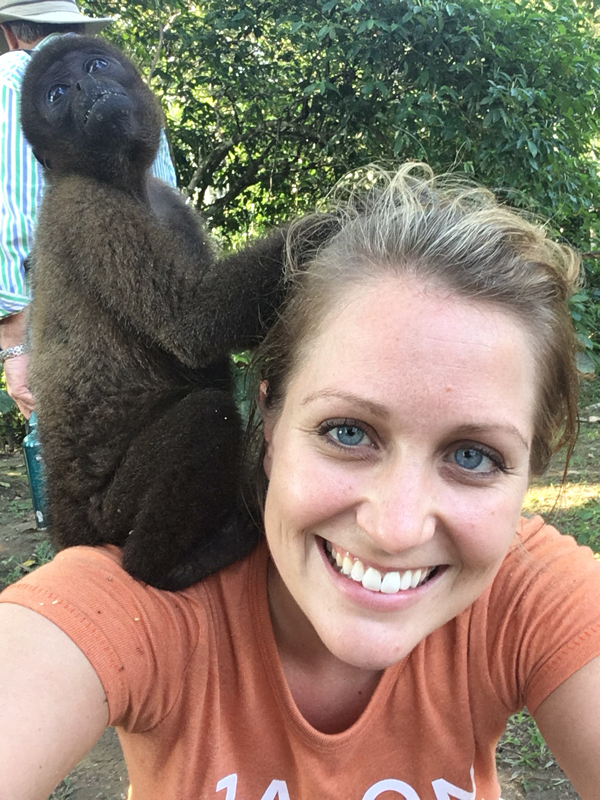
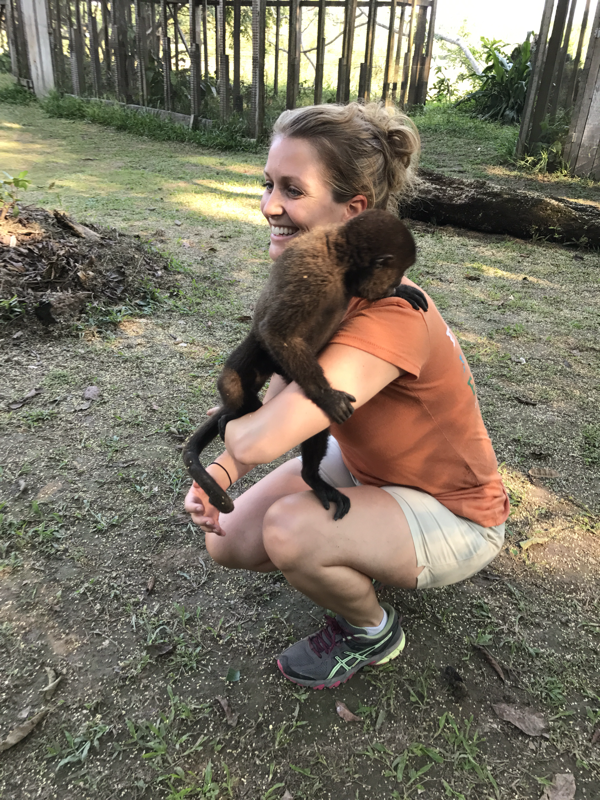
Woolly Monkey (baby on my head)
Saki monkey Capybara Spider monkey Tapir Greater fishing bat Sac-wing bat (camoflaged on trees) Pink dolphi Gray dolphin Pigmy Squirrel |
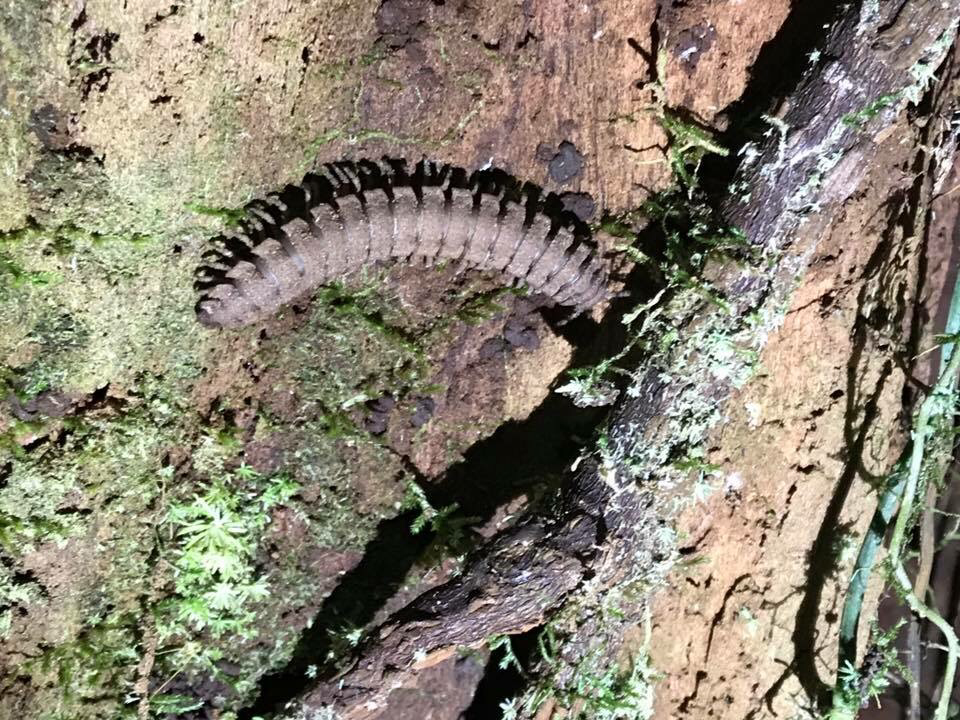
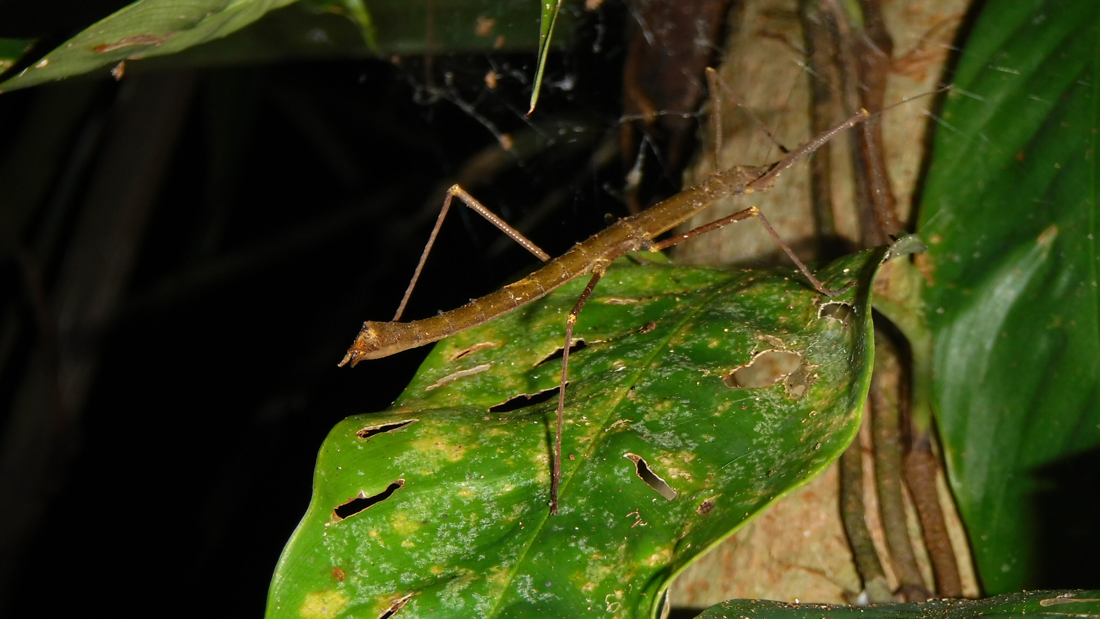
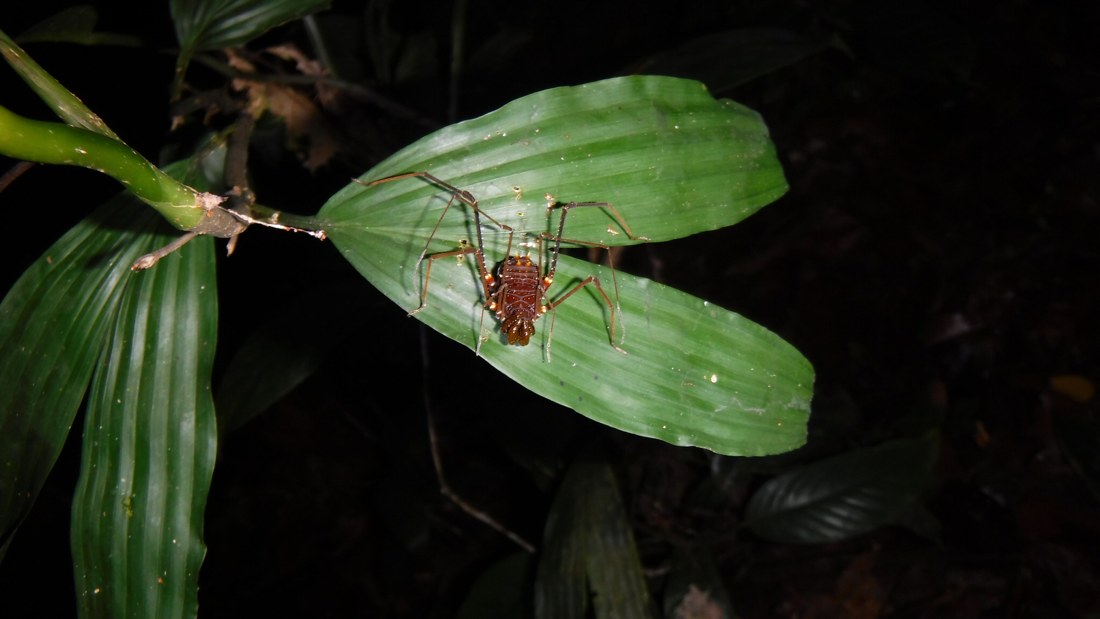
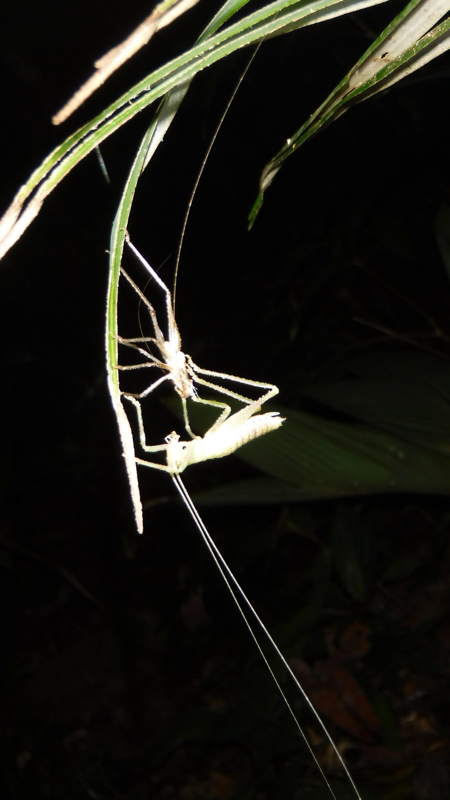
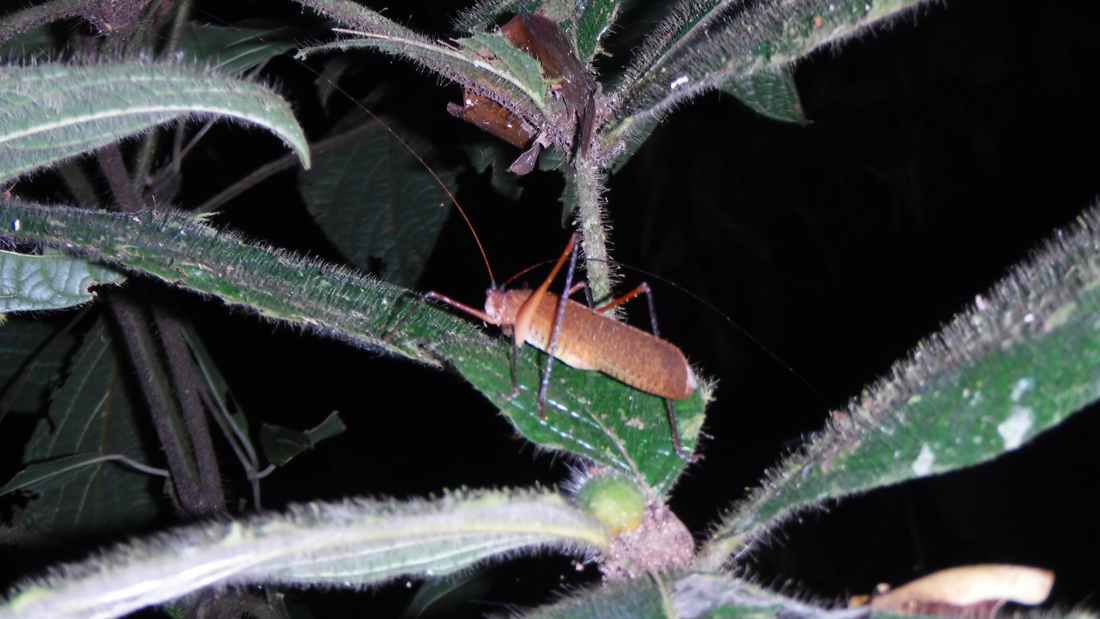
ARTHROPODS
|
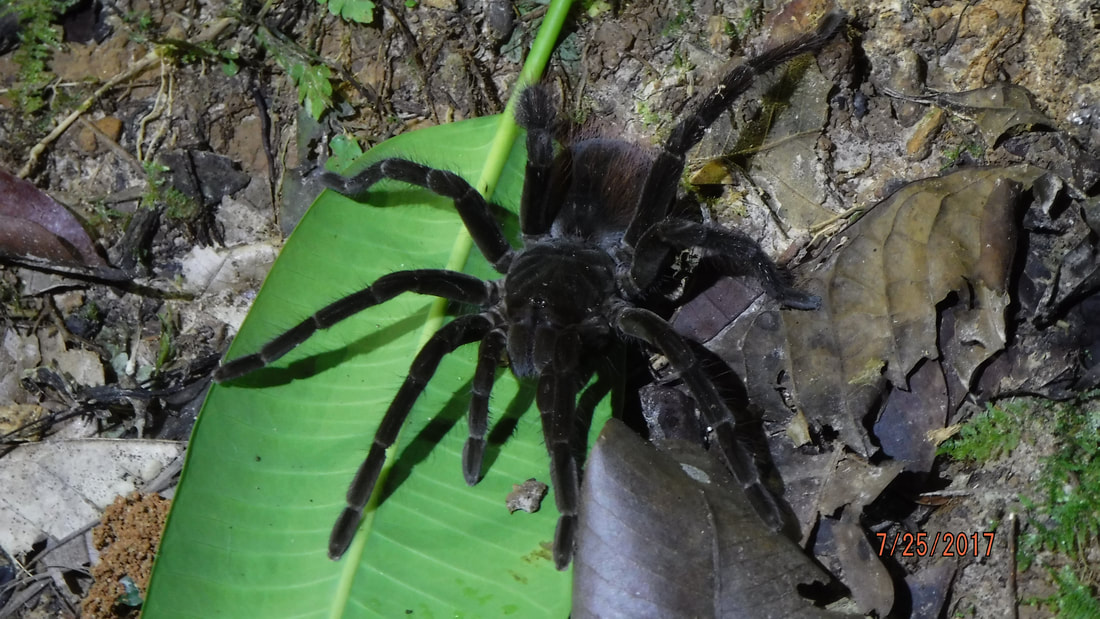
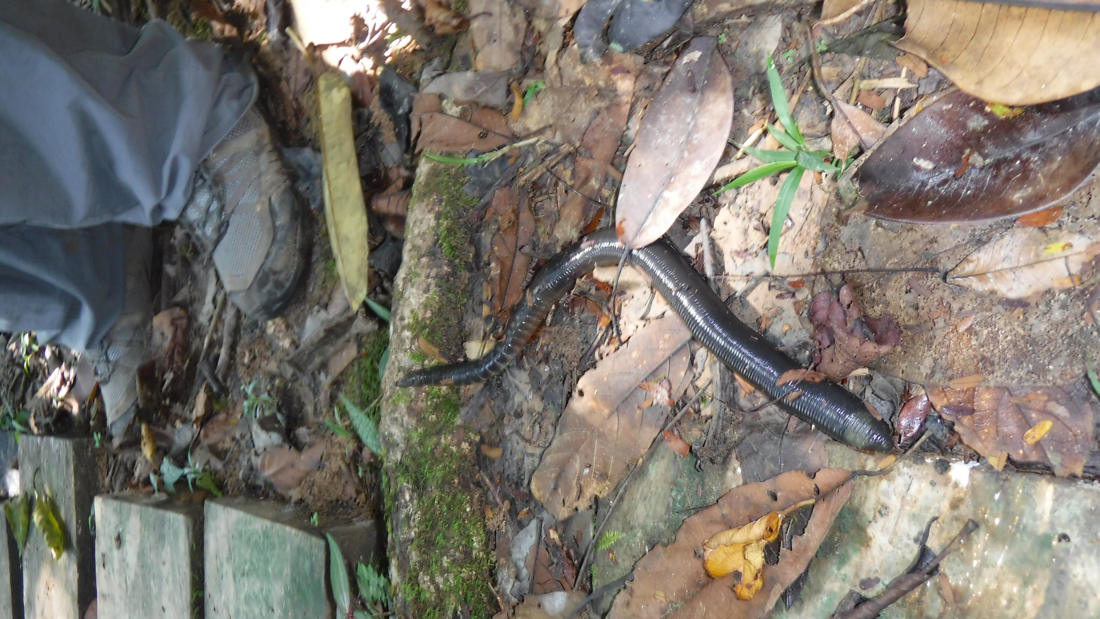
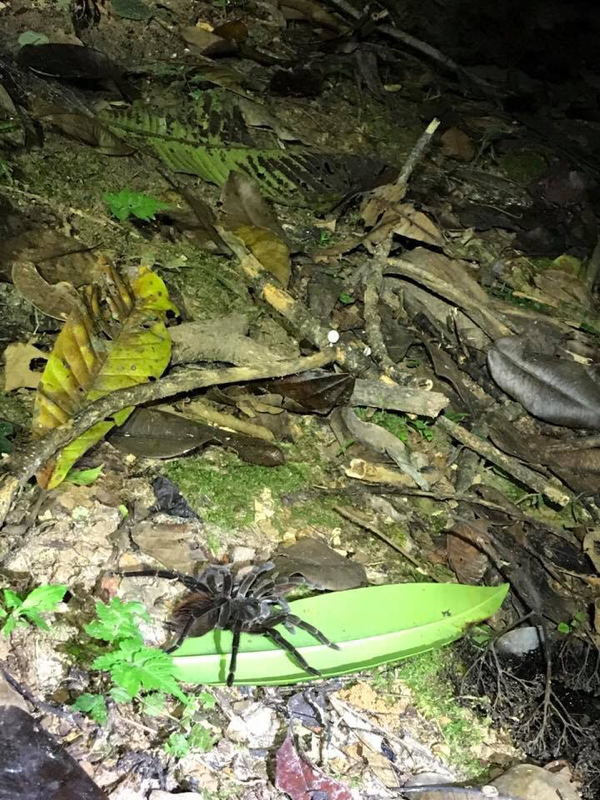
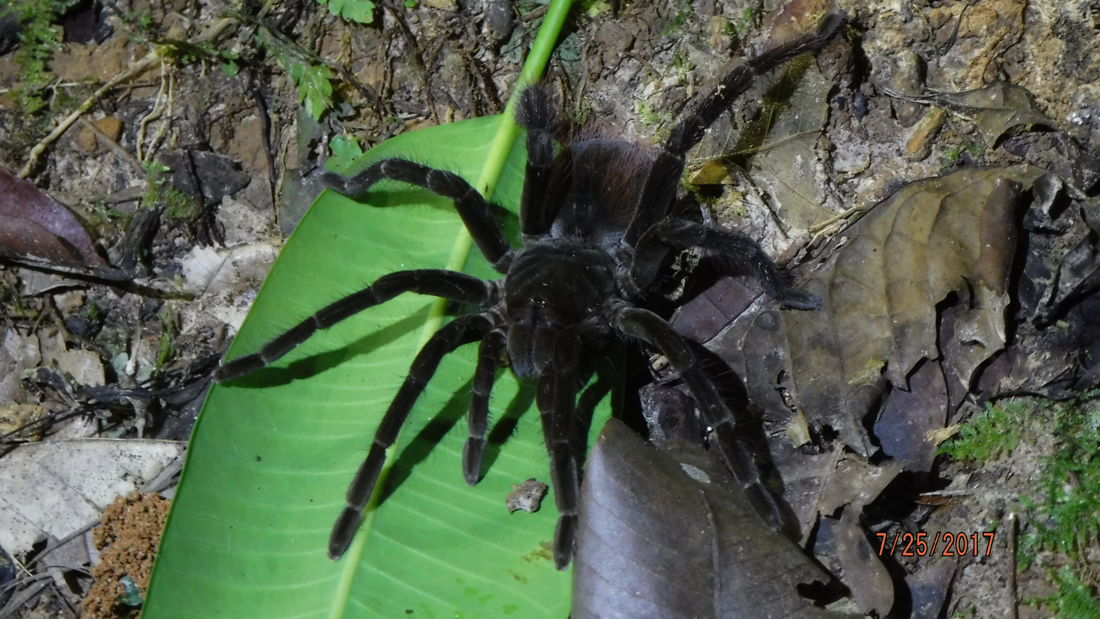
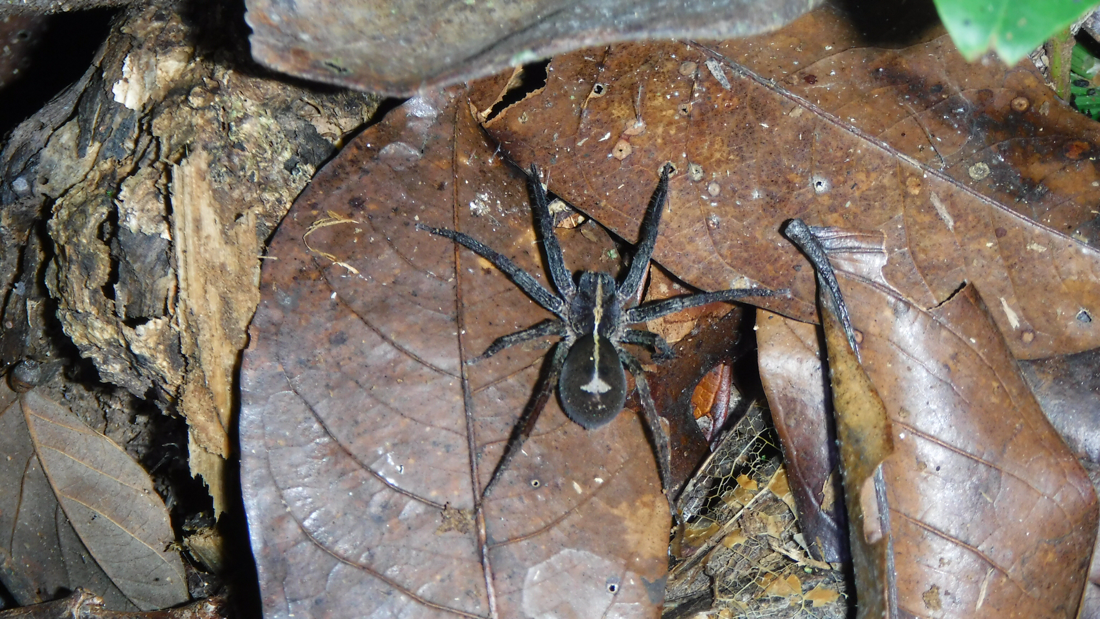
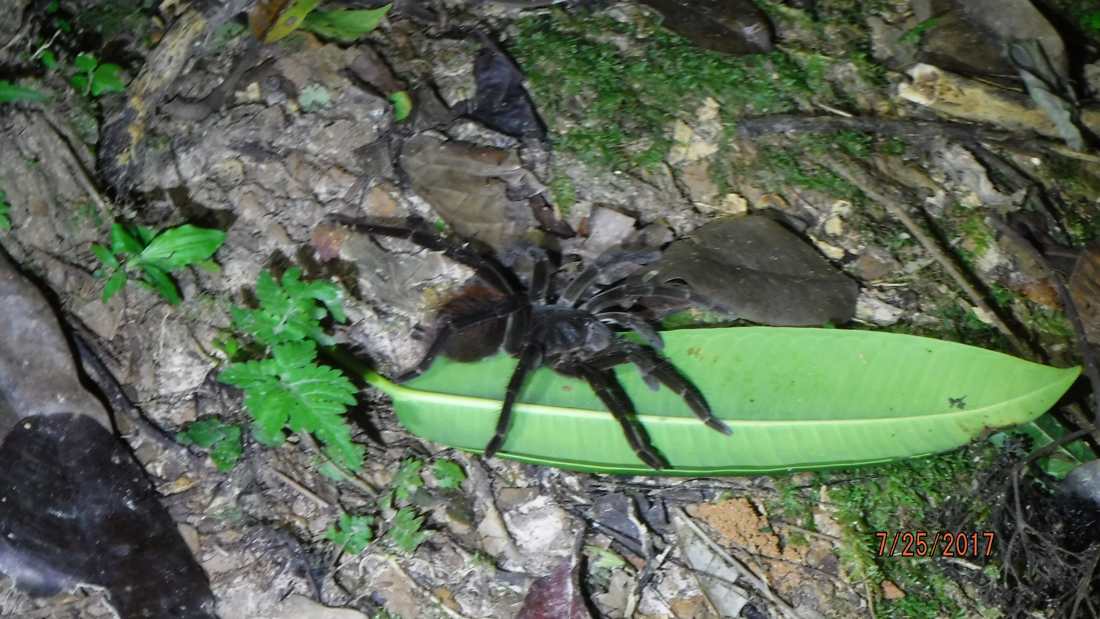
Army ant
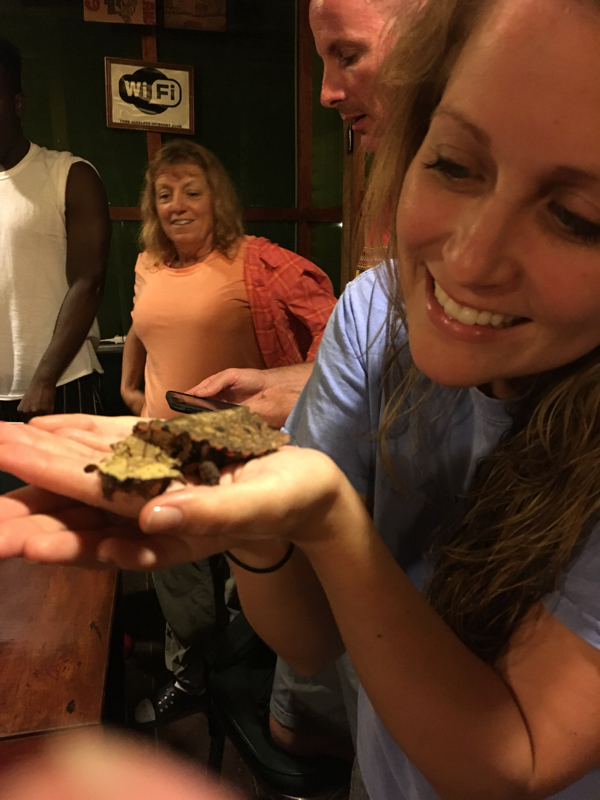
Leaf cutter ant Termite Gilding ant Sweat bees Morpho Butterfly Sphinx moth Giant earthworm Red rump tarantula |
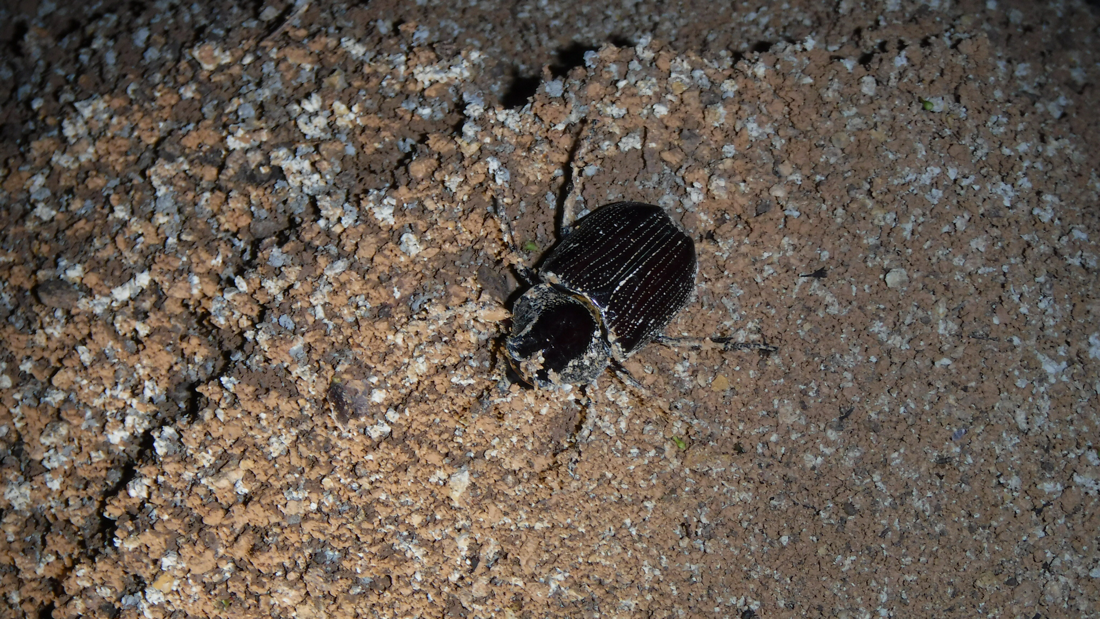
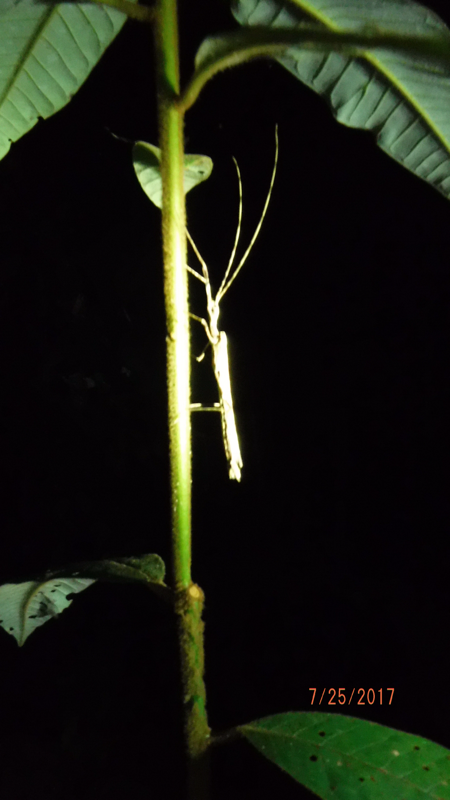
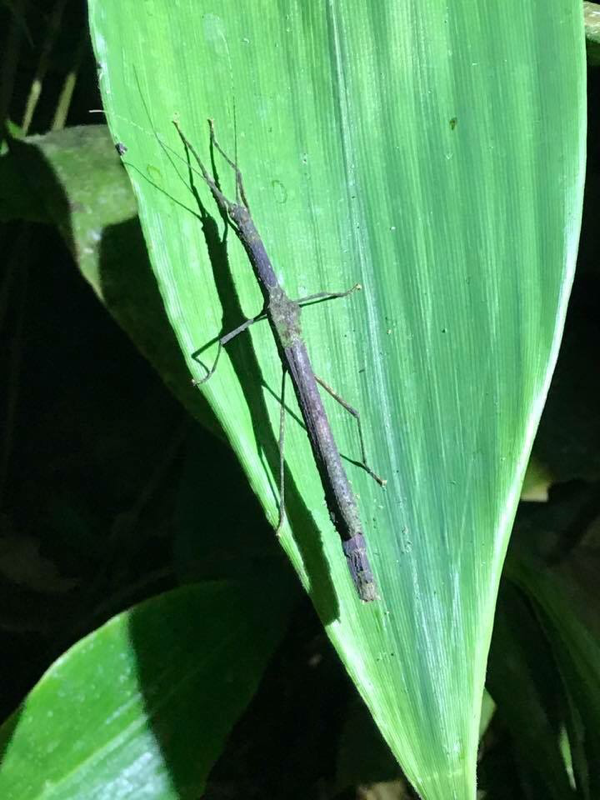
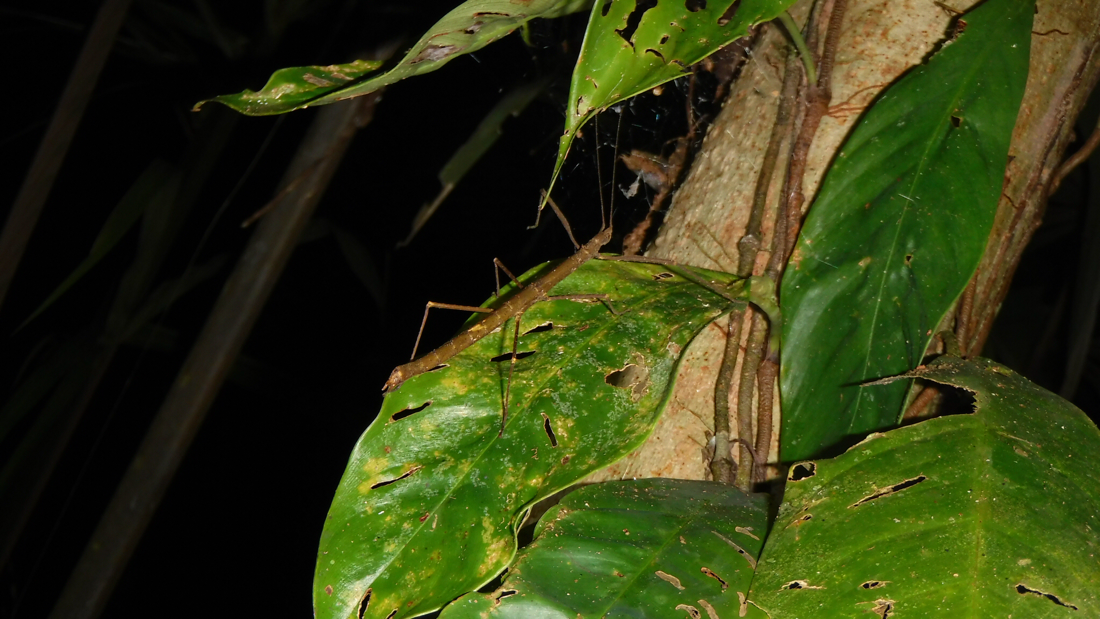
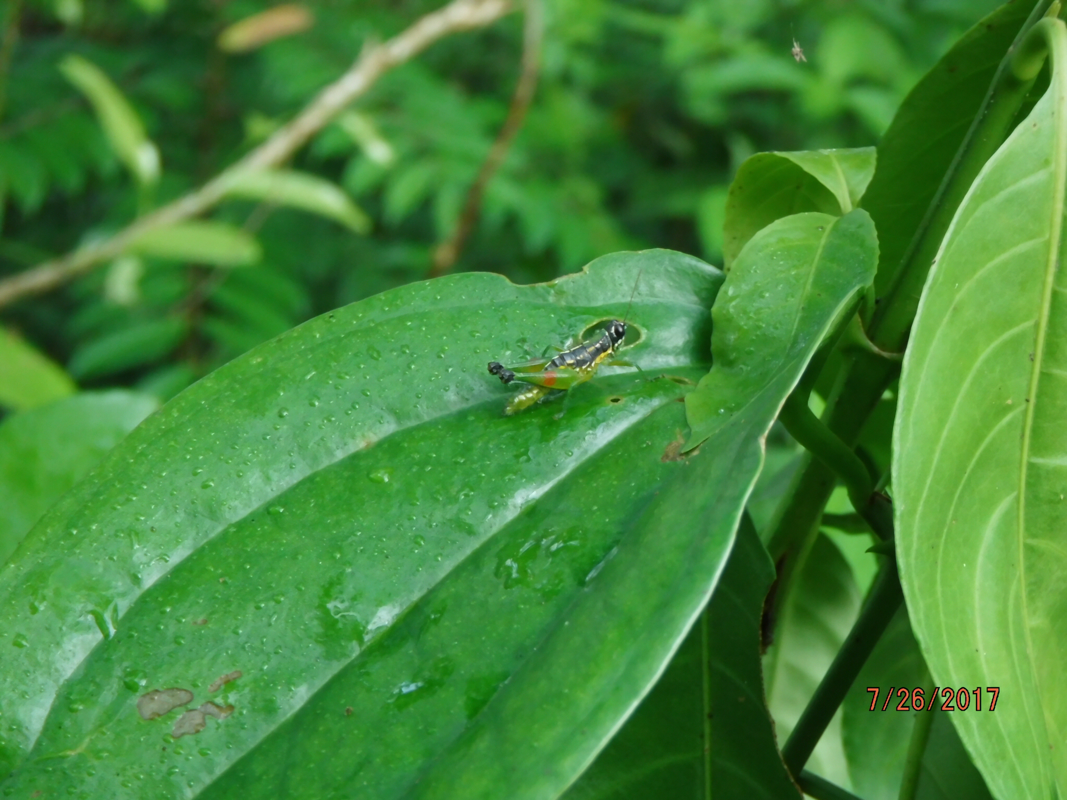
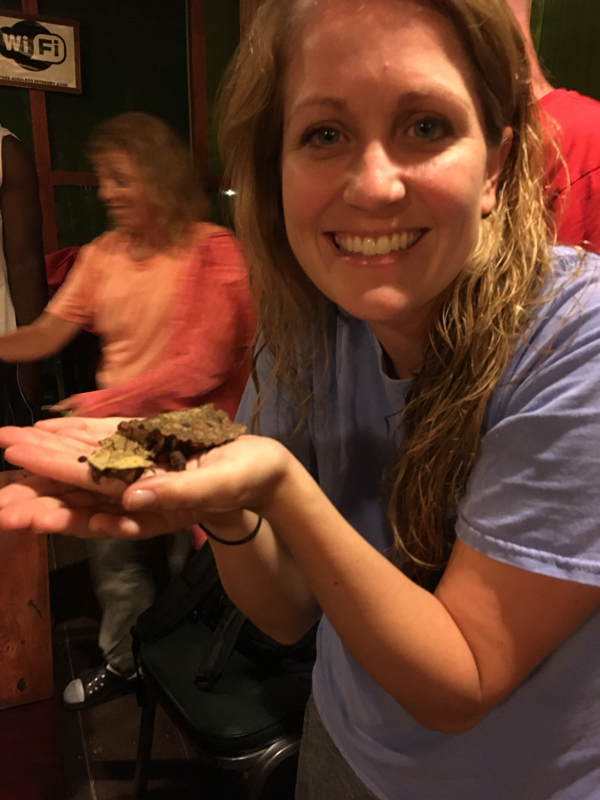
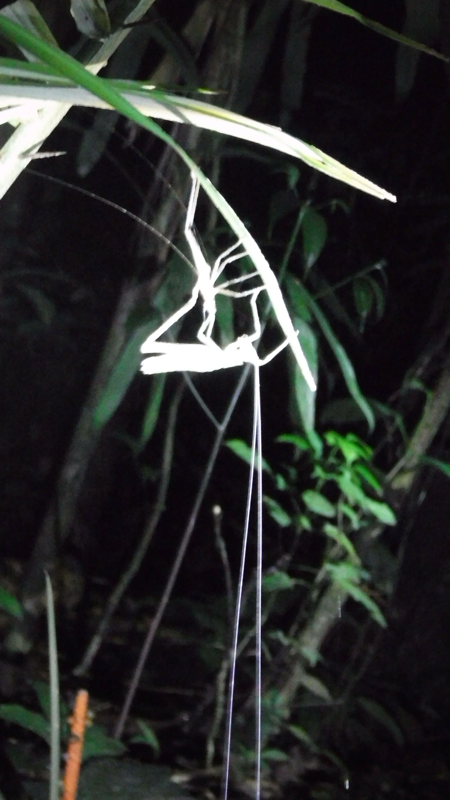
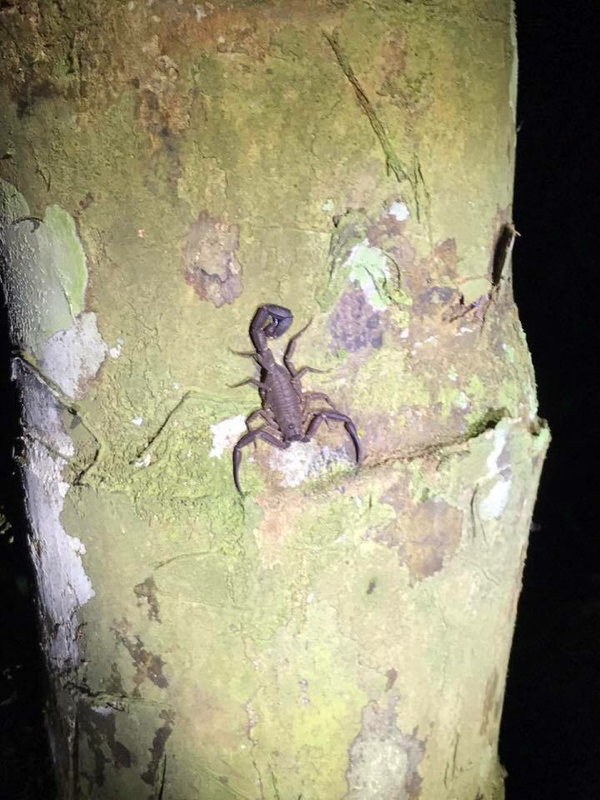
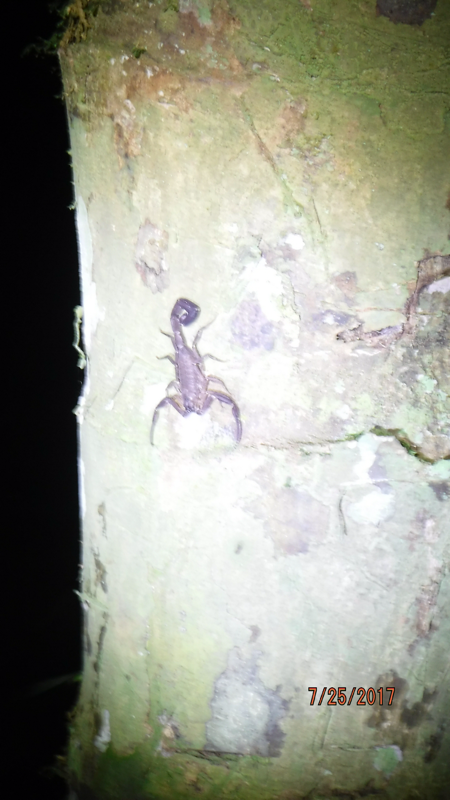
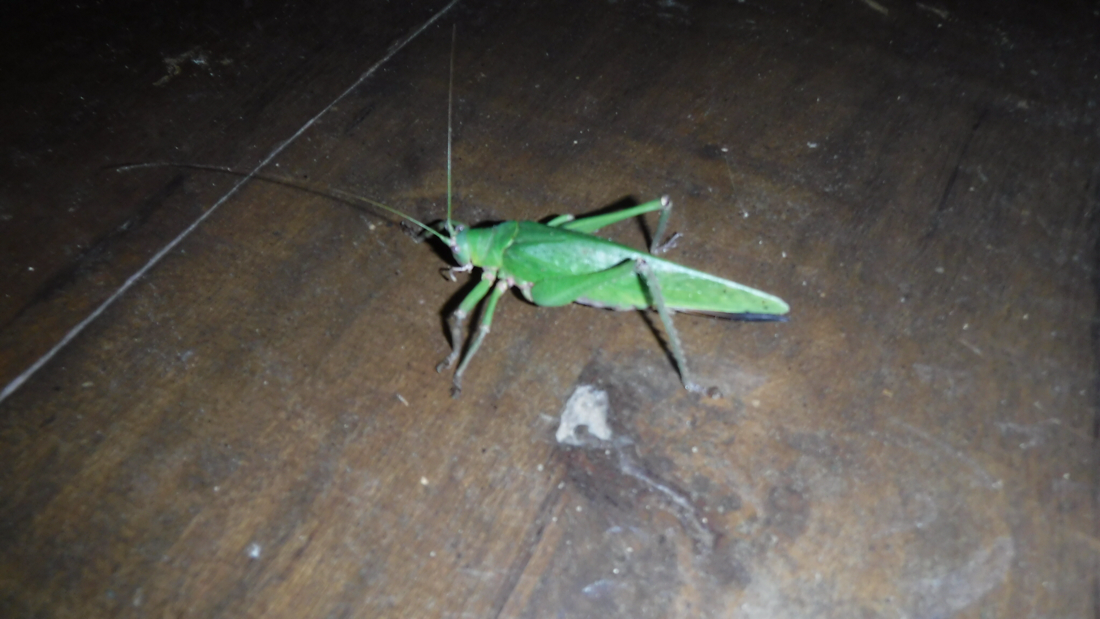
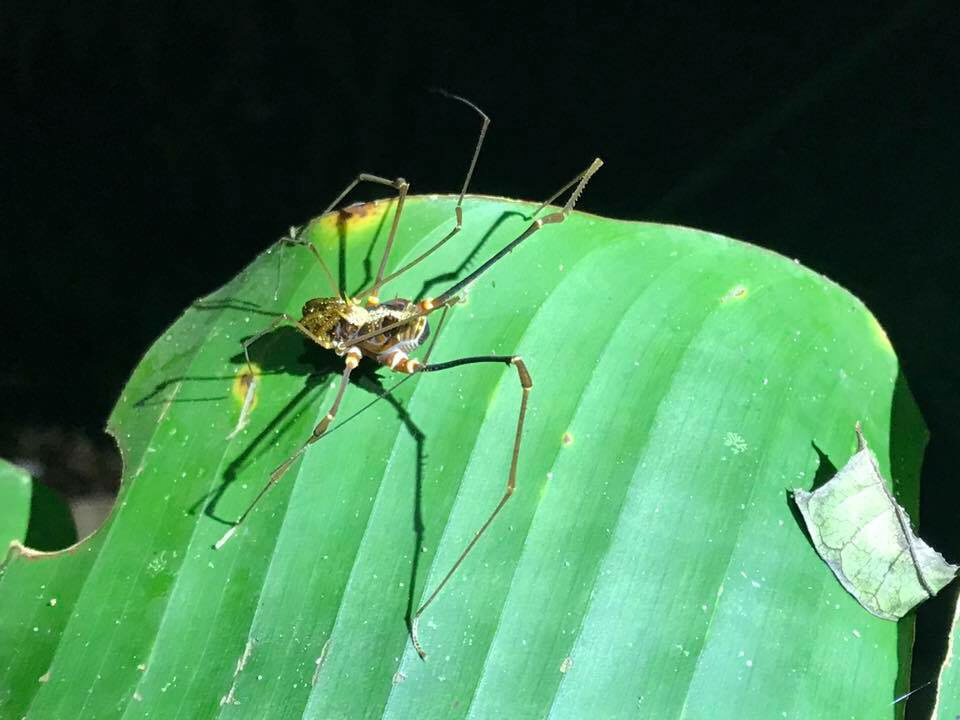
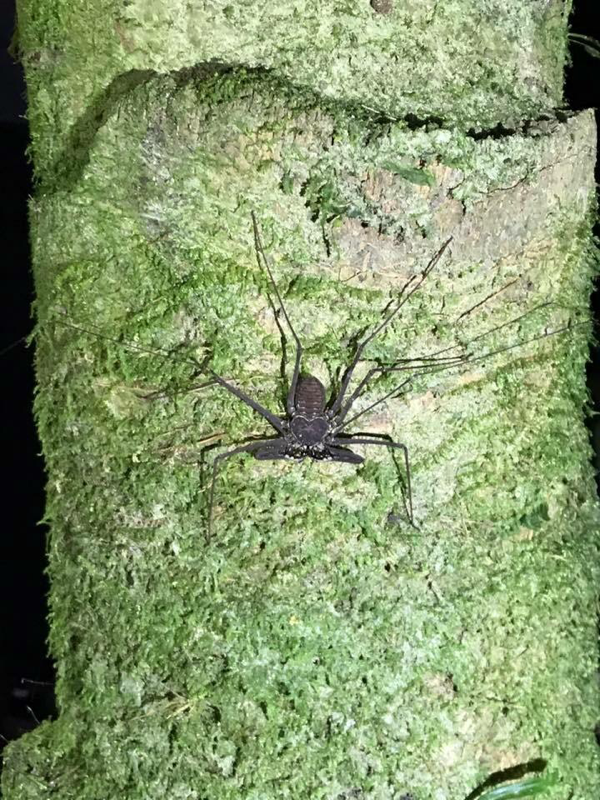
Amblypigid (whip scorpion)
Scorpion Beetles Palm weebil grub (some people ate them!) Cockroach Walking stick Leaf mimic katydid Mole cricket Spittle bug |
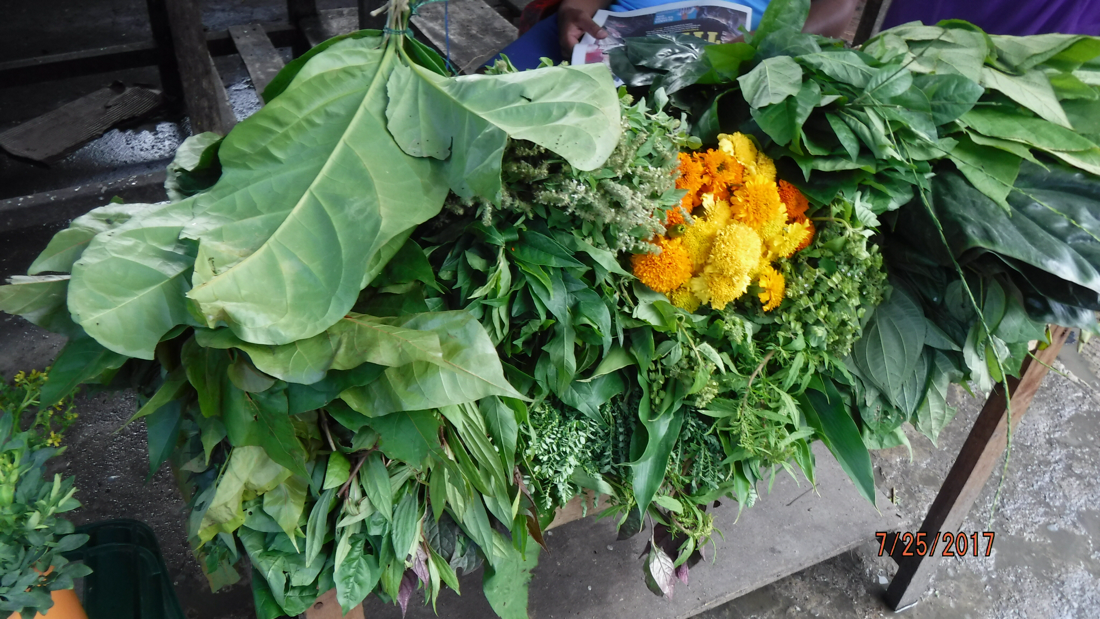
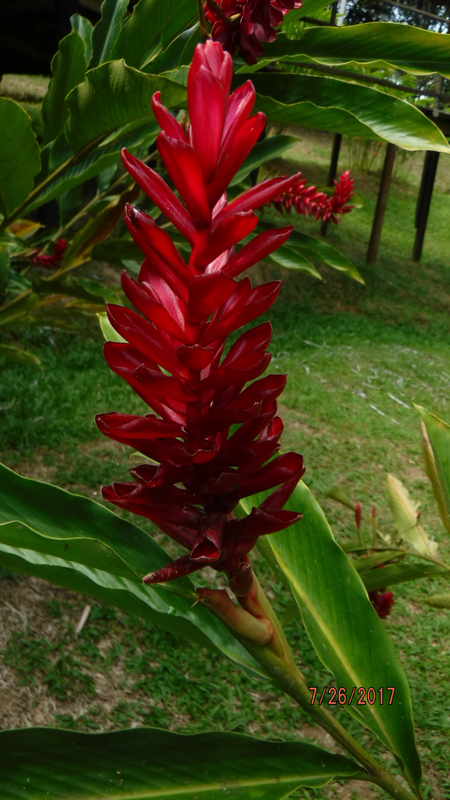
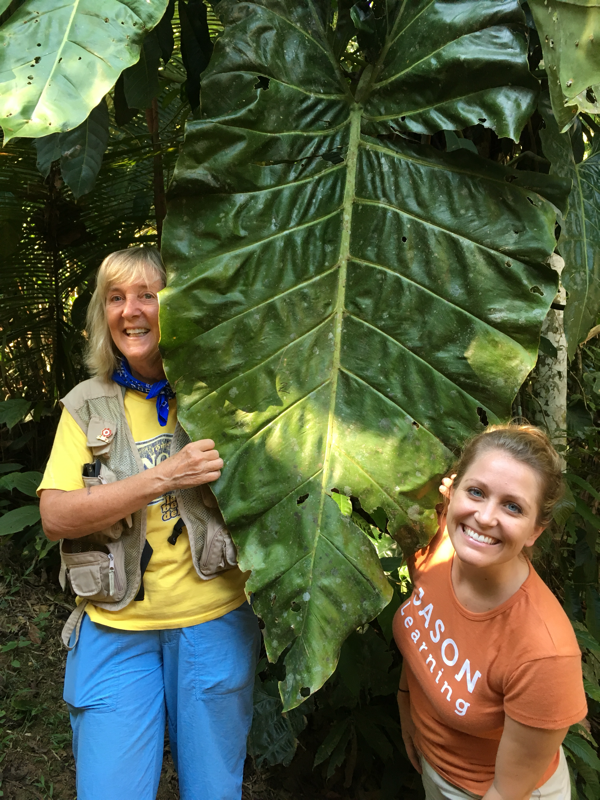
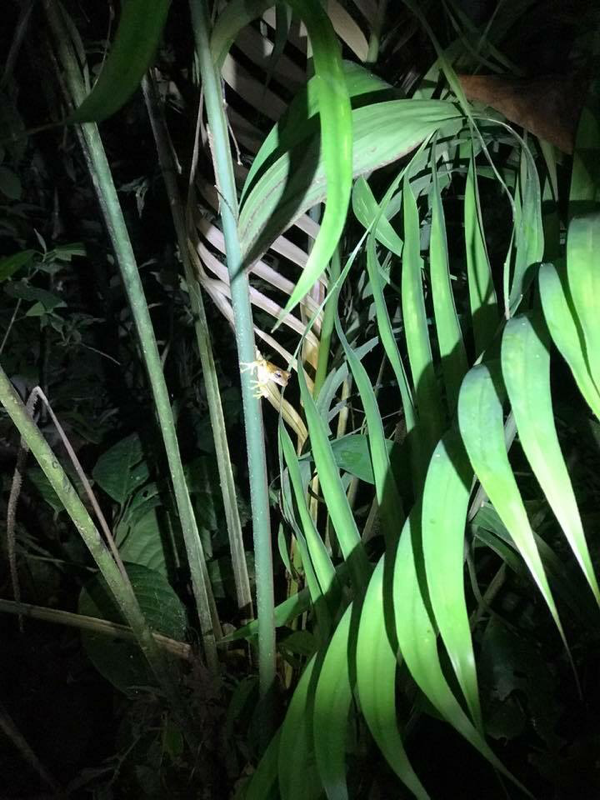
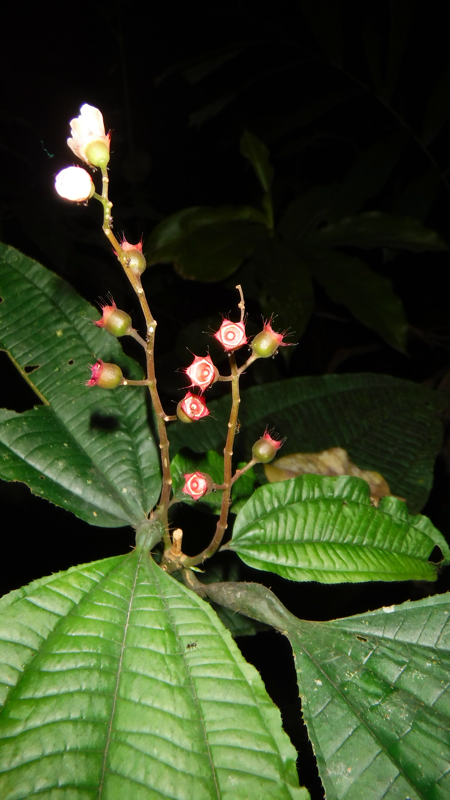
PLANTS
|
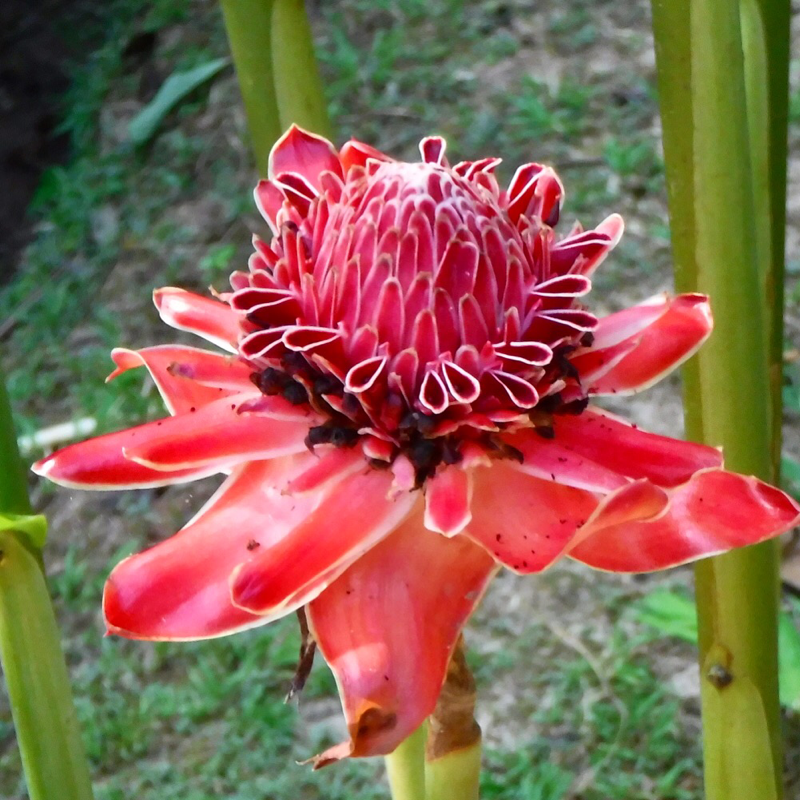
Cacao (Chocolate)
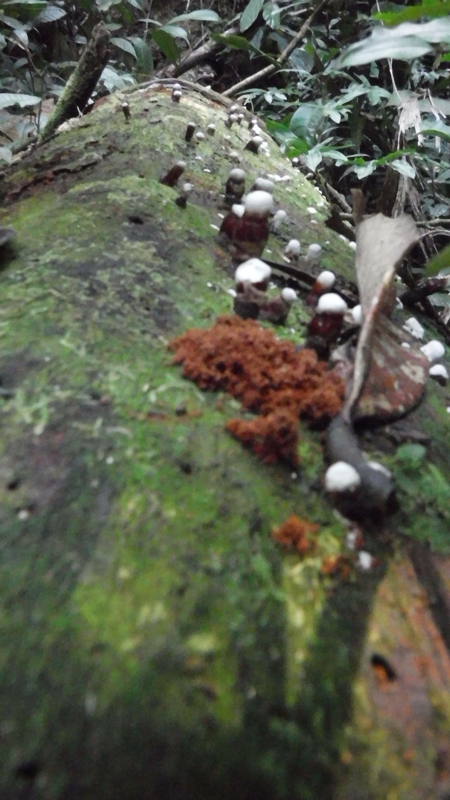
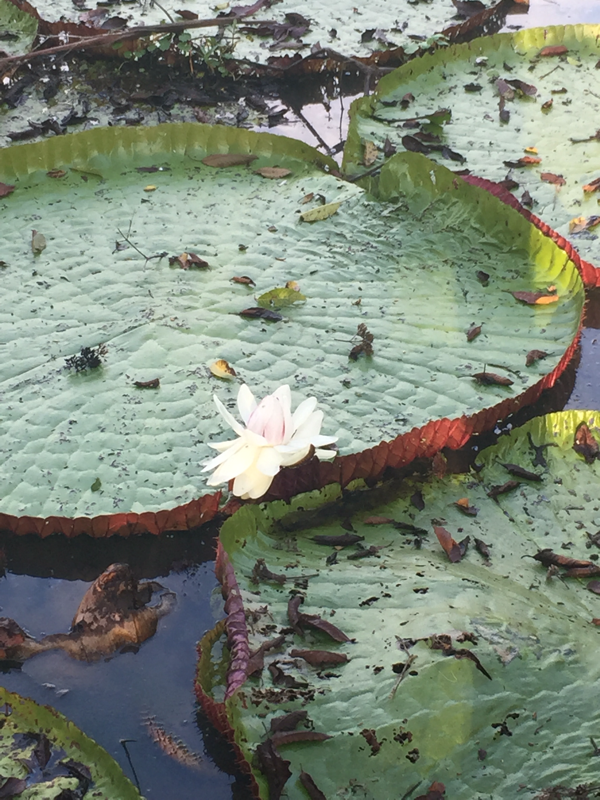
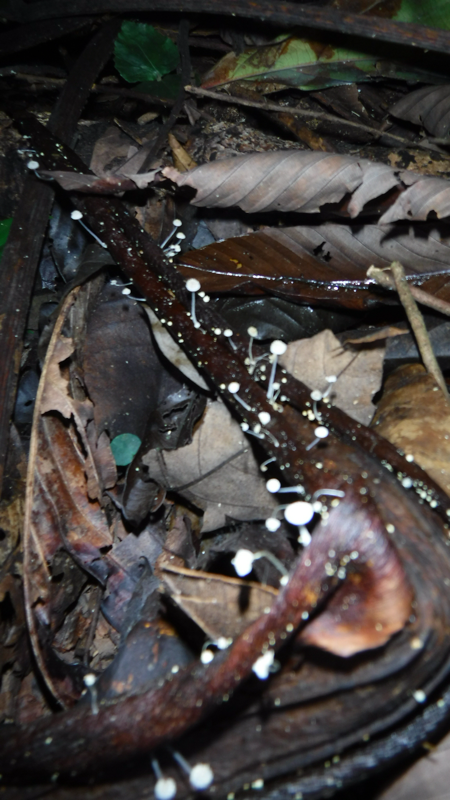
Cecropia Ceiba (Kapok) Fig (strangler) Papaya Rubber Blood root Symphonia Banan Keliconia Piper Pepper Plant |
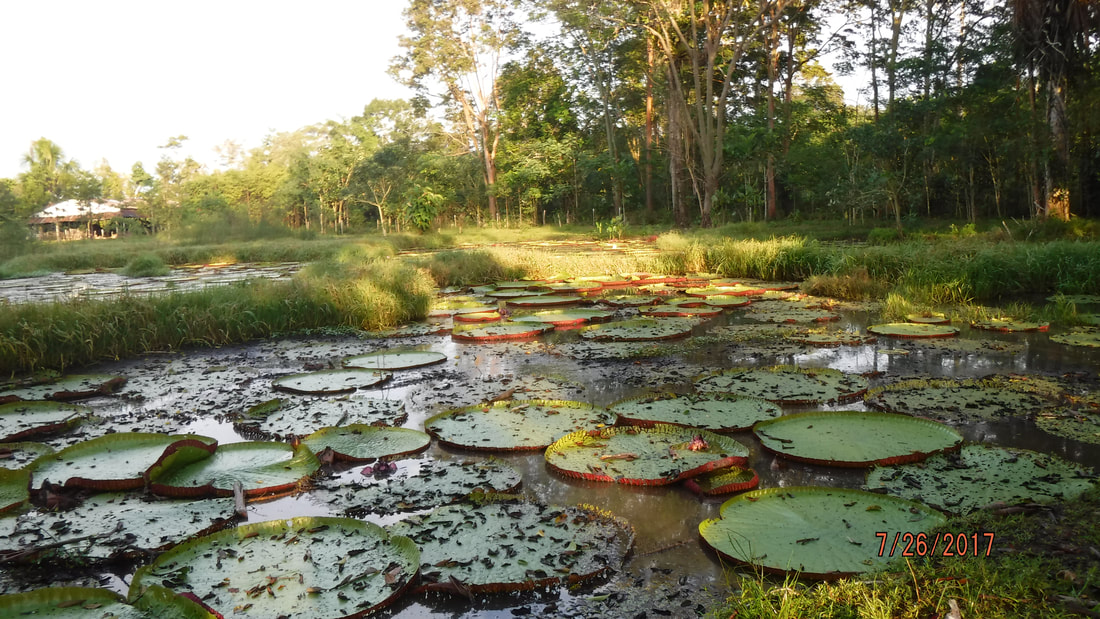
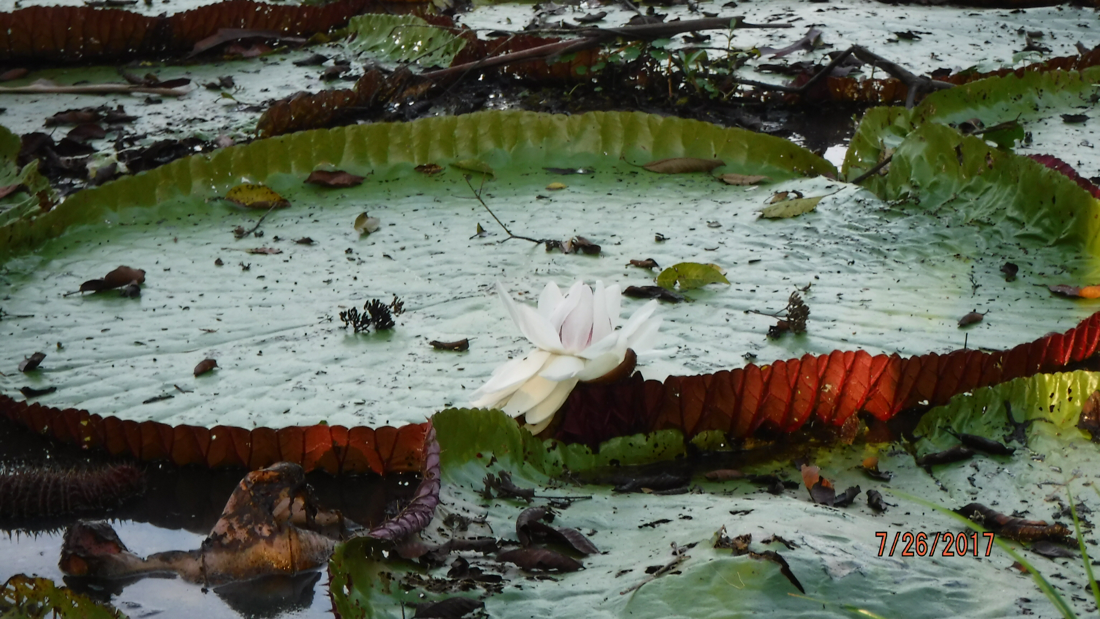
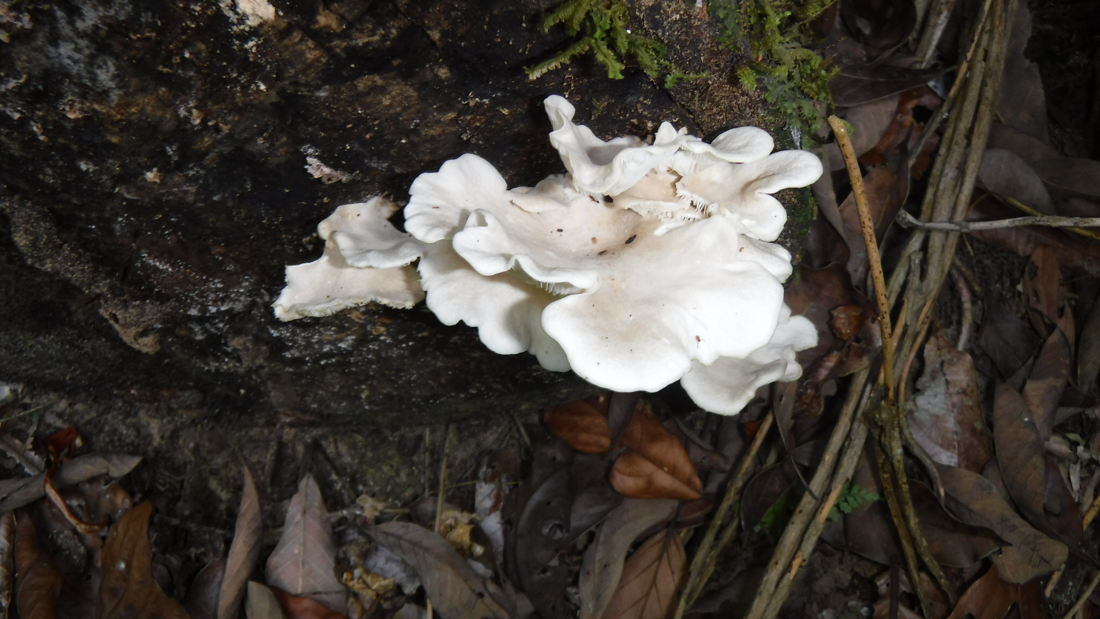
Walking palm
Irapai Palm Passion flower Philodendrom Tank Bromeliad Zebra Bromeliad Red Orchip Giant Amazon water lily Water hyacinth Ayahusasca Cats claw Dragon's blood Bioluminescent fungi |